
” Struggling with limp curls? Learn how to get soft and messy beach waves for fine hair that hold all day. Discover lightweight products, heatless methods, and pro tips for gorgeous volume.”
Why Fine Hair Struggles with Beach Waves (And How to Fix It)
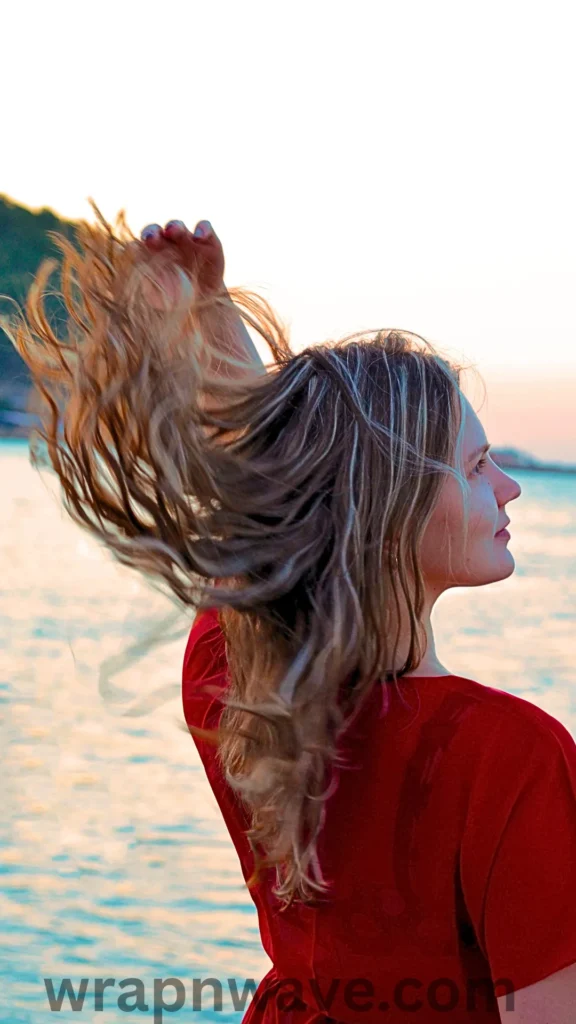
Fine hair presents a unique challenge when it comes to holding waves. The lack of natural texture and volume makes it difficult for curls to maintain their shape, often resulting in a limp, flat style within hours. Plus, fine strands are more vulnerable to heat damage and can easily be weighed down by heavy products.
But here’s the secret: fine hair actually has advantages when it comes to beach waves. Because it’s lighter, it can create those soft, airy waves more easily than thick hair – you just need to give it the right foundation.
Save-worthy tip: Think of your fine hair like delicate fabric – treat it gently, use lightweight products, and you’ll get waves that move and flow beautifully.
Start with the Right Prep – It Makes All the Difference

Before you even think about curling, you need to set your hair up for success. Fine hair needs extra help to hold a wave, so begin with a lightweight volumizing mousse or sea salt spray on damp hair. These products add texture and grip without weighing your strands down.
Here’s my go-to prep routine:
- Wash with a lightweight volumizing shampoo – avoid heavy moisturizing formulas that can flatten fine hair
- Skip heavy conditioner at the roots – focus it on your ends only
- Towel-dry gently – use a microfiber towel to reduce frizz and breakage
- Apply a heat protectant – fine hair is vulnerable to heat damage, so never skip this step
- Spritz a sea salt or texture spray – this adds the “grip” your hair needs to hold a wave
One pro tip: when blow-drying fine hair, be careful not to stretch it too much, as this can make it difficult for the hair to retain curls and waves later on. Rough-dry with your fingers or a diffuser instead of pulling with a brush.
Save-worthy tip: Apply your styling products to damp hair – it absorbs better and creates a stronger foundation for your waves.
Choose the Right Curling Tool and Barrel Size
The tool you use matters – a lot. For soft and messy beach waves for fine hair, you want a barrel that creates loose, natural-looking bends, not tight ringlets.
For fine hair, a curling wand with a barrel size between ¾ inch to 1 inch works best. A smaller barrel helps fine hair hold a curl longer, while still creating that effortless wave look. If you want slightly looser waves, a 1 to 1.25-inch barrel gives a gentle bend without a full coil.
Which tool should you choose?
- Curling wand (clipless): Creates natural, tapered waves that are thicker at the top and looser at the bottom – perfect for that undone beachy look
- Curling iron (with clamp): Easier for beginners and creates more uniform curls
- Triple-barrel waver: Great for creating consistent S-waves quickly
Save-worthy tip: The 1.25-inch barrel is the sweet spot – wide enough to create loose, beachy S-curves without forcing tight spirals.
Master the Curling Technique for Fine Hair
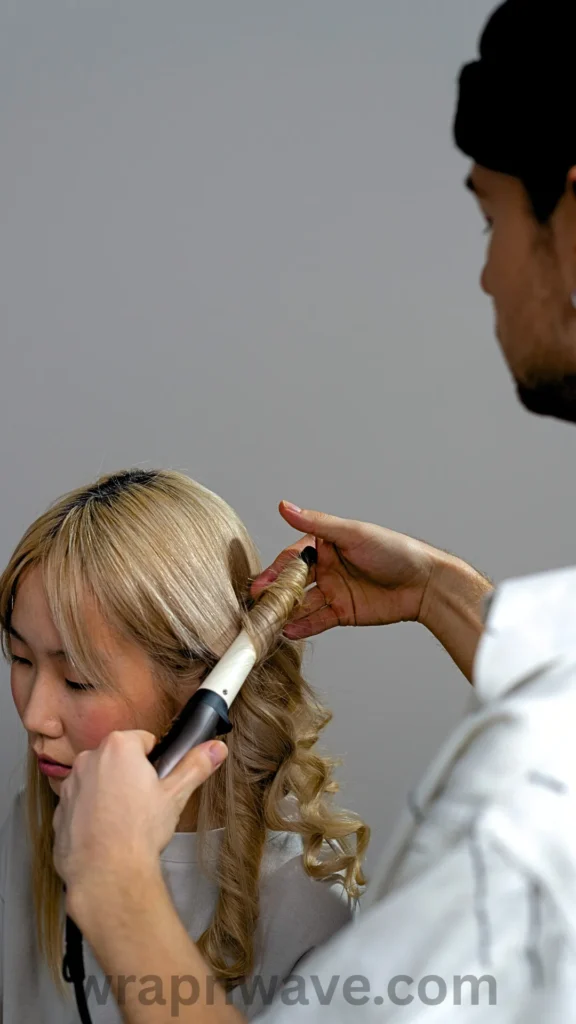
Now for the fun part – the actual curling! The technique is just as important as the tool. Here’s how to get soft, messy waves that actually hold:
- Work in small sections – fine hair needs smaller sections to hold heat and shape
- Wrap hair loosely around the barrel – don’t overlap, and leave the ends out for a more natural look
- Alternate curl directions – curl some sections away from your face and some toward it for a more tousled, natural effect
- Hold for just 5-8 seconds – fine hair curls faster, so don’t overdo it
- Let each curl cool completely before touching it – this is non-negotiable!
- Clip curls in place as they cool for extra staying power
The biggest mistake? Touching your curls too soon. Let them cool completely to set the shape – this is what makes the difference between waves that last all day and waves that fall flat in an hour.
Save-worthy tip: Run a flat iron over just the bottom two inches of your hair to straighten the ends. This keeps your beachy waves from looking too polished or overly curled – it’s the effortless detail that makes all the difference.
Go Heatless with Overnight Beach Waves
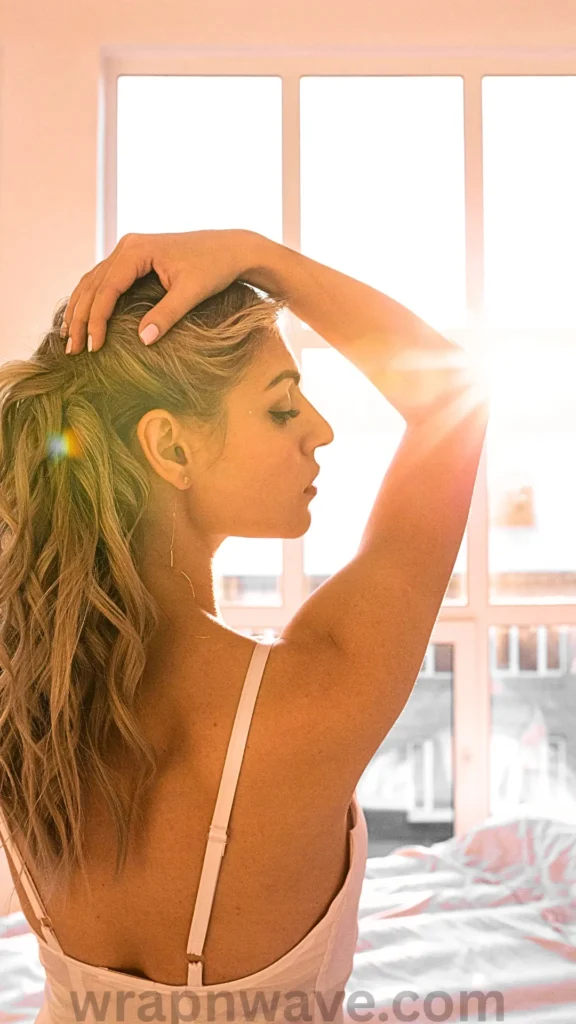
Want gorgeous waves without any heat damage? Overnight methods are a game-changer for fine hair. Not only do they protect your strands, but they also create incredibly natural-looking texture.
The overnight braid method:
- Start with damp hair (about 70-80% dry) – not soaking wet
- Apply a lightweight mousse or sea salt spray for hold
- Divide your hair into 2-4 sections and braid each one loosely
- Secure with soft elastics and sleep with the braids in
- In the morning, undo the braids and gently separate the waves with your fingers
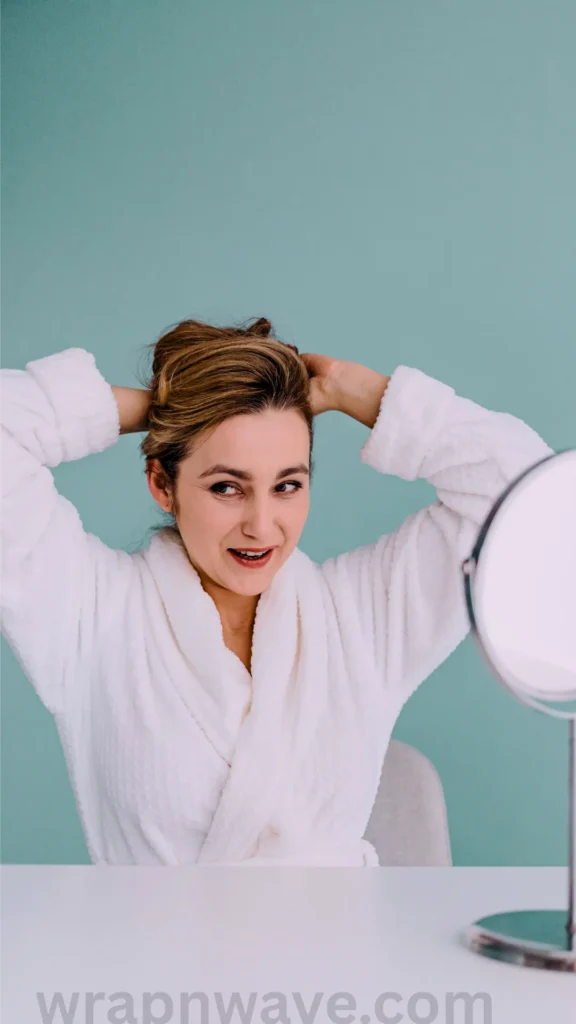
For even better results, try the twisted bun method – twist small sections of damp hair and pin them into buns overnight. This works particularly well for fine hair because it creates soft, natural-looking waves without any crimping.
Save-worthy tip: The more braids you create, the tighter the waves will be. For soft, messy beach waves, stick to 2-4 loose braids.
Add Texture and Volume – The Finishing Touch
Once your waves are set, it’s time to add that signature beachy texture. This is where soft and messy beach waves for fine hair really come to life.
Here’s how to finish:
- Gently run your fingers or a wide-tooth comb through your waves to break them up – don’t brush them out completely
- Spritz a light dry texture spray or sea salt spray to enhance the beachy vibe
- Avoid heavy serums or creams – they’ll weigh your fine hair down in seconds
- For extra volume, flip your head upside down and mist dry shampoo at the roots
- Finish with a flexible hold hairspray – you want hold without stiffness
The goal is “carefully undone” – waves that look effortless and natural, not overly styled.
Save-worthy tip: Don’t overwork your waves. A little messiness is exactly what you’re going for!
Avoid These Common Mistakes
Let’s save you from the most common pitfalls that ruin beach waves on fine hair:
❌ Using too much product – with fine hair, use half of what you think you need. Heavy products will weigh your waves down instantly.
❌ Skipping heat protectant – fine hair is more vulnerable to damage. Always, always protect it.
❌ Curling with dirty hair – product buildup prevents waves from holding. Start with clean, freshly washed hair.
❌ Using the wrong heat setting – fine hair needs 300°F to 350°F. Anything higher can cause damage and frizz.
❌ Brushing out your waves – use your fingers or a wide-tooth comb only. A brush will destroy your waves and create frizz.
❌ Over-washing your hair – washing too frequently strips natural oils, making it harder for your hair to hold any style.
Save-worthy tip: If your waves start to fall flat during the day, flip your head upside down and scrunch – this often revives the texture without any extra product!
Your Turn to Rock Those Beach Waves!

There you have it – seven foolproof ways to get soft and messy beach waves for fine hair that actually last. Remember, the secret is in the prep, the right tools, and a light touch with products.
Start with one or two of these techniques and experiment until you find what works best for your hair. And don’t forget – beach waves are meant to look effortless and a little undone. Embrace the imperfection!
Now I want to hear from you! Which method are you excited to try first? Have you struggled with getting waves to hold in your fine hair? Drop a comment below and share your experience – I’d love to hear what works for you!
And if you’re looking for even more wave inspiration, check out our related article on [https://wrapnwave.com/7-foolproof-ways-to-get-beachy-waves-for-medium-hair-no-curling-wand-needed/: 7 Foolproof Ways to Get Beachy Waves for Medium Hair – No Curling Wand Needed] for more heatless styling ideas.
Pin Description: ✨ Dreaming of soft and messy beach waves for fine hair that actually hold all day? These 7 foolproof tips will transform your limp strands into gorgeous, textured waves! From heatless overnight methods to the perfect curling technique, save this pin for your next hair day 💁♀️ #BeachWaves #FineHairTips #BeachyHair

