
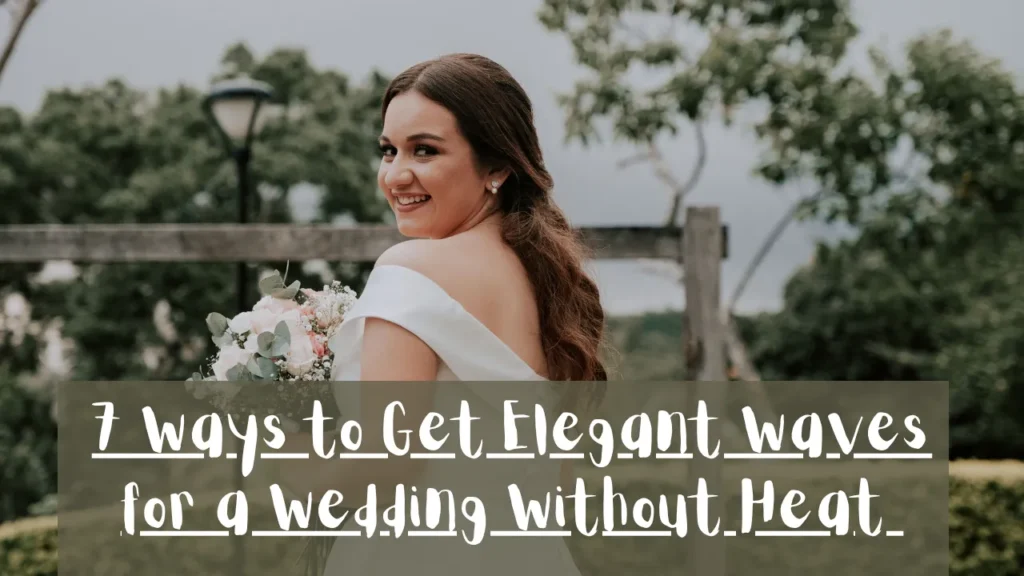
” Master Bridal Heatless Waves – Prep the Night Before with this step-by-step guide. Wake up to damage-free, romantic waves on your wedding day. Perfect for all hair types!”
Why Choose Heatless Waves for Your Wedding Day?

Let’s be honest: your wedding hair needs to last. You’ll be hugging guests, dancing the night away, and posing for hundreds of photos. Heatless waves aren’t just a trend; they are a practical, beautiful solution for brides who want longevity without the damage.
Traditional curling irons can cause immediate dehydration and frizz, especially if you have fine or color-treated hair. By prepping your waves the night before, you’re essentially “sculpting” your locks while you dream. The hair sets in a structured pattern over several hours, training the hair fibers to hold a new shape without the risk of scorched strands.
Plus, think about the time you’ll save! While you’re sipping mimosas and getting your makeup done, your hair is already 90% finished. You just have to take it down and shake it out. That is a major win for any bride.
The Golden Rule: Prep Your Hair Like a Pro
The success of your Bridal Heatless Waves – Prep the Night Before hinges entirely on how you prepare your hair. You can’t just throw dry hair into a braid and expect magic.
The “Goldilocks” rule applies here: your hair needs to be just right. Aim for hair that is about 70-80% dry—slightly damp but not soaking wet. If your hair is too wet, it won’t dry fully overnight, and you’ll wake up with limp, sad waves instead of bouncy ones. If it’s bone dry, the wave won’t hold as well.
Your Night-Before Prep Checklist:
- Wash & Condition: Use a smoothing shampoo and conditioner to ensure your hair is clean and manageable.
- Towel Dry: Gently squeeze out excess water with a microfiber towel.
- Apply Product: This is crucial. Apply a light leave-in conditioner, a texturizing serum, or a wave-enhancing mousse. This gives your hair grip and helps the waves last all day.
- Detangle: Use a wide-tooth comb to remove any knots. Smooth hair equals smooth waves.
Pin-Worthy Tip: “Slightly damp hair is the secret weapon for heatless waves. It molds and sets better as it dries, giving you that defined, long-lasting S-shape.”
Method 1: The Classic Braid-Out for Soft, Romantic Waves

If you are looking for a gentle, loose wave that screams “romantic bride,” the classic braid-out is your best friend. This is the easiest method for beginners and works on virtually all hair types.
How to do it:
- Section: Part your damp, prepped hair down the middle or into two even sections.
- Braid: Braid each section into a loose, regular three-strand braid. For a more natural look, don’t pull the hair too tight. For a more “beachy” wave, try a rope braid or a twist.
- Secure: Tie the ends with a soft, fabric hair tie (avoid elastics with metal, as they can cause breakage).
- Sleep: Let the braids set overnight. The looser the braid, the softer the wave.
Pro Tip: If you want a more uniform curl pattern, try French braiding your hair. This creates a rounder, more blow-out-like style of curl that looks incredibly polished for a wedding.
Method 2: The Robe Belt Technique for Bouncy, Defined Curls
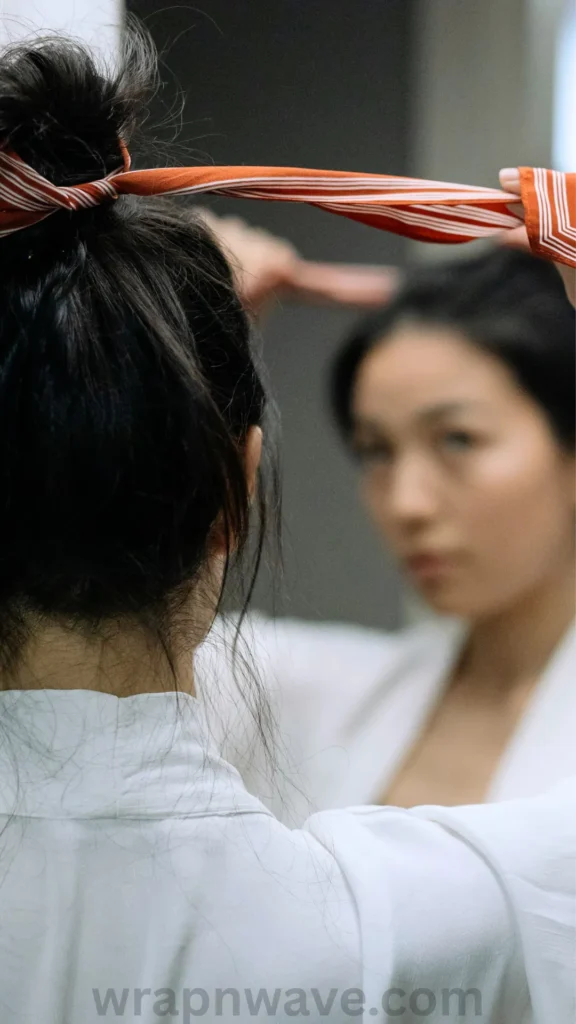
Want those bouncy, voluminous curls that look like they came straight from a salon blowout? The robe belt (or dressing gown) method is a viral sensation for a reason. It creates beautiful spiraling S-waves with a soft, blurred edge—no crunch, no frizz.
How to do it:
- The Base: Take a soft robe belt or a pair of leggings and place it over your head like a headband.
- Wrap: Take a small section of your damp hair from the front and wrap it around the belt, pulling it away from your face. Continue wrapping sections of hair around the belt, alternating sides, until all your hair is wrapped.
- Secure: Once all the hair is wrapped, tie the ends of the belt together on top of your head to secure everything in place.
Why it works: The satin or soft fabric of the belt reduces friction, which means less frizz and more shine. It’s incredibly comfortable to sleep on and yields incredibly consistent results.
Pin-Worthy Tip: “Wrap your hair away from your face to create volume at the roots and ensure those beautiful waves frame your features perfectly on your wedding day.”
Method 3: Heatless Curlers and Flexi Rods for All-Day Hold
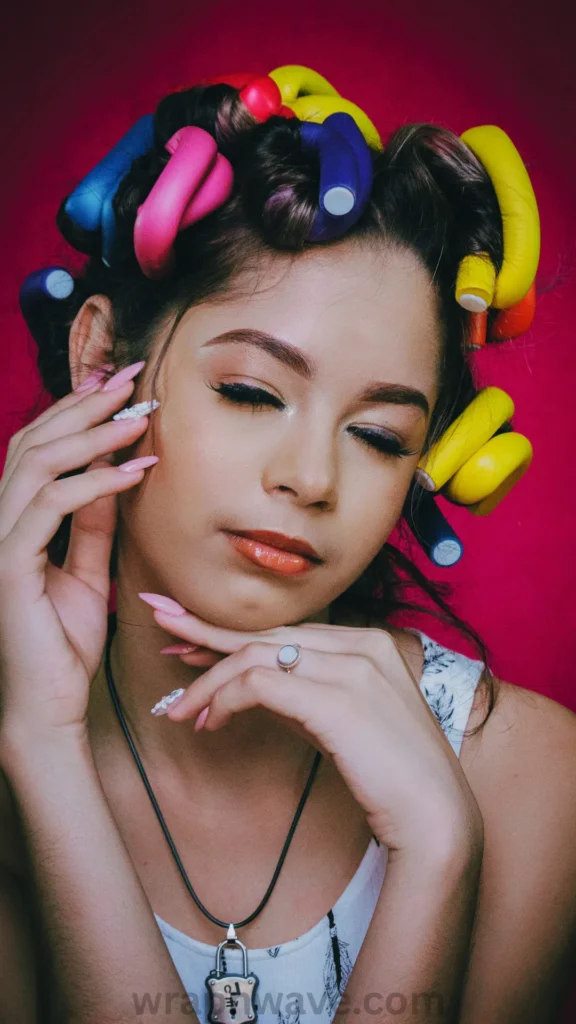
If you want a more polished, defined curl that will hold up through hours of celebration, consider using heatless curlers or flexi rods. These are perfect for brides who want a more structured look.
How to do it:
- Section: Divide your damp hair into small to medium sections.
- Roll: Take a section of hair and wrap it around a foam roller or flexi rod, rolling it up towards your scalp.
- Secure: Bend the flexi rod or clip the roller in place.
- Sleep: Leave them in overnight. The smaller the section and the tighter the roll, the tighter the curl will be.
Satin-covered rollers are a fantastic option because they are comfortable to sleep in and won’t cause friction or frizz. This method is ideal for brides with straight hair who need a little extra help holding a curl.
The Morning After: Unraveling and Perfecting Your Waves

This is the most exciting part! You’ve slept like a princess (or at least tried to), and now it’s time to reveal your masterpiece. But don’t just rip the braids out!
The Unraveling Ritual:
- Be Gentle: Carefully undo the braids, curls, or wraps. Use your fingers to gently separate the waves. Avoid using a brush, as this will turn your beautiful waves into a frizzy cloud.
- Shake It Out: Flip your head over and gently shake your roots to add volume.
- The Finishing Touch: Apply a tiny drop of hair oil or a light-hold hairspray to smooth any flyaways and lock in the style.
Pin-Worthy Tip: “Never brush out heatless waves! Use your fingers to gently separate the curls for a soft, natural, ‘just-got-back-from-the-honeymoon’ vibe.”
Common Mistakes to Avoid (So You Don’t Ruin Your ‘Do)

Even with the best intentions, things can go wrong. Here are the most common pitfalls to avoid when prepping your Bridal Heatless Waves — Prep the Night Before.
- Going to Bed with Soaking Wet Hair: As mentioned, this leads to limp waves and a wet pillow. Make sure your hair is mostly dry.
- Using the Wrong Hair Ties: Metal elastics will leave crimps and cause breakage. Always use soft scrunchies or fabric ties.
- Wrapping Too Tight: If you pull your hair too tight, you’ll wake up with a headache and kinky, unnatural-looking waves.
- Skipping Product: Product is the glue that holds the style together. Don’t skip the mousse or serum if you want the waves to last.
- Sleeping on Cotton Pillowcases: Switch to a satin or silk pillowcase. It reduces friction, meaning less frizz and fewer tangles while you sleep.
Why This Method is a Game-Changer for Brides
As a bride, your hair is one of the most important accessories for your big day. You want it to look stunning, but you also want it to be healthy and resilient.
By choosing Bridal Heatless Waves — Prep the Night Before, you are:
- Saving Time: Freeing up your wedding morning for more important things.
- Saving Your Hair: Avoiding the cumulative damage of heat styling.
- Ensuring Longevity: Heatless waves often hold their shape longer because they set over a prolonged period.
If you’re looking for more inspiration on how to get that perfect prom or special occasion look, check out this related article about The Ultimate Prom-Ready Heatless Waves Tutorial: 5 Easy Overnight Methods for Damage-Free Curls. The principles are the same, and you might find another method that works even better for your hair texture!
Your wedding day is about feeling beautiful, confident, and stress-free. With this overnight hack, you can check “perfect hair” off your to-do list before you even open your eyes.
Call to Action
Now that you know the secrets to stunning Bridal Heatless Waves — Prep the Night Before, which method are you most excited to try on your big day? Drop a comment below and let me know! I’d love to hear your tips, tricks, and whether you’re team braid-out or team robe belt. And don’t forget to save this pin for later!
Pin Description
Get the perfect bridal hair without the heat damage! Learn how to master Bridal Heatless Waves — Prep the Night Before with this easy step-by-step guide. Wake up to gorgeous, romantic waves on your wedding day. Save this pin for your big day! #BridalHair #HeatlessWaves #WeddingHair #OvernightCurls #BridalBeauty

