
”Tired of heat damage? Discover 7 easy ways to get gorgeous beachy waves for medium hair – no curling wand needed. Perfect for effortless, heatless style!”
Why Ditch the Curling Wand for Good?
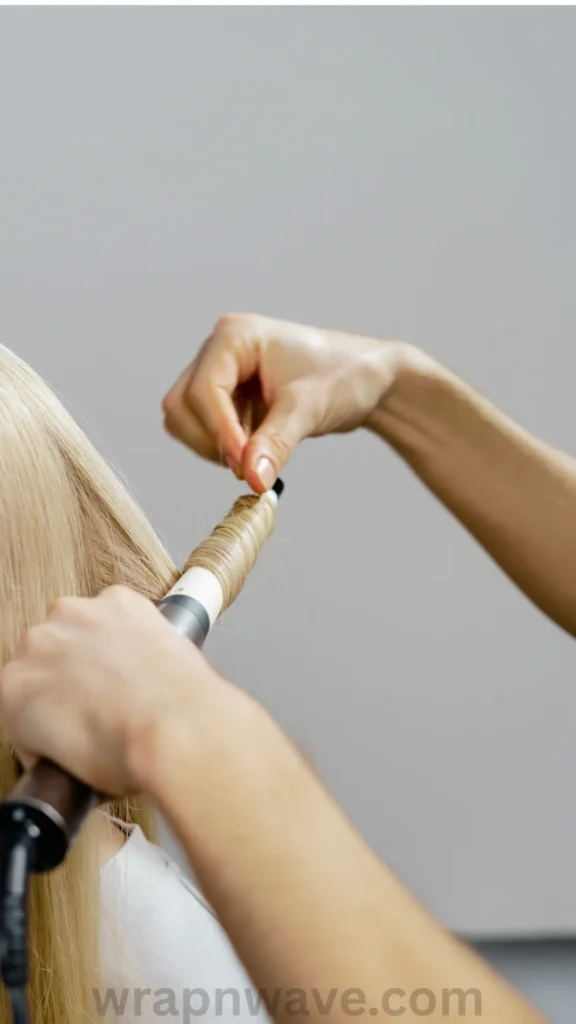
Before we dive into the how-to, let’s talk about the why. Constant heat styling can lead to breakage, split ends, and dryness – the exact opposite of healthy, shiny beachy waves. By opting for heatless methods, you’re not only protecting your hair’s health but also saving precious time (and electricity!). Plus, these techniques often create more natural-looking, lived-in waves that a curling wand just can’t replicate. The key is to work with your hair’s natural texture, not against it. When you learn to style medium hair without heat, you’ll wonder why you ever bothered with hot tools in the first place.
Prep Work: The Secret to Long-Lasting Waves
The foundation of any great hairstyle is preparation. For the best results with these no-heat methods, always start with damp, not soaking wet, hair. After washing, gently pat your hair dry with a microfiber towel to remove excess water. Then, apply a lightweight mousse, texturizing spray, or wave cream from mid-lengths to ends. This gives your hair the grip it needs to hold the wave shape as it dries. A little product goes a long way in achieving natural beachy waves that last all day.
1. The Classic Braid Method (Overnight Waves)
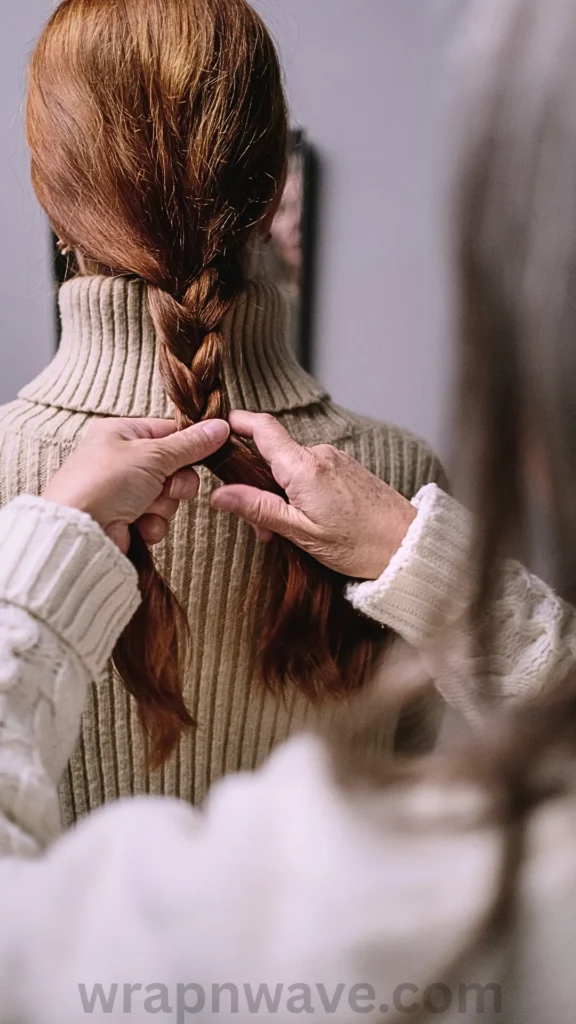
This is the holy grail of heatless styling. It’s simple, effective, and perfect for beginners.
- How to do it: Divide your damp, prepped hair into two or more sections. For medium hair, two braids usually work perfectly. Braid each section loosely from the nape of your neck down to the ends and secure with a hair elastic. The number of braids determines the wave size: fewer braids = looser waves, more braids = tighter waves.
- The wait: Leave the braids in overnight or for at least 4-6 hours.
- The reveal: In the morning, carefully undo the braids. Gently run your fingers through your hair to separate and loosen the waves. Pro tip: Resist the urge to brush! Brushing will turn your beautiful waves into a frizzy mess. Instead, use your fingers to style and finish with a sea salt spray for that extra beachy texture.
Pin-worthy tip: For extra volume, flip your head over and gently shake out the waves at the roots.
2. The Headband Twist (Heatless Curls)
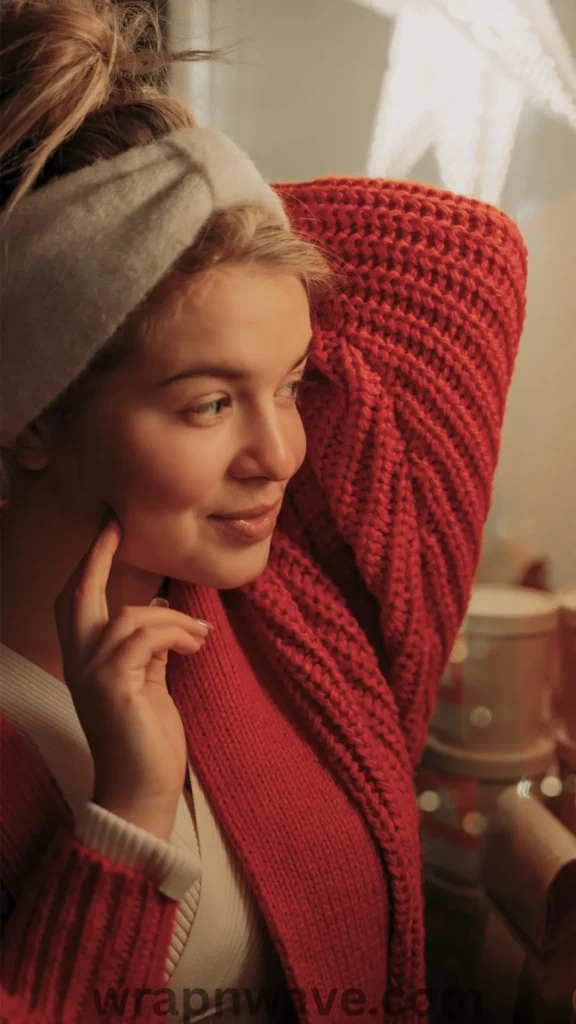
If you want a more defined, bouncy wave, the headband method is your new best friend. This technique is incredibly popular on Pinterest for a reason -it works like magic!
- How to do it: Place a stretchy, fabric headband over your head, resting it across your forehead like a crown.
- Wrap it up: Take small to medium sections of your damp hair and wrap them around the headband, tucking the ends in as you go. Work your way around your entire head.
- The wait: Leave it in overnight or for several hours until your hair is completely dry.
- The reveal: Carefully unwrap each section from the headband. You’ll be left with gorgeous, voluminous waves. Gently tousle with your fingers and apply a light-hold hairspray to keep everything in place.
Pin-worthy tip: Use a silk or satin headband to minimize friction and prevent frizz while you sleep.
3. The Sock Bun Method (Voluminous Waves)
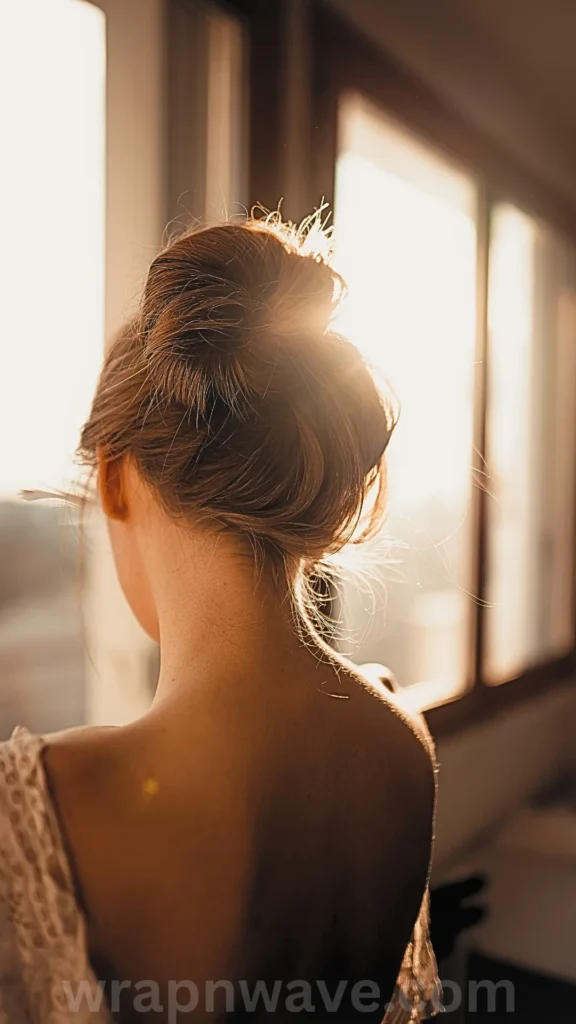
Don’t have a headband? No problem! A simple sock can create stunning, voluminous beachy waves on medium hair.
- How to do it: Cut the toe off a clean sock and roll it into a donut shape. Pull your damp hair into a high ponytail on top of your head.
- Create the bun: Pull the ponytail through the sock donut and roll it down towards your scalp, tucking the ends of your hair as you go, until you have a tight bun secured at the crown.
- The wait: Leave the sock bun in overnight or until your hair is completely dry.
- The reveal: Unroll the bun and gently shake out your hair. This method creates beautiful, cascading waves with tons of volume at the roots.
Pin-worthy tip: For a more tousled look, gently separate the waves with your fingers rather than a comb.
4. The Twist and Pin Technique (Undone Texture)
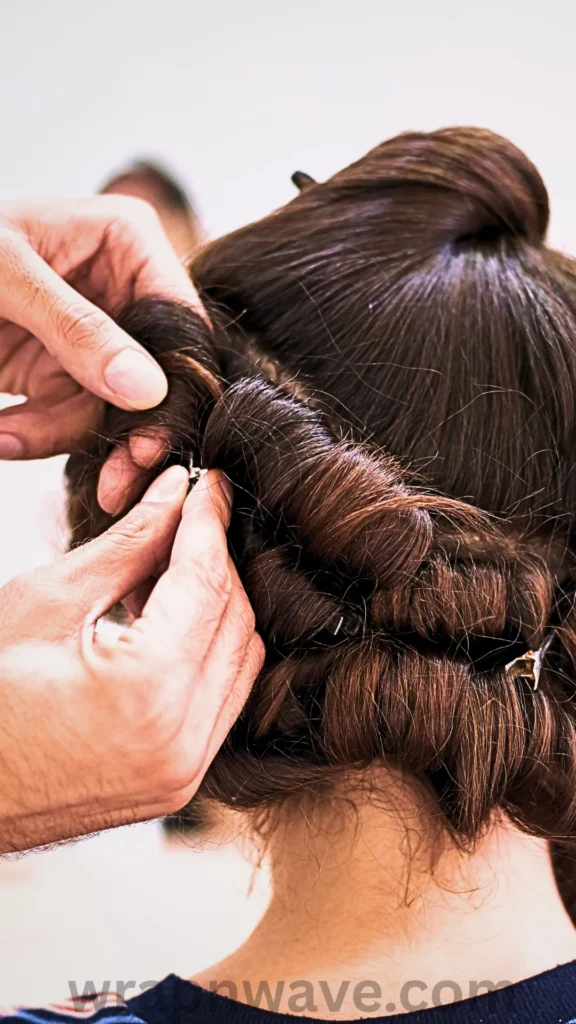
This method is fantastic for creating that perfectly imperfect, messy beach wave texture.
- How to do it: Section your damp hair into two or four sections. Take one section and twist it tightly from the roots to the ends.
- Pin it: Coil the twisted strand into a small bun against your head and secure it with bobby pins. Repeat with all sections.
- The wait: Leave the twists in overnight or until fully dry.
- The reveal: Unpin and unravel each twist. The result is a gorgeous, textured wave that looks effortlessly chic.
Pin-worthy tip: The tighter the twist, the more defined the wave. For a looser look, twist more loosely.
5. The Robe Tie Curl (Bouncy, Defined Waves)
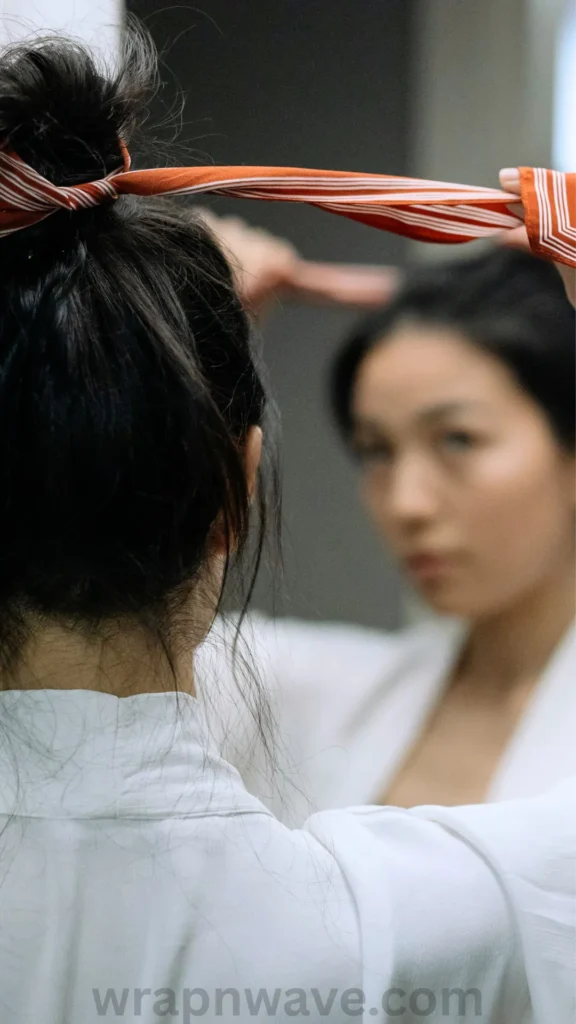
This viral trend is everywhere for a reason! Using a bathrobe tie is a brilliant way to get bouncy, heatless waves.
- How to do it: Drape a long, fabric robe tie over your head like a headband. Take a section of your damp hair and wrap it around one side of the tie, away from your face, continuing to add more hair as you wrap downwards.
- Secure it: Once all your hair is wrapped, tie the ends of the robe tie together at the top of your head.
- The wait: Leave it in overnight.
- The reveal: Carefully unwrap your hair from the tie. You’ll be amazed at the beautiful, bouncy curls and waves. Gently separate with your fingers for a more beachy look.
Pin-worthy tip: This method works best on hair that is at least shoulder-length and gives a more polished, bouncy wave.
6. The Pineapple Method (For Already Wavy Hair)
If you already have some natural wave or curl to your hair, the “pineapple” method is a game-changer for refreshing and enhancing your beachy waves.
- How to do it: Flip your head over and gather all your hair into a very high, loose ponytail right at the very top of your head (like a pineapple).
- The wait: Secure with a silk or satin scrunchie and sleep with it like that.
- The reveal: In the morning, take down the ponytail and gently shake out your hair. This method preserves your natural wave pattern, reduces frizz, and gives you instant volume.
Pin-worthy tip: This is the ultimate lazy-girl hack for second or third-day hair!
7. The Sea Salt Spray & Scrunch (The Quick Fix)
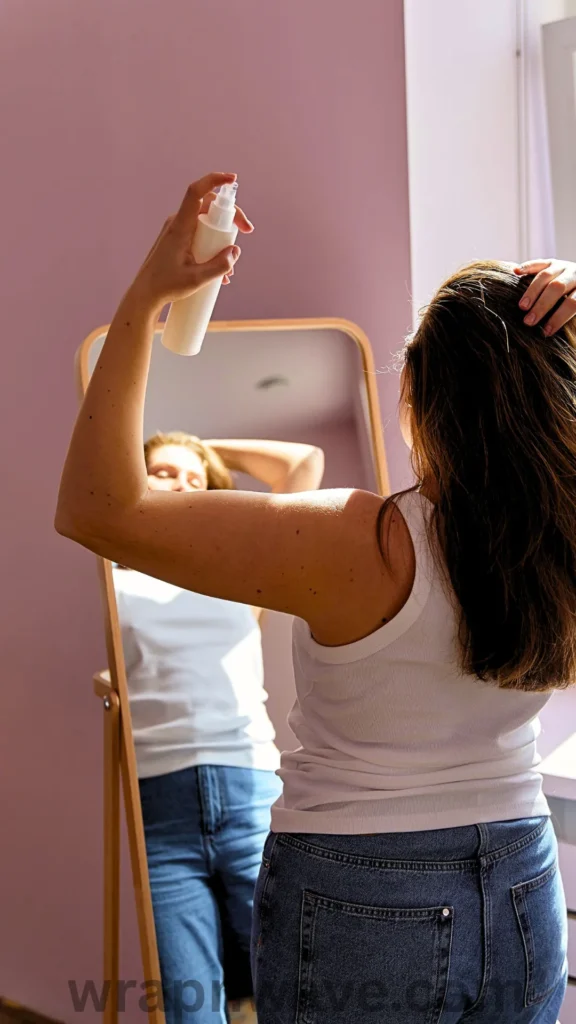
Sometimes you need beachy waves in a hurry. This is the quickest no-heat method for a texturized, beachy look.
- How to do it: Start with damp or even dry hair. Mist a generous amount of sea salt spray throughout your hair.
- Scrunch it up: Flip your head over and scrunch your hair upwards towards your scalp. Continue scrunching as your hair air-dries or use a diffuser attachment on a cool setting.
- Finish: Once dry, tousle with your fingers to break up any crunchiness and add extra volume.
Pin-worthy tip: For extra hold, scrunch in a dollop of mousse before the sea salt spray.
The Finishing Touch: Products That Make a Difference
Using the right products can elevate your heatless waves from good to great. A texturizing spray or sea salt spray is essential for adding that gritty, beachy texture and hold. A light-hold hairspray will help your waves last all day without making them stiff or crunchy. For more in-depth guidance on achieving that perfect salt-sprayed texture, check out this related article: [https://wrapnwave.com/5-foolproof-ways-to-get-that-just-came-from-the-beach-wave-no-heat-required/: related article about 5 Foolproof Ways to Get That ‘Just Came From the Beach’ Wave (No Heat Required!)].
Your New Waves Are Waiting!
There you have it – seven amazing ways to get gorgeous beachy waves for medium hair – no curling wand needed! From overnight braids to quick scrunching, there’s a method here for every mood and schedule. The best part? Your hair will thank you for the break from heat. So go ahead, experiment with these techniques and find your favorite. Remember, the key to perfect beachy waves is embracing imperfection and having fun with it!
CTA (Call to Action):
Now it’s your turn! Which of these heatless methods are you most excited to try? Drop a comment below and let me know – I’d love to hear about your results! And if you have a favorite no-heat wave trick, share it with our community. Let’s start a conversation and help each other achieve the healthiest, waviest hair ever!
Pin Description:
Get gorgeous beachy waves for medium hair – no curling wand needed! 🙌✨ Say goodbye to heat damage with these 7 easy heatless methods. From overnight braids to the viral robe tie trick, you’ll find the perfect wave for your hair. Save this pin for your next hair day! #BeachyWaves #HeatlessHair #MediumHairStyles
