

”Dreaming of beachy, effortless waves? Learn exactly how to get mermaid waves overnight on long hair with these 5 heatless methods. Wake up to gorgeous, damage-free waves!”
Why Overnight Waves Are a Game-Changer for Long Hair
If you have long hair, you know the struggle. It takes forever to curl, uses a ton of product, and let’s be honest-all that heat can really dry out your ends. That’s why the overnight method is so amazing.
You simply prep your hair, set it in a style, and let time (and your beauty sleep) do the hard work. Heatless styling is not only healthier for your hair, but it also saves you precious time in the morning . When you learn how to get mermaid waves overnight on long hair, you’re investing in the long-term health of your locks while still looking absolutely fabulous.
Save-Worthy Tip: “The best hairstyle is the one you wake up with. Ditch the hot tools and let your hair rest while you do!”
Prep Work: The Secret to Long-Lasting Waves
Before we dive into the techniques, let’s talk about prep. This is the most important step for making sure your waves actually hold!
You want to start with damp hair-not soaking wet . After washing your hair, gently towel-dry it until it’s about 80% dry. This is the sweet spot for setting waves overnight. Next, apply a leave-in conditioner or a lightweight mousse. This will give your waves definition and help reduce frizz . For that extra beachy texture, a quick spritz of sea salt spray is a game-changer .
Method 1: The Classic Overnight Braids

This is the most common and easiest way to achieve mermaid waves. The beauty of braiding is that you can control exactly how tight or loose you want your waves to be .
Before bed, divide your damp, prepped hair into sections. For loose, flowing mermaid hair, two braids are perfect . If you want tighter, more defined texture, go for four or more braids . Braid each section loosely and secure with a soft hair tie to prevent breakage .
In the morning, gently undo the braids and run your fingers through the waves. Avoid using a brush, as it can turn your beautiful waves into a frizzy mess .
Method 2: The Viral Robe Belt Curls
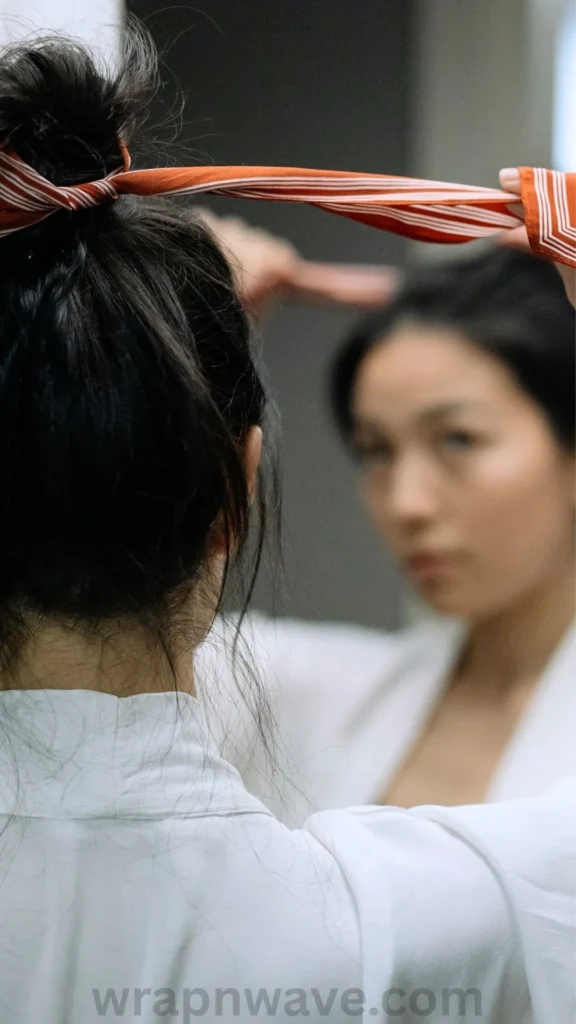
You’ve probably seen this all over TikTok, and for good reason-it works like magic on long hair! This heatless method uses the soft fabric of a bathrobe tie to shape your strands into beautiful spirals or relaxed waves . It’s perfect for long hair because it easily accommodates all that extra length .
Place the center of a long robe belt across the top of your head like a headband. Take small sections of hair from the front and wrap them over and under the belt, gradually adding more hair as you go (similar to a French braid technique) . Secure the ends and sleep on it! When you wake up, gently slide the belt out to reveal gorgeous, bouncy waves .
Method 3: The Twist & Pin (Rope Braid)
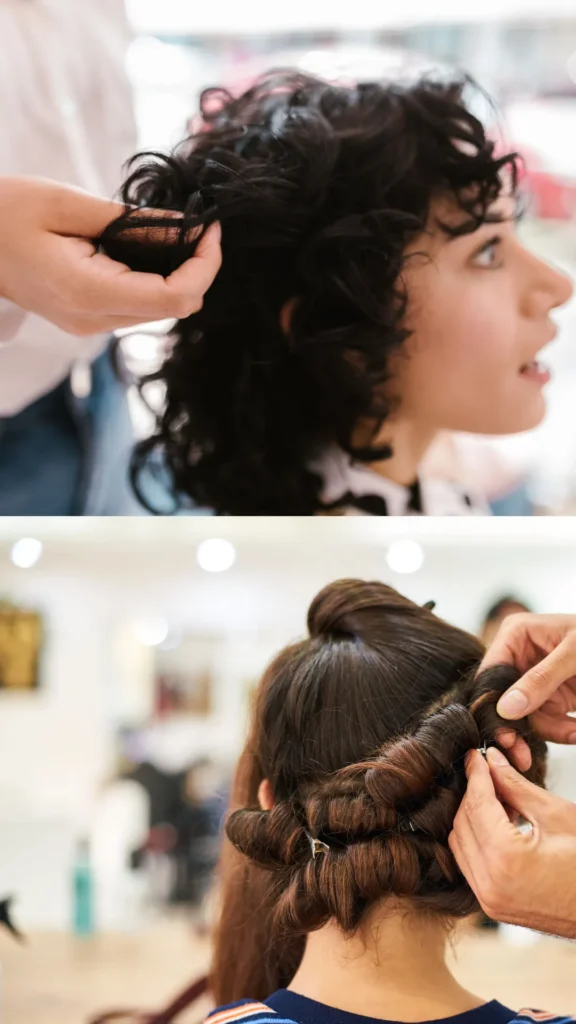
If you want a more defined, spiral-like wave, the rope twist method is for you. Divide your damp hair into two sections. Take one section and twist it tightly away from your face, then wrap it into a bun on top of your head and secure it with a scrunchie . Repeat on the other side.
A golden rule for this technique is to always twist towards your face to ensure the style stays intact overnight . In the morning, unravel the buns and gently separate the twists for beautiful, voluminous waves.
Method 4: The Sock Curls Hack

No robe belt? No problem! Sock curls are another classic, budget-friendly method for getting heatless waves . Using long tube socks, you can wrap sections of your damp hair around the sock, starting from the ends and rolling up to the roots.
For long, layered hair, this method is fantastic because it ensures all your different hair lengths are tucked securely into the curl . When you take them out in the morning, your layers will stack beautifully, creating a dense, multi-dimensional wave pattern .
Method 5: Flexi Rods & Soft Rollers

If you want extra volume at the root along with your waves, flexi rods are your best friend . These bendable rods are comfortable to sleep on and come in various sizes.
Choose a larger rod for a looser wave and a smaller rod for tighter curls. Section your damp hair, wrap it around the rod, and bend the ends to secure it in place . In the morning, carefully remove the rods and fluff your hair for that perfect mermaid volume.
Save-Worthy Tip: “To take your style to the next level, try a half-up crown braid! It adds an instant ‘mermaid princess’ vibe to your look” .
Morning After: How to Finish & Style

You’ve slept on your chosen style—now what? The key to stunning mermaid waves is in the finishing touches. Gently undo your braids, twists, or rods. Use your fingers or a wide-tooth comb to softly separate the curls for a more natural, tousled look .
To enhance your waves and reduce any frizz, add a few drops of hair oil or a lightweight texturizing spray for hold and shine . Don’t over-brush-embrace the texture! For another gorgeous heatless style that works beautifully with waves, check out this related article about 5 Ways to Achieve a Gorgeous Bob Hairstyle With Natural Waves – No Heat Styling (Overnight!).
Call to Action (CTA)
And there you have it! Now you know exactly how to get mermaid waves overnight on long hair with five different heatless methods.
Have you tried any of these techniques? Which one are you most excited to test out tonight? I’d love to hear about your results and any tips you have! Share your experience in the comments below and let’s talk all things beautiful, healthy hair. Don’t forget to save this guide for your next hair adventure!
Pin Description
Dreaming of effortless, beachy waves without the heat damage? 🌊 Learn exactly how to get mermaid waves overnight on long hair with these 5 easy heatless methods! Wake up to gorgeous, tousled hair every day. Save this pin for your next hair night! ✨ #MermaidWaves #HeatlessHair #OvernightWaves
you will like; The Ultimate Guide to Heatless Waves for Shoulder Length Hair (6 Easy Overnight Methods)

