
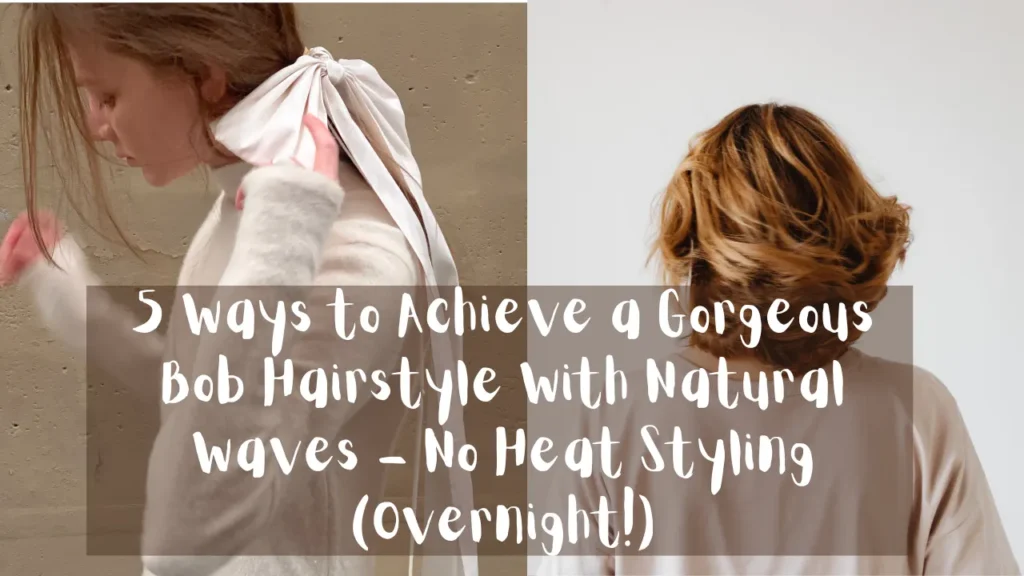
”Tired of heat damage? Learn how to get a beautiful Bob Hairstyle With Natural Waves – No Heat Styling needed. Discover 5 easy overnight methods for bouncy, healthy waves!”
The Struggle for Effortless Waves Is Real
You wake up, look in the mirror, and wish your bob had that perfect, effortless wave. You know the look-those soft, beachy bends that scream “I woke up like this.” But your reality? Flat ends and a serious lack of volume. It feels like your only option is to reach for a hot curling iron, but that leads to heat damage, split ends, and a vicious cycle.
The good news? A Bob Hairstyle With Natural Waves – No Heat Styling is not only possible; it’s surprisingly easy to achieve! In this guide, you’ll discover five foolproof, overnight methods that protect your hair from damage while delivering gorgeous, bouncy waves.
Let’s dive in and get you the healthy, wavy bob of your dreams.
Why Your Bob Is the Perfect Canvas for Heatless Waves
First, let’s celebrate your haircut! A bob is incredibly versatile, and its shorter length actually works with you when creating no-heat styles. Because there’s less weight pulling the hair down, waves hold their shape beautifully in a bob. You get a more defined bounce than you might on longer hair.
Plus, ditching heat tools is a game-changer for the health of your strands. Heatless styling prevents breakage, keeps your color vibrant for longer, and saves you precious time in the morning. It’s a win-win-win!
The Golden Rule: Start With Damp Hair

Before we jump into the methods, you need to know the single most important rule for any heatless style: start with damp, not soaking wet, hair.
If your hair is too wet, it won’t dry overnight, and you’ll wake up with limp, sad waves. If it’s too dry, the style won’t set. The sweet spot is about 70-80% dry. Spritz your hair with a little water from a spray bottle, and you’re ready to go.
Method 1: The Classic Robe Tie (For Soft, Beachy Waves)

This is one of the most popular and effective methods for a bob. It uses a simple bathrobe tie or a thick headband to create soft, flowing waves.
- Prep: Place a soft robe tie or thick headband across the top of your head like a crown, securing the ends with a clip if needed.
- Wrap: Take small sections of your damp hair and wrap them around the tie, starting from the front and working your way to the back. The key is to wrap the hair away from your face.
- Secure: Once all your hair is wrapped, tuck the ends under the tie or secure them with small silk scrunchies.
- Sleep: Leave this in overnight or for at least 4-6 hours. When you wake up, gently unravel and shake out your waves.
Pin-Worthy Tip: “For the most natural look, curl away from your face. This opens up your features and creates a modern, undone vibe.”
Method 2: Mini Braids or Twists (For Textured, Crushed Waves)

If you’re after a more textured, “crushed” wave or even a crimped look, small braids or two-strand twists are the way to go.
- Section: Part your damp hair into 4-6 even sections. The smaller the section, the tighter and more defined the wave.
- Braid/Twist: Braid or two-strand twist each section all the way to the ends. For a more natural look, don’t braid too tightly.
- Sleep: Let the braids dry completely overnight.
- Release: In the morning, gently undo the braids and finger-comb the waves. You can use a wide-tooth comb for a softer, more blended look.
Method 3: Silk Ribbon or Satin Rod (For Salon-Quality, Frizz-Free Curls)
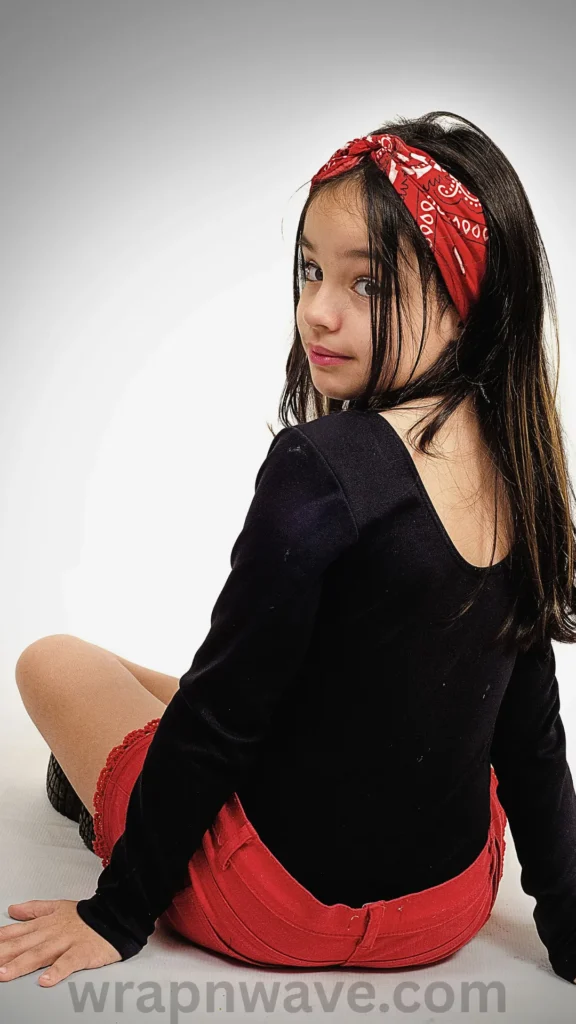
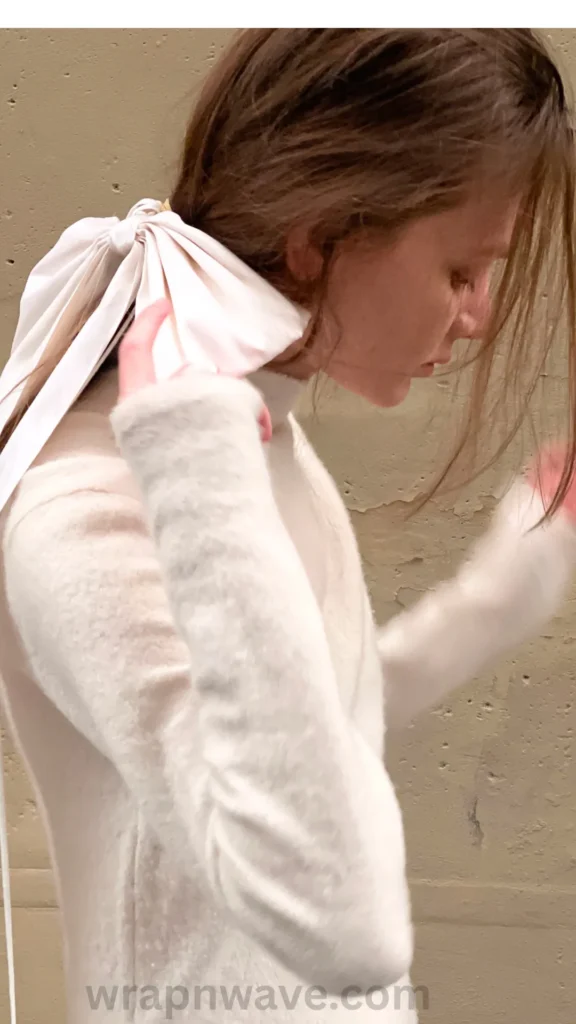
This method uses a silk or satin rod to create smooth, defined curls without the friction that causes frizz.
- Place: Place a long silk ribbon or satin heatless curling rod across the top of your head.
- Wrap: Taking small sections, wrap your hair around the rod, pulling it taut and tucking the ends securely underneath. For a bob, it’s often easier to wrap from the front to the back.
- Secure: Use the ribbon ends or a scrunchie to keep everything in place.
- Wake Up to Glossy Waves: In the morning, gently slide the rod out to reveal smooth, bouncy curls that look like you just left the salon.
Pin-Worthy Tip: “Using a silk or satin rod is a game-changer for bobs. It prevents the frizz that cotton can cause, leaving your waves glossy and smooth.”
Method 4: Pin Curls (For Defined, Bouncy Ringlets)
This vintage technique is perfect for creating tighter, more defined bouncy curls. It’s a great alternative if the robe tie gives you waves that are a little too loose.
- Section: Take a small section of damp hair.
- Coil: Finger-curl the section into a flat coil against your scalp.
- Pin: Secure the coil flat against your head with one or two bobby pins.
- Repeat: Repeat this process all over your head.
- Unpin: Sleep on it, and in the morning, gently unpin each curl. You can brush them out with a wide-tooth comb for softer waves, or leave them as defined ringlets.
Method 5: The Mini-Bun Method (For Big, Bouncy Volume)

This clever technique uses multiple small buns to create voluminous, bouncy waves with lots of body.
- Section: Divide your damp hair into 5-7 small sections.
- Twist and Bun: Twist each section and coil it into a small bun, securing the ends with a soft hair tie.
- Sleep: Let this set overnight for at least 8 hours.
- Release: Let your hair out in the morning and gently run your fingers through to shape the waves. Spritz with a light hairspray for hold.
Pin-Worthy Tip: “The number of buns matters! For a wavy bob, aim for 5-7 buns. More buns mean tighter curls, fewer buns mean looser waves.”
Products That Make a Difference
While you don’t need heat, a few products can elevate your Bob Hairstyle With Natural Waves – No Heat Styling game. A light styling mousse or curl-enhancing cream adds grip and helps the waves hold their shape. For fine hair, a volumizing spray can work wonders. And if you want to explore even more methods, check out [https://wrapnwave.com/the-ultimate-guide-to-heatless-waves-for-shoulder-length-hair-6-easy-overnight-methods/: The Ultimate Guide to Heatless Waves for Shoulder Length Hair (6 Easy Overnight Methods)] for more inspiration.
How to Make Your Heatless Waves Last All Day
So you’ve created the perfect waves—how do you keep them from falling flat?
- Don’t Touch: This is the hardest part! Once you release your waves, resist the urge to run your fingers through them constantly. Let them set.
- Finger-Comb, Don’t Brush: Instead of a brush, use your fingers or a wide-tooth comb to gently separate the waves.
- Use a Finishing Spray: A light-hold hairspray or a texturizing sea salt spray will help your waves last longer and add a beautiful, piecey texture.
Your Wavy Bob Awaits
There you have it! You now have five powerful, damage-free methods to achieve a stunning Bob Hairstyle With Natural Waves – No Heat Styling.
Forget the hot tools and embrace a healthier, more effortless routine. Your hair will thank you, and you’ll save so much time in the morning.
Which method are you most excited to try? Share your favorite no-heat wave technique in the comments below and let us know how it turned out! We’d love to hear your tips and tricks.
Pin Description
Love your bob but want effortless waves without the heat damage? ✨ Discover 5 easy overnight methods for a gorgeous Bob Hairstyle With Natural Waves –No Heat Styling. Save this pin for healthy, bouncy hair inspo! #HeatlessWaves #BobHairstyle #NoHeatStyling

