
”Want gorgeous waves without the heat damage? Learn exactly How to Use a Headband for Heatless Overnight Waves with this step-by-step tutorial. Wake up to perfect curls!”
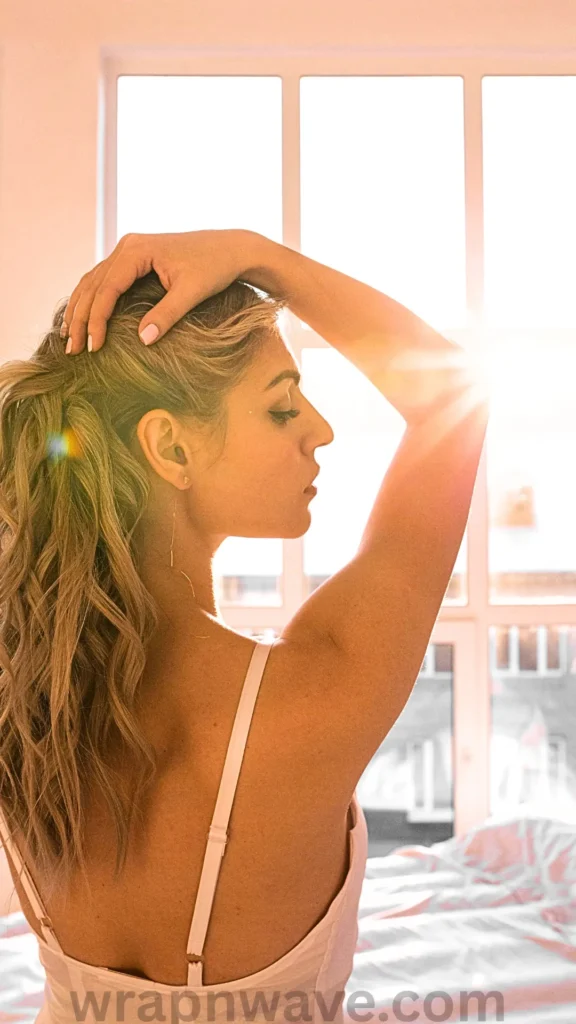
Have you ever stared at your reflection after a long day, wishing your hair could look as effortless as it did after a day at the beach? You’re not alone. We all want that perfect, tousled wave without the damage, frizz, and time commitment that comes with hot tools. The secret is simpler than you think. Learning how to use a headband for heatless overnight waves is the ultimate hack that is taking the beauty world by storm. It’s a foolproof way to wake up with salon-worthy hair. In this guide, we’ll walk you through everything you need to know to get perfect heatless waves while you sleep. Get ready to ditch the curling iron for good!
Why You Need to Ditch the Heat and Try This Method
If you love your hair, it’s time to give it a break. We all know that daily heat styling can lead to dryness, split ends, and breakage. The heatless curling headband offers a brilliant alternative. It allows you to style your hair overnight, saving you precious time in the morning.
The benefits are massive: You protect your hair from heat damage, retain natural moisture for shinier locks, and wake up ready to go. It’s a damage-free hair styling solution that is comfortable enough to sleep in. Plus, it works for all hair types! Whether you have fine, thick, straight, or curly hair, this method can give you beautiful, bouncy waves.
Pin-Worthy Tip: “The best hairstyle is the one that requires zero effort while you sleep. Let your headband do the work!”
What You’ll Need for the Perfect Overnight Waves
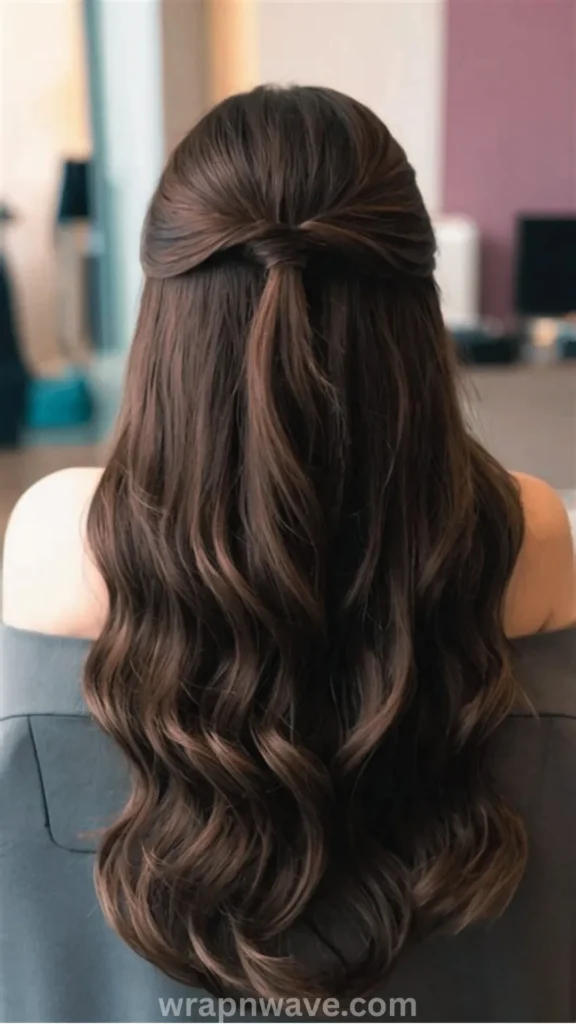
Before you start, make sure you have a few simple tools on hand. The beauty of this method is that you likely already have these items at home.
- A Headband: The best option is a soft, satin or silk heatless curling rod headband. However, a wide, stretchy fabric headband or even a soft robe tie works wonders.
- A Spray Bottle: For lightly dampening your hair. You can add a bit of water for better hold.
- Hair Ties or Scrunchies: To secure the ends of your hair after wrapping.
- Hair Products (Optional): A lightweight leave-in conditioner, curl cream, or mousse to enhance hold and reduce frizz.
- A Silk or Satin Bonnet (Optional): This is a game-changer for minimizing frizz and keeping everything secure while you toss and turn.
Using a satin curling headband is a great choice because the smooth fabric reduces friction, which means less frizz and breakage for you.
Step-by-Step: How to Use a Headband for Heatless Overnight Waves
Now for the main event! Follow these simple steps to get gorgeous curls by morning.
Step 1: Prep Your Hair for Success
This is the most crucial step. You want your hair to be slightly damp-not soaking wet, not bone dry. About 70-80% dry is perfect. You can achieve this by washing your hair and letting it air dry for a bit, or by misting dry hair with water from a spray bottle. Apply a dime-sized amount of your favorite leave-in conditioner or a light mousse to help define your waves and control frizz.
Step 2: Position Your Headband Like a Crown
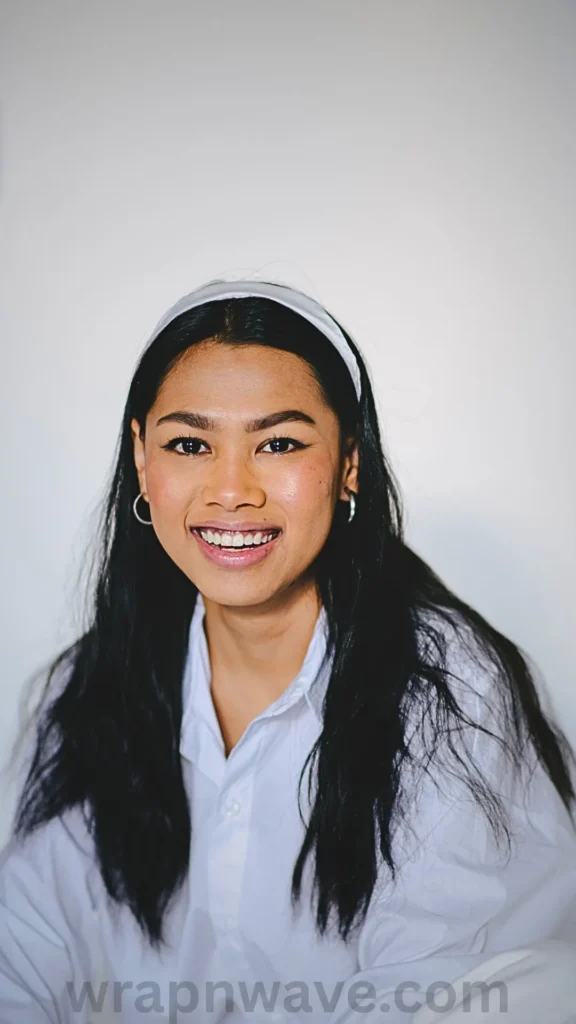
Place the headband on top of your head like a crown, with the center of the rod lined up with the top center of your head. It should be closer to your face than the back of your head. The two ends should hang down evenly on both sides, framing your face. If your hair is slippery, you can secure the top of the headband with a bobby pin or a small claw clip to prevent it from sliding.
Step 3: The Wrapping Technique (This is Key!)
Starting on one side, take a small section of hair from the very front of your head, near your face. Wrap this section away from your face, over the headband, and then under it. Now, take another small section of hair from just behind the first one, combine it with the hair you just wrapped, and wrap both sections together over and under the headband again.
Continue this process, adding a new small section of hair each time, similar to how you would French braid. Work your way down until you’ve incorporated all the hair on that side of your head. Once all your hair is wrapped around the headband, continue twisting the remaining tail of hair around it until you reach the end, then secure it with a scrunchie. Repeat the exact same wrapping technique on the other side of your head.
Step 4: Secure, Sleep, and Let the Magic Happen
Make sure both sides are wrapped securely but not too tightly, as comfort is key for sleeping. Now, it’s time to let the headband work its magic. Leave your hair wrapped for at least 4-6 hours, but ideally, you should leave it in overnight. The longer you leave it in, the more defined your waves will be. If you’re worried about frizz, put on a silk or satin bonnet to protect your hair while you sleep.
Pin-Worthy Tip: “For the most defined, long-lasting curls, let your hair dry completely while it’s wrapped. Patience is the secret ingredient!”
Step 5: The Big Reveal – Unwrapping Your Waves
In the morning, gently remove the scrunchies and carefully unwrap your hair from the headband. Resist the urge to brush it! Brushing will ruin the wave pattern and create frizz. Instead, gently run your fingers through your hair to separate the curls for a softer, more voluminous look. If you prefer more definition, you can leave them as is. Finish with a light spritz of flexible-hold hairspray to lock in your beautiful heatless waves.
Pro Tips for the Best Results
Want to take your heatless waves to the next level? Here are some expert tips.
- Don’t Over-Wet: Your hair should only be slightly damp. Too much water means it won’t dry overnight, and you’ll wake up with limp waves.
- Use the Right Products: A lightweight mousse or curl cream can make a huge difference in the hold and longevity of your waves.
- Push It Up: Before you go to sleep, push the headband up off your forehead. This prevents a weird crease or mark on your brow in the morning.
- Texture is Your Friend: For that perfect beachy look, finish with a texturizing spray or sea salt spray. It adds grit and volume that makes your waves look effortlessly chic.
For more heatless styling inspiration, check out this related article about Braids to Waves Overnight – The Heatless Hack: How to Wake Up With Perfect Beachy Waves (Even If You Have Zero Styling Skills!). It’s another fantastic way to achieve stunning waves without any heat!
Your New Favorite Bedtime Routine
Learning how to use a headband for heatless overnight waves is a total game-changer. It’s one of the easiest, most effective ways to style your hair without causing any damage. You get to wake up with beautiful, bouncy waves that look like you spent hours on them.
So, what are you waiting for? Grab a headband, prep your hair, and give it a try tonight. You’ll wake up feeling like you just stepped out of a salon, and your hair will thank you for the break from heat. It’s the lazy girl’s secret to gorgeous hair, and now it’s yours too!
CTA: Have you tried the headband method for overnight waves? I’d love to hear about your results! Drop a comment below and tell me how it went, or share your favorite tip for getting perfect heatless curls. Let’s chat!
Pin Description:
Wake up to perfect waves without the heat damage! 😴✨ Learn exactly How to Use a Headband for Heatless Overnight Waves with this easy step-by-step tutorial. Say goodbye to frizz and hello to gorgeous, bouncy curls! Save this pin for your next hair night! 💁♀️ #HeatlessCurls #OvernightWaves #HairHacks