
”Want heatless beach waves without the damage? This Bun Method for Heatless Beach Waves – Tutorial shows you exactly how to get perfect, tousled waves overnight. No heat required!”
What Exactly is the Bun Method for Heatless Waves?
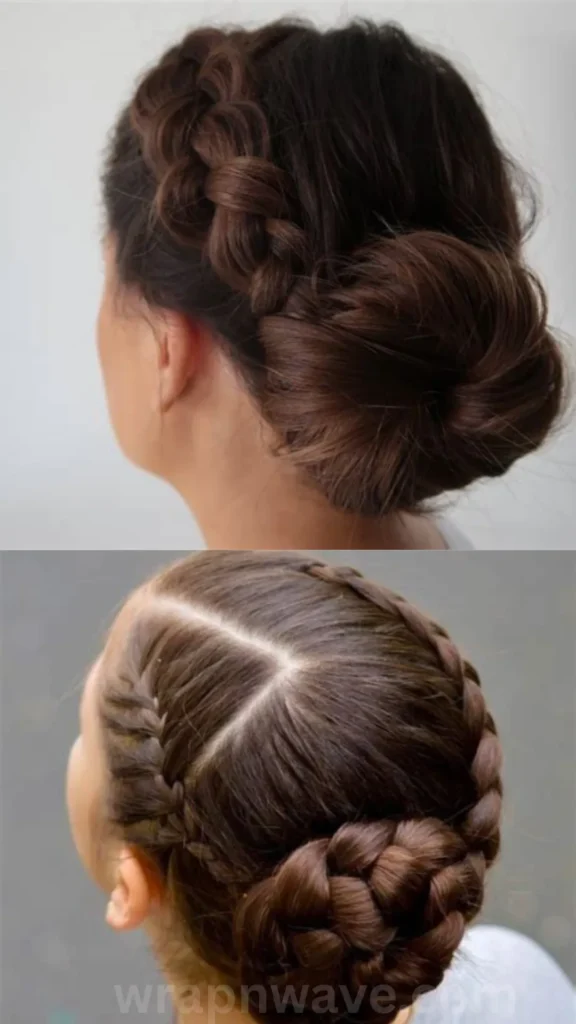
Let’s get this straight-this isn’t just throwing your hair into a messy topknot and hoping for the best. The bun method for heatless waves is a specific technique where you twist and coil your hair into one or more buns while it’s damp, leaving it to dry and set in that coiled shape. Think of it like winding up an old clock. By wrapping your hair around itself, you train the strands to hold a gentle wave pattern without any heat damage. It’s basically the ultimate “lazy girl” hack, and honestly, the best part of this heatless beach waves tutorial is that you can do it while you sleep or while you’re binge-watching your favorite show. It’s a total game-changer for anyone who wants to look put-together with zero effort. This is the secret to waking up looking like you spent a week in Malibu.
Why Choose Heatless Waves? (Say Goodbye to Heat Damage)
We all love the look of beachy waves, but the path to getting them often involves a lot of heat. Over time, flat irons and curling wands can leave your hair feeling like a piece of toasted parchment. Choosing the heatless route gives your hair a much-needed break. This style is not only easy to maintain, but it also adds incredible volume. The “S” shape of a beach wave instantly gives the appearance of thicker, fuller hair because each section sits on top of the previous one. Plus, there’s no need for a ton of maintenance; you can easily shake your hair out and look amazing. As hairstylist Scott Fabian notes, finding the right heatless method is ideal for your hair’s health. This method is particularly great for fine hair, as it creates texture without weighing it down.
The Ultimate Step-by-Step Bun Method Tutorial
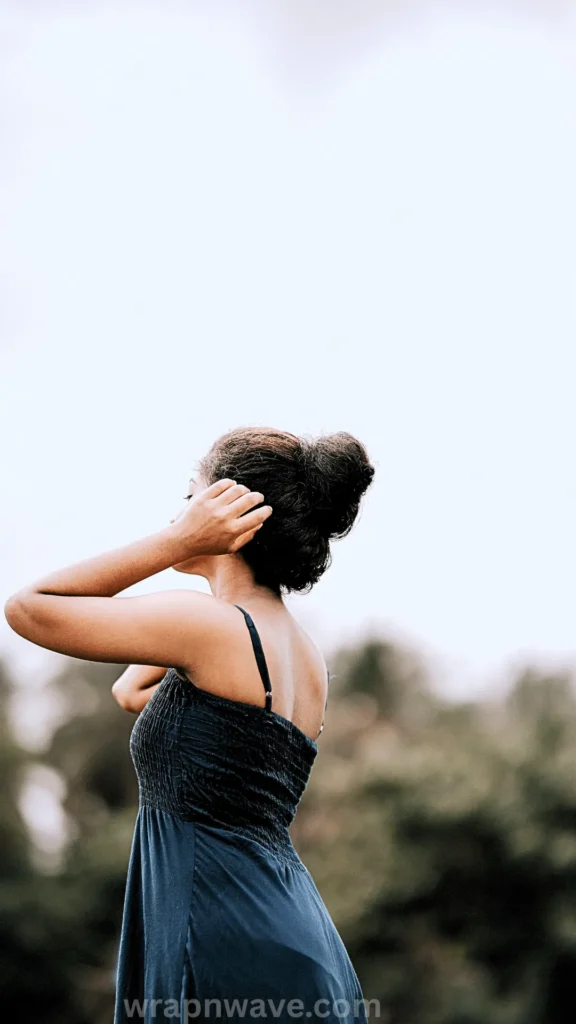
Ready to get started? This part is super easy. I’m going to break it down into simple steps so you can follow along even if you’ve never styled your hair before.
- Step 1: Start with the Right Prep. The key to successful twisted bun waves is starting with hair that is slightly damp, not soaking wet. Aim for about 70-80% dry. You can either wash your hair and let it air dry a bit, or simply use a spray bottle to mist your hair evenly. If your hair is too wet, it won’t dry overnight and your waves will fall flat.
- Step 2: Add Product for Hold. Apply a small amount of texturizing balm, mousse, or a light leave-in conditioner. This is especially important if you have super straight, fine hair, as it helps the twists hold their shape while they dry. For thicker hair, a stronger hold product might work better to define your waves.
- Step 3: Section and Twist. Part your hair down the middle and secure one side out of the way. Starting with the other side, take a small section of hair from the crown and twist it tightly. Keep twisting and grabbing more pieces of hair as you go down towards your neck—similar to how you would French braid. You should end up with a twisted pigtail on one side.
- Step 4: Form Your Buns. Now, take that twisted pigtail and wrap it into a tight bun, securing it with a hair tie or scrunchie. A silk scrunchie is great because it won’t leave dents in your hair. Repeat the process on the other side. You can also create smaller buns all over your head if you want tighter waves.
- Step 5: Sleep and Unwrap. Leave the buns in overnight or for at least a few hours. In the morning, gently unwrap your hair. Don’t brush it aggressively; instead, use your fingers to softly separate the waves. Finish with a spritz of hairspray or texture spray for extra hold and volume.
Pro Tips for Perfecting Your Overnight Waves
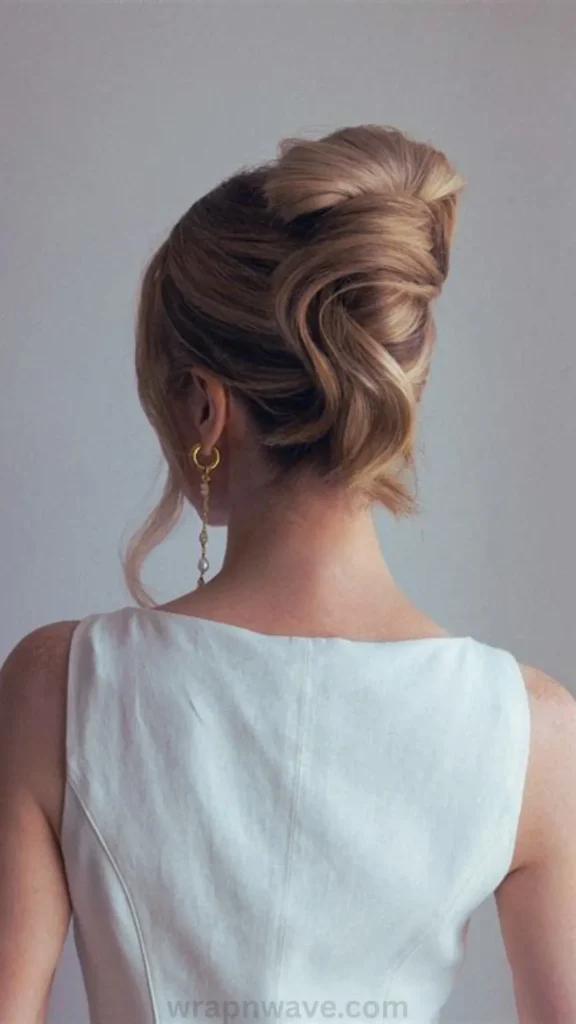
This heatless beach waves tutorial is simple, but here are a few secrets to take your results from good to “OMG, where did you get your hair done?”
- Don’t Twist Too Tightly. If your buns are too tight, you might end up with a headache or kinks in your hair rather than soft waves. It should feel secure but comfortable.
- Vary Your Section Sizes. Grabbing different sized chunks of hair when you twist will create more natural-looking, varied waves. It mimics the natural texture of beach hair better than uniform sections.
- Focus on the Back. Make sure you get the hair at the nape of your neck and the crown of your head into the twists. It’s easy to miss these spots and end up with flat hair underneath!
- Experiment for Your Hair Type. If you have fine hair, you might want to try the low twisted bun method that celebrity stylist Joseph Maine recommends for a dent-free look. If you have thick hair, creating two to four buns will be more effective.
Customizing Your Bun Waves for Different Looks
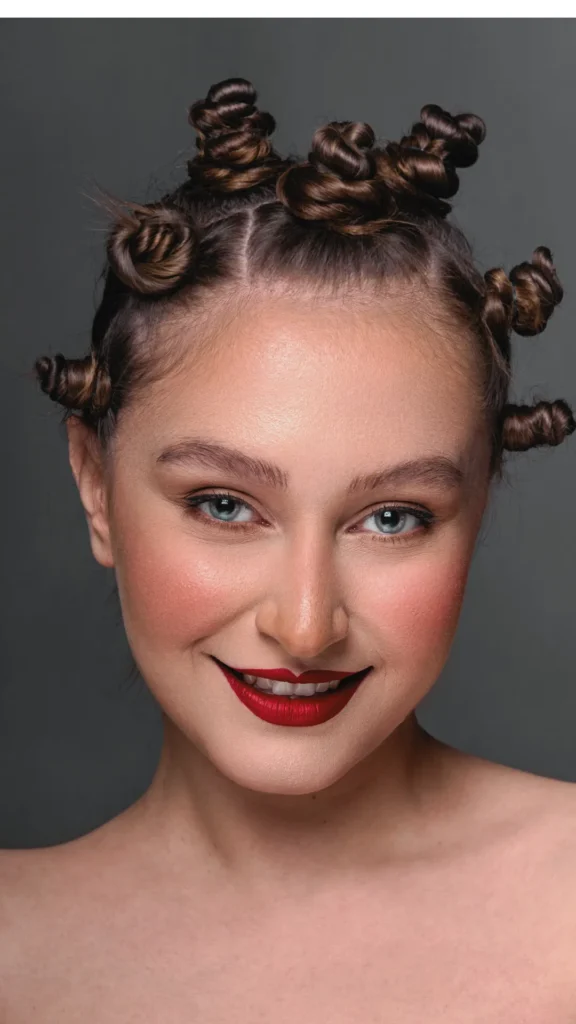
One of the best things about the bun method is its versatility. You aren’t stuck with just one style.
- For Loose, Tousled Waves: Create one or two large, loose buns. This will give you that classic, effortless beach wave that looks like you just stepped off the sand.
- For Tighter, More Defined Curls: Create multiple smaller buns all over your head. The smaller the bun, the tighter the wave will be. This is also a great way to add major volume.
- For Volume at the Roots: Try the “messy ballerina” method and place a high, loose bun right on the top of your head before you go to sleep. This gives you incredible lift at the crown when you wake up.
Common Mistakes to Avoid When Using the Bun Method
Even with a great tutorial, a few things can go wrong. Here’s what to watch out for so you don’t end up with a hair disaster.
- The “Wet Hair” Trap: Do not start with dripping wet hair. It won’t dry overnight, and you’ll wake up with damp, limp waves. Always squeeze out excess water or air dry first.
- The “One Braid” Myth: A singular braid often creates waves that look too contrived and stiff. The beauty of the overnight waves bun method is that it creates more movement because of the multiple twists.
- The “Brush It Out” Mistake: Never brush out your waves with a bristle brush right after taking them down. It will turn your beautiful waves into a frizzy mess. Use your fingers or a wide-tooth comb to gently separate them.
How to Make Your Heatless Waves Last All Day
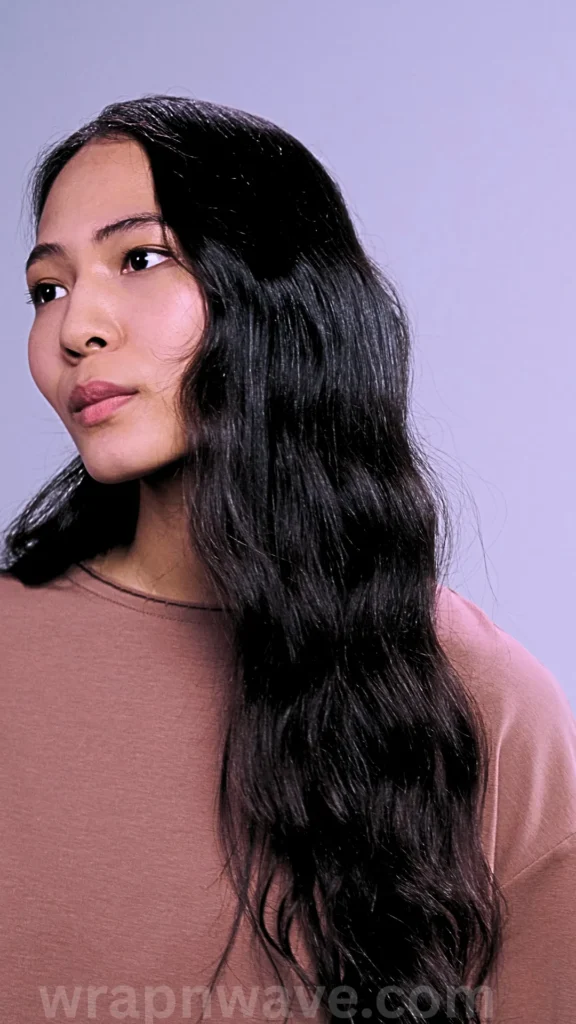
You’ve put in the work, so you want your gorgeous waves to last! Here’s how to lock them in.
- Use a Texturizing Spray: A sea salt spray or texture spray is your best friend. It adds grip and helps the waves hold their shape throughout the day.
- Don’t Over-Touch: It’s tempting to run your fingers through your hair constantly, but this will only pull out the waves and make your hair look stringy. Set it and forget it!
- Refresh with Water: If your waves start to fall flat, lightly mist your hair with water and scrunch the waves back in. The water will reactivate any product you have in your hair and revive the curl.
- Silk Pillowcases are a Game Changer: Sleeping on a silk or satin pillowcase reduces friction, which means less frizz and longer-lasting waves, even on day two or three.
Internal Link Opportunity: [https://wrapnwave.com/how-to-use-a-headband-for-heatless-overnight-waves-the-lazy-girls-guide-to-waking-up-with-perfect-beachy-curls/: related article about How to Use a Headband for Heatless Overnight Waves: The Lazy Girl’s Guide to Waking Up with Perfect Beachy Curls]
Call to Action (CTA)
And there you have it-your ultimate guide to the Bun Method for Heatless Beach Waves! It’s easy, it’s damage-free, and it gives you salon-worthy results while you sleep. Now it’s your turn! I want to hear from you. Have you tried this method before? What’s your favorite way to get heatless waves? Drop a comment below and let me know how it turned out for you! Don’t forget to save this pin so you can come back to it anytime you need a hair refresh.
Pin Description
Get perfect heatless beach waves with this easy bun method tutorial! 🌊 No heat, no damage, just gorgeous overnight waves. Save this pin for your next lazy hair day! #HeatlessWaves #BeachWaves #HairTutorial #HeatlessHair #OvernightWaves
