

”Tired of waves that fall flat? Discover how to get heatless beach waves for short hair that actually hold overnight. 7 damage-free methods for gorgeous, lasting texture.”
You’ve probably been there. You spend 20 minutes with a curling iron, only to have your perfect beach waves fall flat within an hour. It’s frustrating, right? For those of us with shorter hair, getting that effortless, tousled lookand making it stay-can feel impossible. But here’s the good news: heatless beach waves for short hair that actually hold are not only possible, they’re easier than you think.
I’m going to show you exactly how to get gorgeous, damage-free waves that last all day. No heat tools. No crispy, fried ends. Just soft, touchable texture that looks like you stepped off the beach. Ready to ditch the curling iron for good? Let’s dive in.
Why Heatless Waves Are a Game-Changer for Short Hair
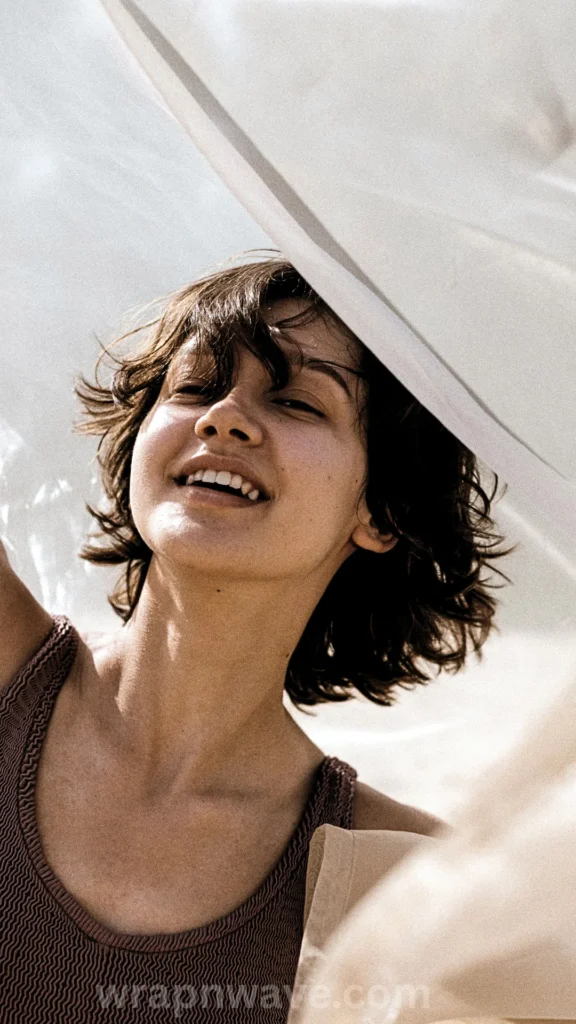
Let’s be real-short hair is fabulous, but it can be tricky to style. Heat tools often leave it dry, brittle, and prone to breakage . Going heatless isn’t just about saving your strands; it’s about achieving a more natural, relaxed look that actually holds better.
Here’s why heatless methods work so well for short hair:
- They retain moisture, so your waves look healthy and shiny, not fried.
- They reduce frizz caused by hot air and styling tools .
- They often last longer than heat-styled curls because the wave sets as your hair dries naturally .
- They’re convenient-you can do them overnight and wake up with ready-to-go hair.
Pin-worthy tip: The secret to heatless waves that hold is starting with damp hair and the right products. Dry hair won’t hold a wave, and soaking wet hair takes forever to dry.
Prep Like a Pro: The Foundation for Waves That Last
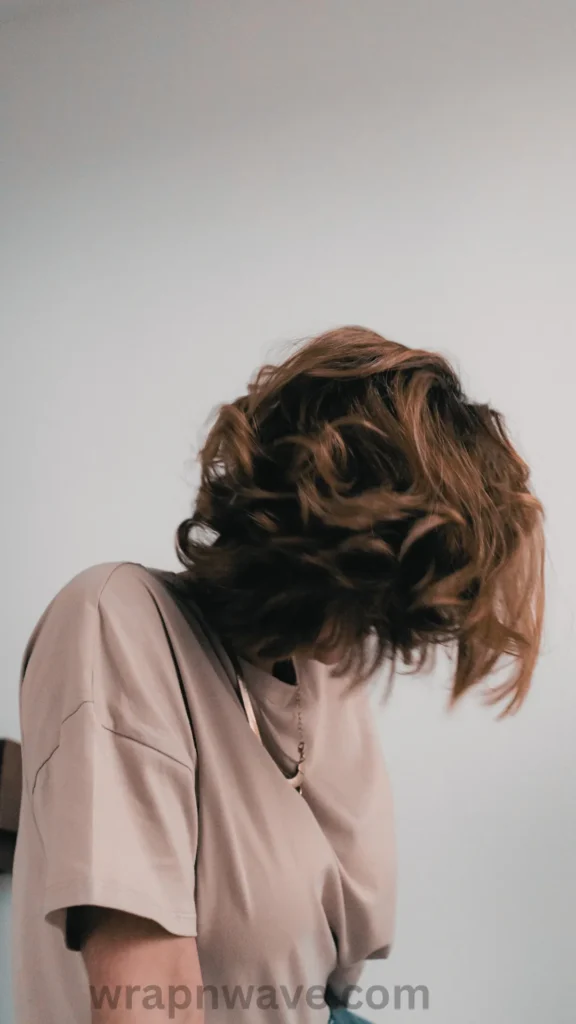
Before you even think about twisting or braiding, you need to set yourself up for success. Preparation is everything when it comes to heatless beach waves for short hair that actually hold .
Here’s your pre-styling checklist:
- Start with clean, damp hair. Wash and condition as usual, then towel-dry gently. Your hair should be damp-not dripping wet.
- Apply a lightweight styling product. Mousse or sea salt spray are your best friends here. They add grip and texture, giving the wave something to cling to. Look for lightweight formulas that won’t weigh your short hair down .
- Detangle with a wide-tooth comb. This prevents breakage and ensures even product distribution .
- Skip heavy creams or oils-they’ll make your waves fall flat before they even form.
Pin-worthy tip: For fine hair, reach for a volumizing mousse. For thicker hair, a texturizing spray or gel works wonders .
Method #1: The Mini-Braid Technique (Subtle, Natural Waves)
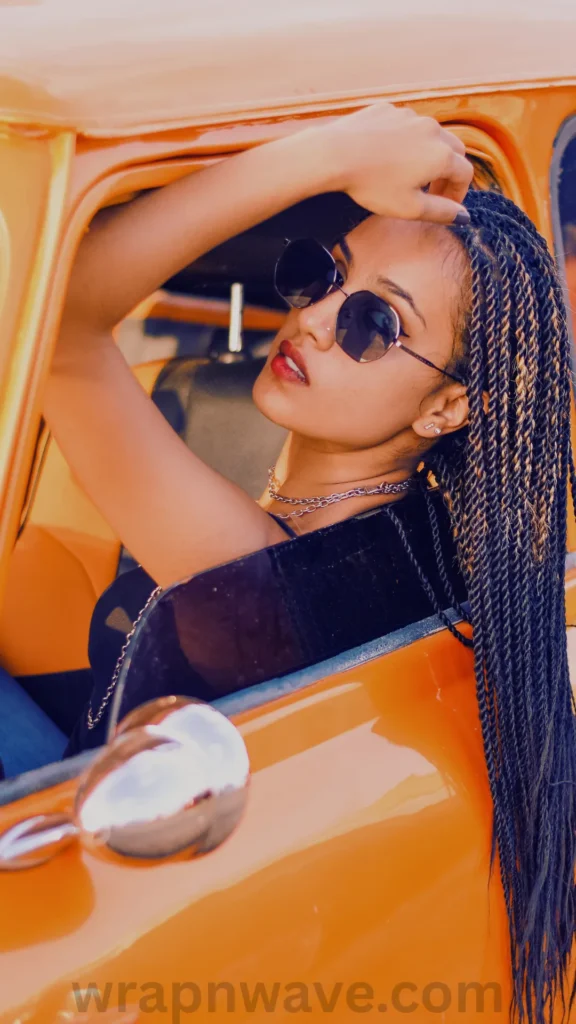
Braids are a classic for a reason. But for short hair, you need to adjust the technique. Instead of one or two big braids, create multiple small braids for tighter, more defined waves that actually hold .
How to do it:
- Divide your damp, product-coated hair into 4–6 small sections on each side of your head .
- Braid each section tightly, starting as close to the scalp as possible .
- Secure with small elastics.
- Leave the braids in overnight or for at least 6–8 hours .
- In the morning, gently undo the braids and separate the waves with your fingers .
Pin-worthy tip: The tighter the braid, the more defined the wave. For looser, beachier texture, use slightly larger sections.
Method #2: Twist-and-Pin for Sculpted, Romantic Waves
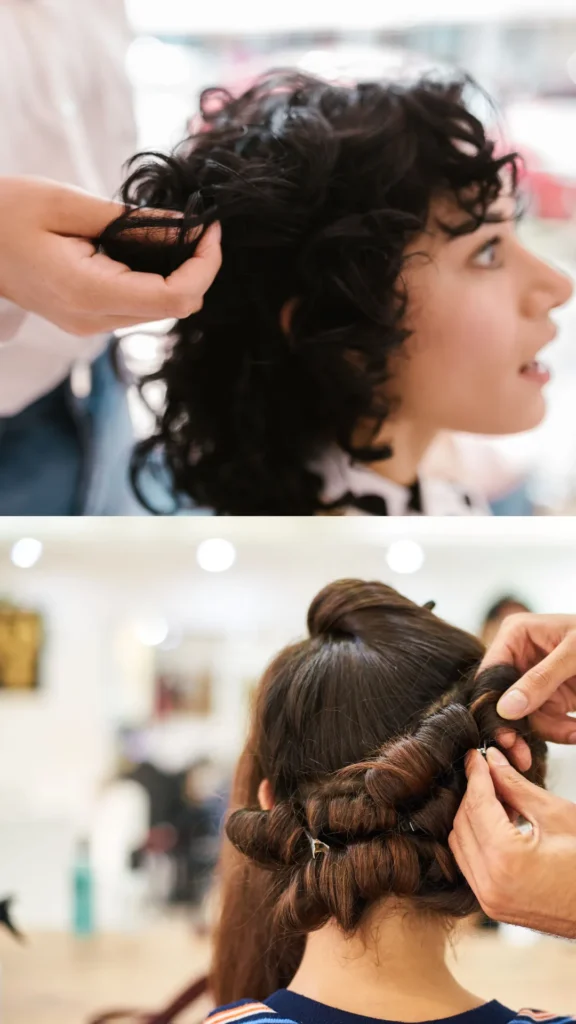
If you want something a little more polished than braids, the twist-and-pin method is your new go-to. It creates soft, romantic waves that look like you spent hours at the salon .
How to do it:
- Start with damp hair and a texturizing product.
- Divide your hair into small sections .
- Twist each section tightly, then coil it into a small bun against your scalp.
- Secure with bobby pins .
- Vary the size and direction of the twists for a more natural look.
- Leave in overnight, then gently untwist and separate with your fingers .
Pin-worthy tip: Smaller sections create tighter waves; larger sections create looser, more effortless texture.
Method #3: The Headband Wrap for Voluminous, Bouncy Waves
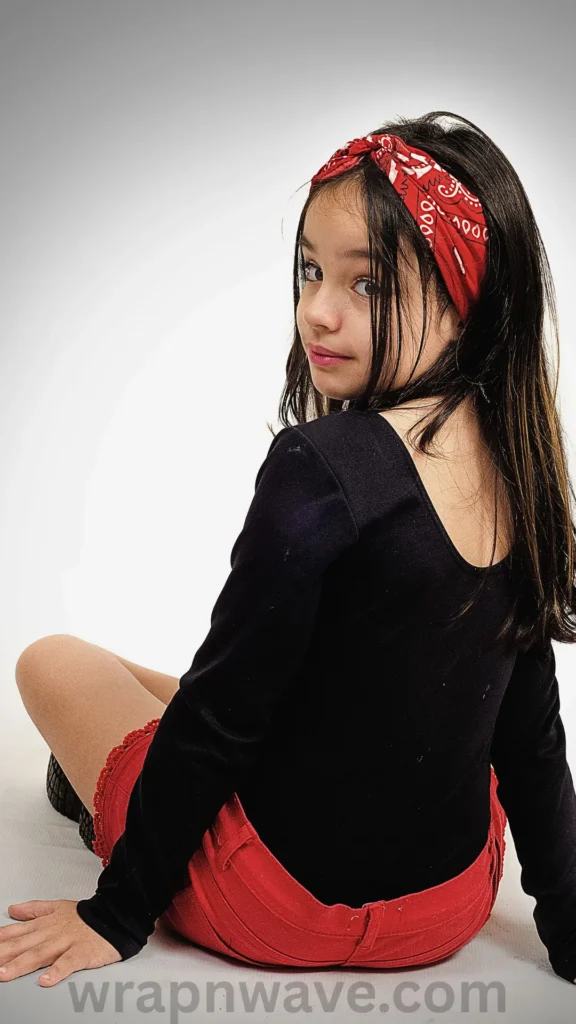
This method is a game-changer for adding volume, especially if you have fine or thin short hair . It creates soft, bouncy waves that look incredibly natural.
How to do it:
- Place a stretchy headband across your forehead and around the back of your head .
- Take small sections of hair and wrap them around the headband, tucking the ends under.
- Continue working your way around your head until all your hair is wrapped.
- Secure any loose ends with bobby pins .
- Leave in overnight, then carefully remove the headband and unravel your hair .
Pin-worthy tip: For the best results, make sure your hair is only slightly damp-not soaking wet-before wrapping .
Method #4: Flexi Rods and Foam Rollers for Defined, Long-Lasting Waves

If you want more control over the size and shape of your waves, flexi rods and foam rollers are your best bet. They’re especially great for short hair because you can choose smaller sizes that actually grip your strands .
How to do it:
- Dampen your hair and divide it into small sections .
- Wrap each section tightly around a flexi rod or foam roller, starting at the ends and rolling upward toward your scalp .
- Secure each rod in place.
- Leave in overnight or for at least several hours.
- Carefully remove and separate the waves with your fingers .
Pin-worthy tip: Smaller rollers = tighter waves. Larger rollers = looser, beachier texture . Mix them up for a more natural look!
Method #5: Scrunching with Product for Effortless, Everyday Texture
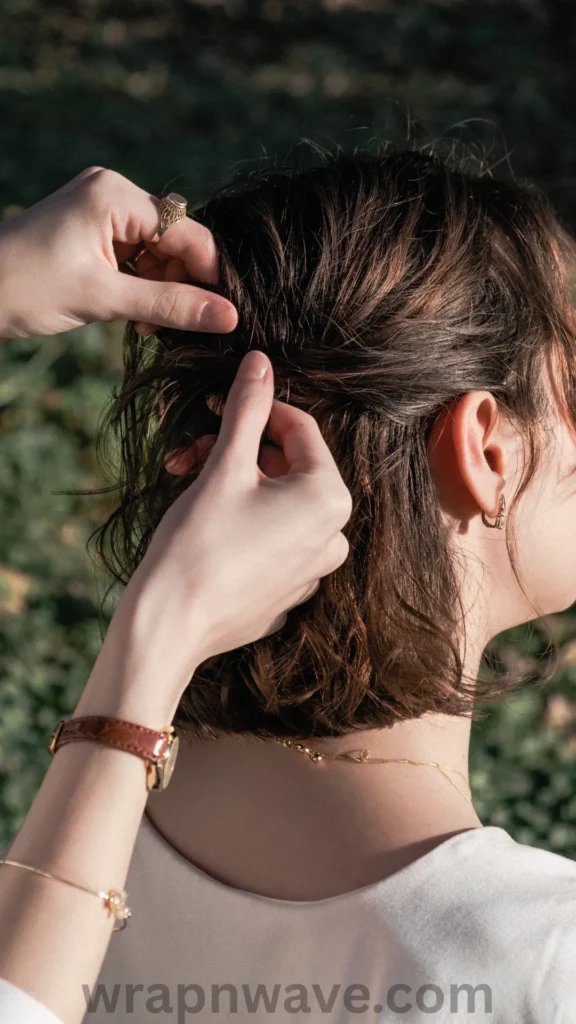
Short on time? Scrunching is the quickest way to enhance your natural texture and create effortless beach waves .
How to do it:
- Apply a generous amount of sea salt spray or mousse to damp hair.
- Flip your head upside down.
- Scrunch your hair upward from the ends toward the roots.
- Repeat several times until you see waves forming.
- Allow your hair to air dry completely .
- Fluff with your fingers for added volume.
Pin-worthy tip: For extra hold, scrunch in a lightweight gel before air-drying. Avoid touching your hair too much while it dries-this can cause frizz!
Pro Tips to Make Your Heatless Waves Actually Hold All Day
You’ve got the waves-now let’s make sure they stay. Here are my top secrets for heatless beach waves for short hair that actually hold from morning to night:
- Don’t brush your waves. Brushing disrupts the wave pattern and creates frizz. Use your fingers to separate and style .
- Finish with a light-hold hairspray to set the style without making it stiff or crunchy.
- Avoid touching your hair too much throughout the day. The more you play with it, the faster it falls.
- Refresh with dry shampoo on day two to absorb oil and revive your texture .
- Sleep on a silk or satin pillowcase to reduce friction and keep your waves intact overnight .
Pin-worthy tip: For an extra boost of hold, spritz a little sea salt spray onto your palms and gently scrunch your waves before you head out the door.
The Bottom Line: Beautiful Waves, Zero Damage
Achieving heatless beach waves for short hair that actually hold is totally doable-and it doesn’t require expensive tools or hours of your time. Whether you choose braids, twists, a headband, rollers, or simple scrunching, the key is prep, patience, and the right products.
Your hair will thank you for skipping the heat. And honestly? The compliments will be way better when you tell people you did it all without a single hot tool.
Ready to take your heatless wave game to the next level? Check out [https://wrapnwave.com/the-ultimate-heatless-beachy-waves-routine-7-overnight-methods-for-effortless-damage-free-waves/: related article about The Ultimate Heatless Beachy Waves Routine: 7 Overnight Methods for Effortless, Damage-Free Waves] for even more overnight techniques to add to your rotation.
Now it’s your turn! Which method are you excited to try first? Drop a comment below and let me know-I’d love to hear how your heatless waves turn out. And if you have any questions, ask away! I’m here to help you get the gorgeous, heat-free hair of your dreams. 💁♀️
Pin Description:
Tired of heat damage and flat waves? These 7 heatless methods give you gorgeous beach waves for short hair that actually hold-overnight! Save this for your next heat-free styling session. 🌊✨ #HeatlessWaves #ShortHairStyles #BeachWaves

