
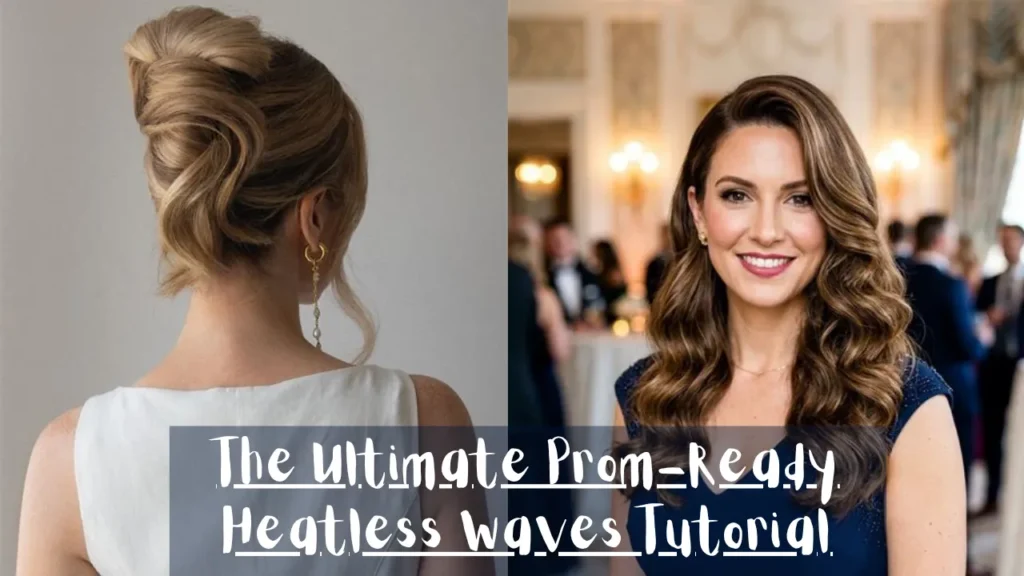
Master this Prom-Ready Heatless Waves Tutorial and wake up to gorgeous, damage-free curls. Discover 5 easy overnight methods for the perfect prom hair without heat!
Why Heatless Waves Are a Game-Changer for Prom Hair

Before we get into the how-to, let’s talk about why going heatless is the smartest choice for your prom hair.
Heat tools are damaging. Period. Curling irons and straighteners can reach temperatures of over 400°F, which strips your hair of its natural moisture, causes split ends, and leads to breakage over time. Your prom photos will last a lifetime—but damaged hair doesn’t have to.
Heatless methods protect your natural texture. When you skip the heat, you preserve your hair’s natural integrity. Your strands stay healthy, shiny, and strong.
You save time and stress. Instead of spending an hour wrestling with a curling iron on prom morning, you can do your prep the night before and wake up to ready-to-go waves. Talk about a win-win!
Save-worthy tip: Sleeping on a silk or satin pillowcase while using heatless methods reduces friction and frizz, giving you smoother, more polished results by morning.
Prep Like a Pro: Setting Your Hair Up for Success
The secret to perfect heatless waves isn’t just about the method-it’s about the prep work. Here’s how to set yourself up for success:
Start with damp, not wet hair. This is the #1 mistake most people make. Soaking wet hair won’t dry overnight and will leave you with a frizzy mess. Aim for about 70-80% dry-think towel-dried and air-dried for about 20-30 minutes.
Apply the right products. Since you’re skipping heat, you need something to help the shape hold. A lightweight mousse, curl-enhancing cream, or leave-in conditioner applied to damp hair can dramatically improve definition and staying power. Just don’t go overboard-too much product equals stiff, crunchy waves.
Detangle thoroughly. Use a wide-tooth comb to remove all knots before you start wrapping or braiding. Trust me, you don’t want to wake up to tangles!
Method #1: The Robe Tie Technique (Viral and Effective!)
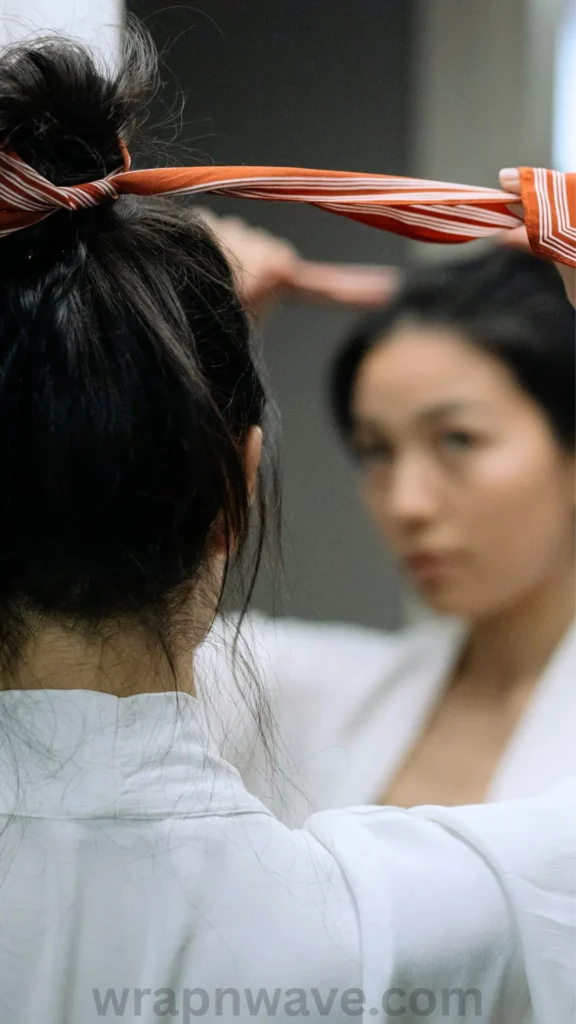
You’ve probably seen this one all over TikTok-and for good reason. The robe tie method creates stunning, bouncy waves that look like you just stepped out of a salon.
What you need: A soft robe tie, leggings, or a long piece of fabric.
How to do it:
- Lay the robe tie over your head like a headband, centered on your middle part.
- Part your hair into two sections and pin one side back.
- Starting with the loose section, wrap small pieces of hair around the robe tie, just like you would with a curling iron.
- Continue wrapping, adding more hair as you go, until all hair is wrapped together.
- Secure the ends with a scrunchie or hair tie.
- Repeat on the other side.
- Tie the two ends of the robe tie together around your head and go to sleep!
In the morning, carefully remove the tie and run your fingers through the waves for that effortless, prom-ready look.
Method #2: Overnight Braids for Effortless Beach Waves
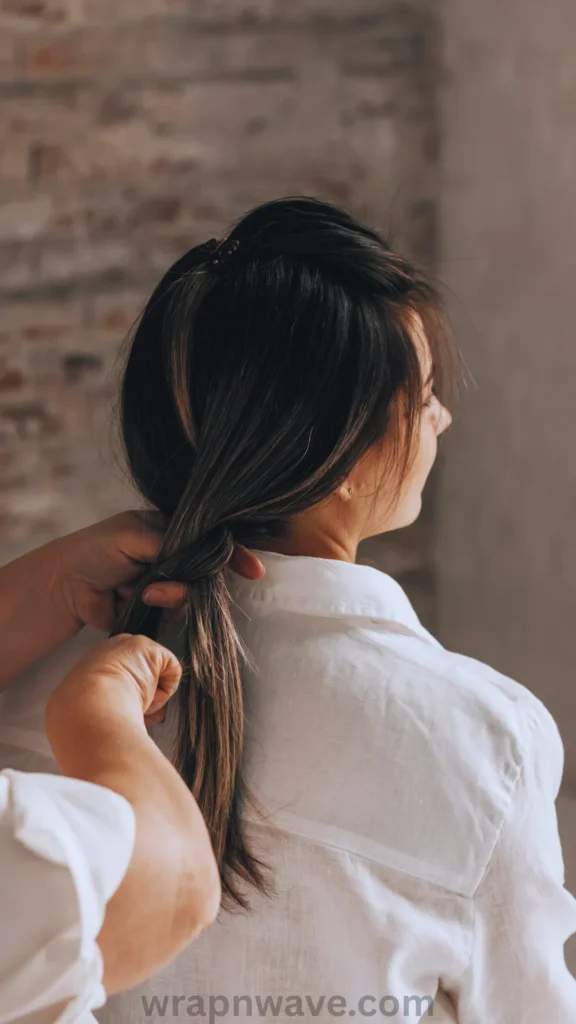
Braids are the OG heatless method, and they’re still one of the best ways to achieve those coveted beachy waves.
What you need: Just your hands and some hair ties!
How to do it:
- Apply a wave-enhancing cream to damp hair.
- Divide your hair into 2-4 sections (the more sections, the tighter the waves).
- Braid each section loosely. For smoother waves, try French braiding.
- Secure the ends with soft hair ties-avoid elastics that can cause creases.
- Sleep with the braids in and undo them in the morning.
Pro tip: One braid gives you loose, relaxed waves. Two braids create beachy, textured waves. Three or more braids? That’s mermaid-core territory!
Save-worthy tip: For tighter, more defined waves, use more braids with smaller sections. For loose, romantic waves, stick with 2-3 larger braids.
Method #3: Twist Buns for Voluminous, Bouncy Curls
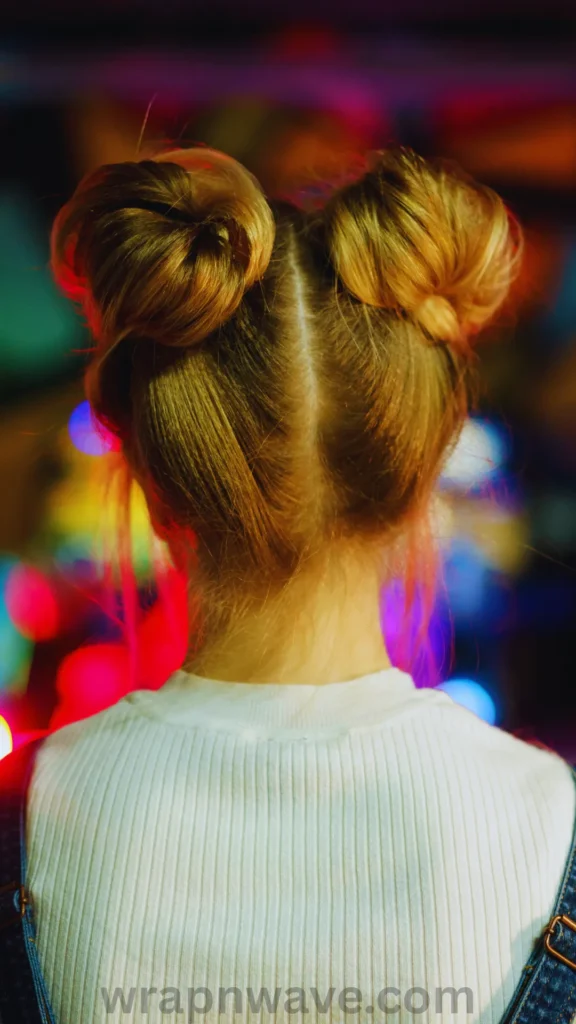
If you want serious volume and bounce, twist buns (also known as space buns) are your new best friend.
What you need: Soft scrunchies or hair ties.
How to do it:
- Section your damp hair into 2-4 parts.
- Twist each section tightly until it starts to coil in on itself.
- Wrap the twisted hair into a bun on top of your head.
- Secure with soft scrunchies (not elastic bands-they create kinks!).
- Repeat for each section and sleep on it.
When you wake up and release the buns, you’ll have voluminous, bouncy waves that are absolutely perfect for prom. This method works especially well if you want that “old Hollywood” glamour vibe.
Method #4: Sock Curls for Defined Ringlets
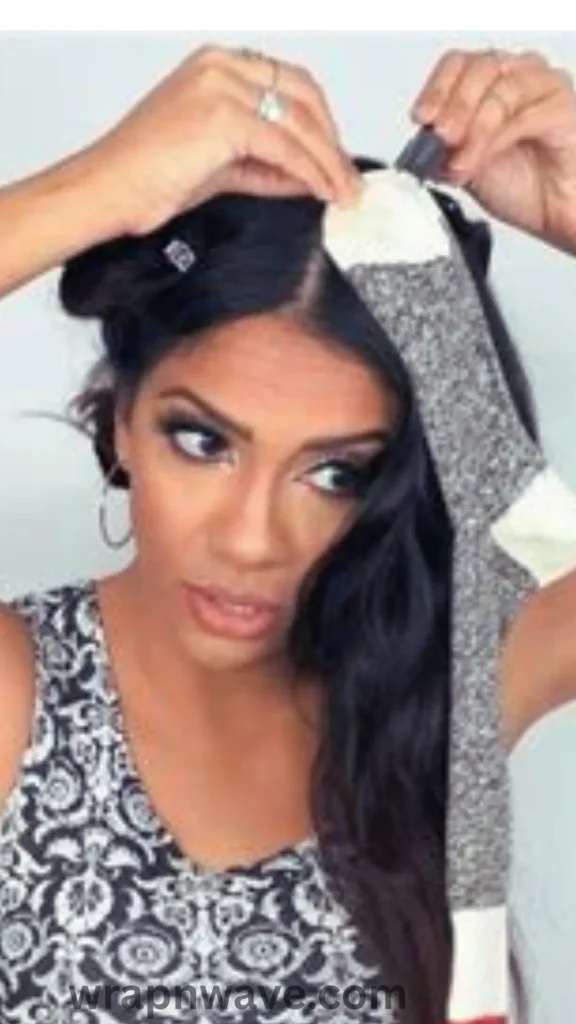
Don’t knock it till you try it! Sock curls create beautifully defined ringlets that add serious drama to your prom look.
What you need: Long tube socks (the longer, the better).
How to do it:
- Dampen your hair slightly and apply a curl cream.
- Take a section of hair and wrap it around the sock from the ends up to the roots.
- Secure with a scrunchie or by tying the sock ends together.
- Repeat for all sections and sleep on it.
In the morning, gently unravel each sock and separate the curls with your fingers. The result? Gorgeous, bouncy ringlets that scream prom queen!
Method #5: Flexi Rods for Salon-Quality Curls

For the most defined, structured curls, flexi rods are a game-changer.
What you need: Flexi rods or foam rollers (available at any drugstore).
How to do it:
- Section damp hair into small pieces (1-2 inches).
- Wrap each section around a flexi rod from the ends to the roots.
- Bend the rod to secure it in place.
- Sleep on it and remove in the morning.
Flexi rods create uniform, spiral-like curls that mimic the look of a curling iron-minus the damage. This method is ideal if you want your prom waves to have extra staying power throughout the night.
The Morning Reveal: How to Perfect Your Waves
You’ve slept with your heatless style, and now it’s time for the big reveal. Here’s how to make sure your prom waves look their absolute best:
Remove gently. Don’t rush or pull too hard-this creates frizz. Carefully undo braids, buns, or wraps.
Use your fingers, not a brush. A brush will destroy your waves and create frizz. Use your fingers or a wide-tooth comb to gently separate the curls.
Add finishing touches. A few drops of hair oil add shine and tame flyaways. A light-hold hairspray will keep your waves in place all night long.
Shake it out. Flip your head upside down and gently shake to add volume and movement.
Save-worthy tip: If some sections are too curly and others are too loose, don’t panic! Use a wide-tooth comb to blend everything together, then finger-curl any stubborn pieces.
How to Make Your Heatless Waves Last All Night
Prom is a long night-you want your waves to last from photos to the after-party! Here’s how to lock in your look:
- Use the right products. A lightweight mousse or setting spray applied to damp hair before styling improves hold dramatically.
- Let it set completely. Leave your heatless style in for at least 6-8 hours (overnight is best).
- Avoid touching. Once your waves are styled, resist the urge to constantly touch or play with them.
- Carry a mini hairspray. A travel-sized hairspray in your clutch is a prom lifesaver for touch-ups.
Your Prom Hair Is Just a Night Away!
There you have it-the ultimate Prom-Ready Heatless Waves Tutorial! With these five easy methods, you can wake up on prom morning with gorgeous, damage-free curls that will turn heads and photograph beautifully.
No more stressing about heat damage, no more rushed morning styling, and no more fried hair. Just you, your beautiful waves, and a prom night to remember.
Ready to try these heatless waves for your prom? Which method are you most excited to test out? Drop a comment below and let me know-I’d love to hear about your results! And don’t forget to save this tutorial to your Pinterest board so you can come back to it whenever you need gorgeous, heatless waves.
Happy styling, and have the most amazing prom night! 💫
you will like;5 Soft Overnight Waves for Medium Length Hair
Pin Description:
Wake up to gorgeous, damage-free curls with this Prom-Ready Heatless Waves Tutorial! ✨ 5 easy overnight methods for the perfect prom hair without heat. Save this for your prom prep! #HeatlessWaves #PromHair #HeatlessCurls #PromReady #NoHeatStyling

