
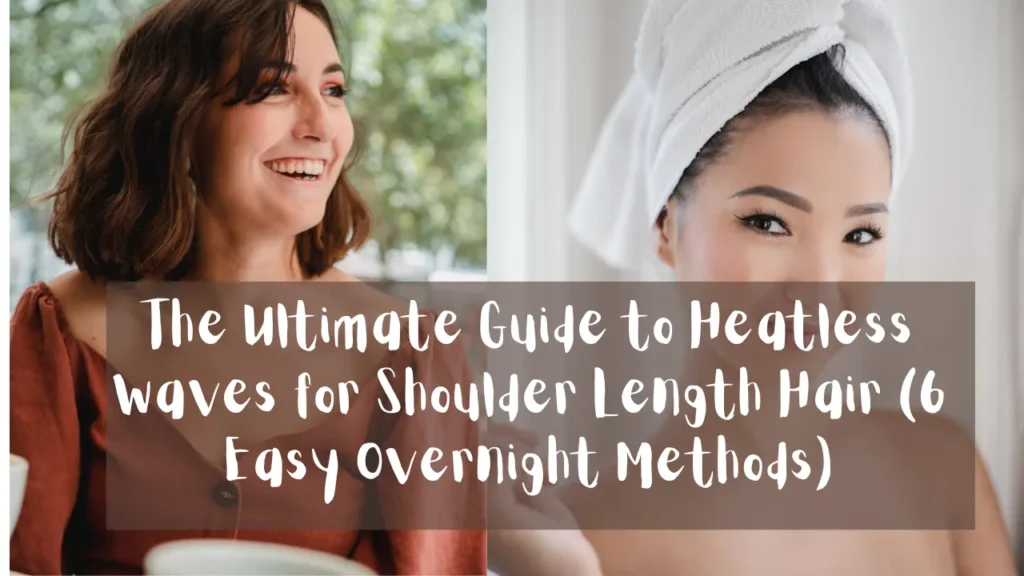
”Discover 6 foolproof methods to create stunning Heatless Waves for Shoulder Length Hair. No heat damage, just gorgeous, bouncy waves while you sleep!”
1. The Modified Overnight Braid: Perfect for Shorter Lengths
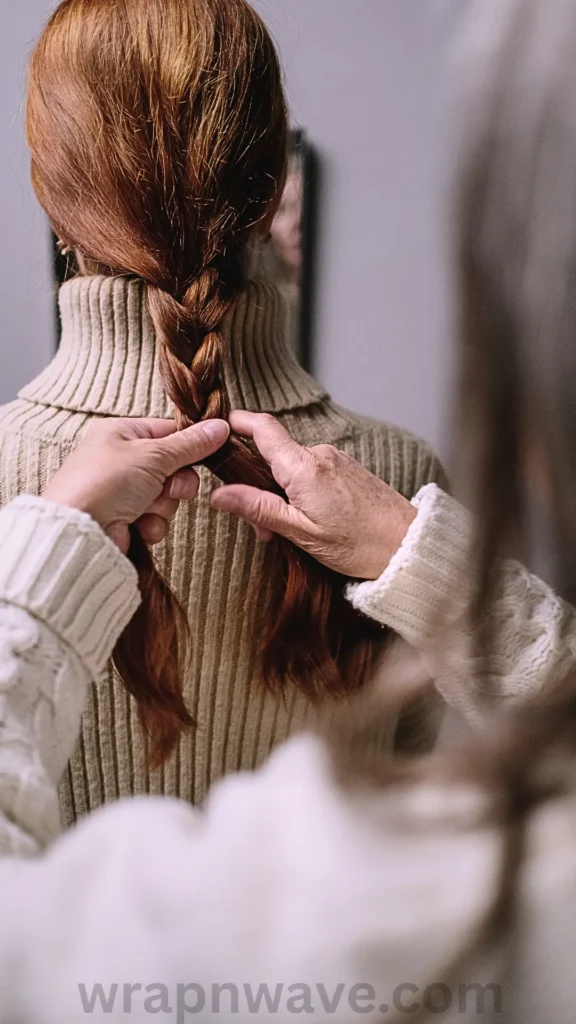
Traditional braids can sometimes leave shoulder-length hair with awkward crimps or ends that stick out. But don’t worry—there’s a simple tweak that makes braiding one of the best methods for medium-length hair.
The secret? Start with damp hair and braid all the way to the ends, securing with a small elastic. For shoulder-length hair, two French braids or Dutch braids work wonders because they distribute the wave pattern evenly from root to tip.
Here’s your step-by-step:
- Prep: Apply a lightweight mousse or sea salt spray to damp hair for hold and texture.
- Braid: Create two loose French braids starting at your crown. Don’t braid too tightly or you’ll get crimps instead of waves.
- Protect: Use a silk scrunchie to secure the ends-this prevents breakage and reduces frizz.
- Sleep: Let your hair dry completely overnight.
- Release: In the morning, gently undo the braids and finger-comb your waves. Never use a brush!
Pin-Worthy Tip: “For shoulder-length hair, two French braids are your best friend. They create consistent waves from root to tip without those annoying ‘braid bumps’ at the ends!”
2. The Headband Hack: Voluminous Waves Without the Bulk
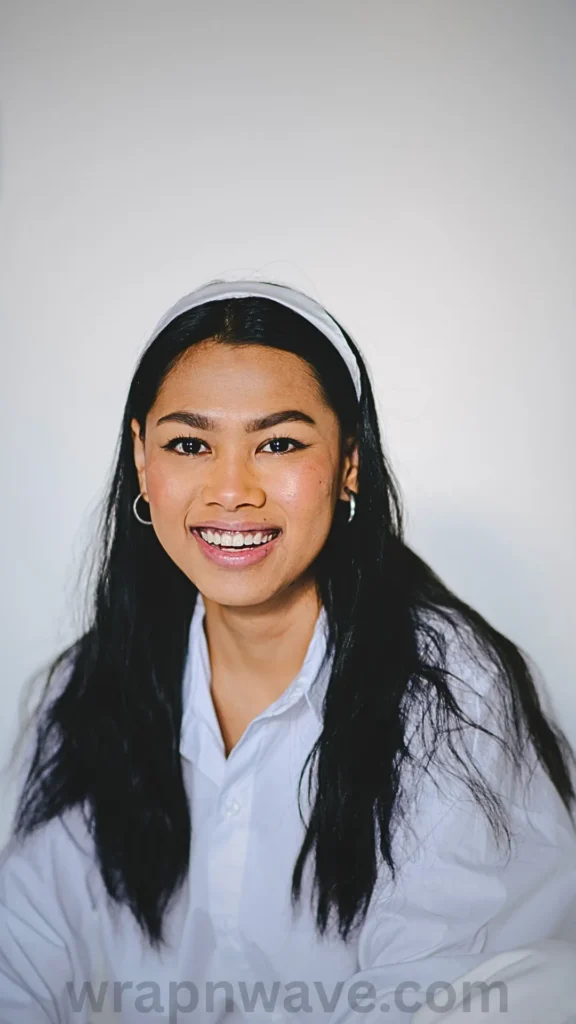
This viral method is an absolute game-changer for shoulder-length hair because it creates gorgeous volume at the crown—something medium-length styles often lack. All you need is a stretchy headband!
The headband method works beautifully for shoulder-length hair waves because the shorter length means less weight pulling the waves down, resulting in bouncier, more defined curls.
- Set it up: Place a stretchy headband over your head like a crown, resting just above your ears.
- Wrap and tuck: Take small sections of damp hair, pull them over and under the headband, then move to the next section. Work your way around your entire head.
- Patience: Let your hair dry completely. This usually takes 4-6 hours or overnight.
- Release: Gently slide the headband out and shake your head upside down for instant volume.
Pro tip: For tighter waves on shoulder-length hair, use smaller sections. For looser, beachier waves, grab larger sections.
Pin-Worthy Tip: “The headband hack is magic for shoulder-length hair! It gives you red-carpet volume without any of the heat damage. Wake up looking like a movie star!”
3. The Twist and Pin Method: Defined Curls That Last
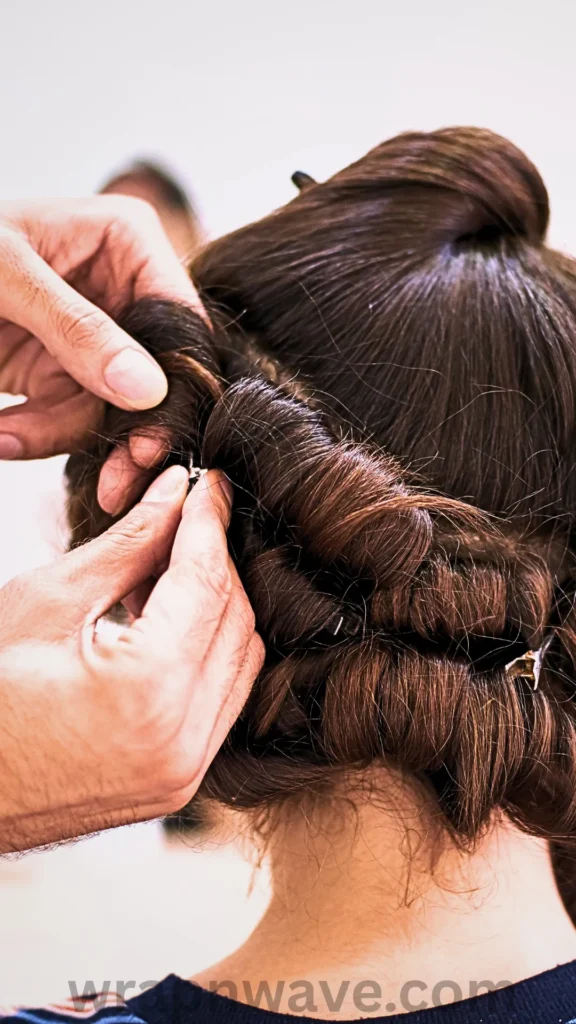
If you want bouncy, defined waves that hold their shape all day long, the twist and pin method is your holy grail. This technique works exceptionally well for medium hair waves because the shorter length means curls spring up beautifully without being weighed down.
- Section your hair: Part your damp hair into 6-8 sections. For shoulder-length hair, smaller sections (about 1-2 inches wide) create more defined waves.
- Twist: Take one section and twist it tightly from root to tip.
- Pin: Coil the twisted hair into a small bun and secure it flat against your scalp with a bobby pin.
- Repeat: Do this all over your head. Yes, you’ll look like a pineapple, but trust the process!
- Sleep: Let your hair dry overnight.
- Unveil: In the morning, unpin each section and gently separate the curls with your fingers for bouncy, defined waves.
Pin-Worthy Tip: “For shoulder-length hair, the twist and pin method creates the most gorgeous, bouncy ringlets. It’s like having a perm without the chemicals or damage!”
4. The Sock Bun Method: Classic Curls Done Right
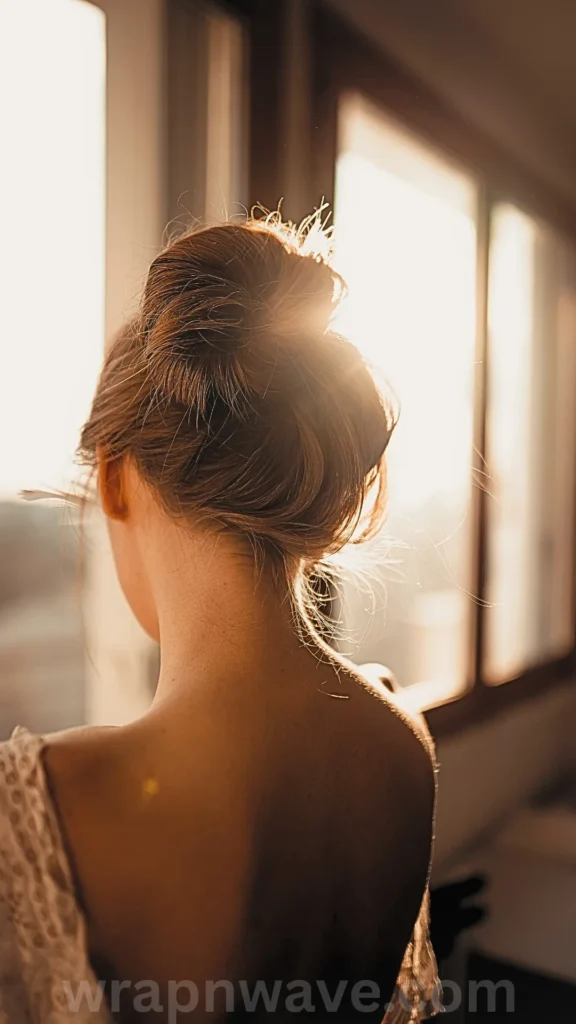
The sock bun is a timeless heatless technique, but it requires a slight adjustment for shoulder-length hair. Instead of using a large sock donut, you’ll want to use a smaller one or even just a rolled-up sock to accommodate your shorter length.
This method creates uniform, glamorous waves that are perfect for special occasions or everyday wear.
- Create your donut: Roll a clean sock into a small donut shape. For shoulder-length hair, keep it compact.
- High ponytail: Pull your damp hair into a high ponytail on top of your head.
- Wrap: Place the sock donut at the base of your ponytail and wrap your hair around it, tucking the ends underneath.
- Secure: Use bobby pins to secure any stray pieces. The tension of the wrap should hold it in place.
- Sleep: Leave it in overnight.
- Release: Carefully unroll your hair from the sock and gently separate the ringlets.
Pro tip: If your hair is on the shorter side of shoulder-length, try the “half-sock bun” method-only wrap the top half of your hair and leave the bottom loose for a more natural wave pattern.
Pin-Worthy Tip: “The smaller the sock donut, the tighter the curl. For shoulder-length hair, a compact sock bun gives you those perfect, bouncy waves that last for days!”
5. The Rope Braid Technique: Textured Waves with Major Volume
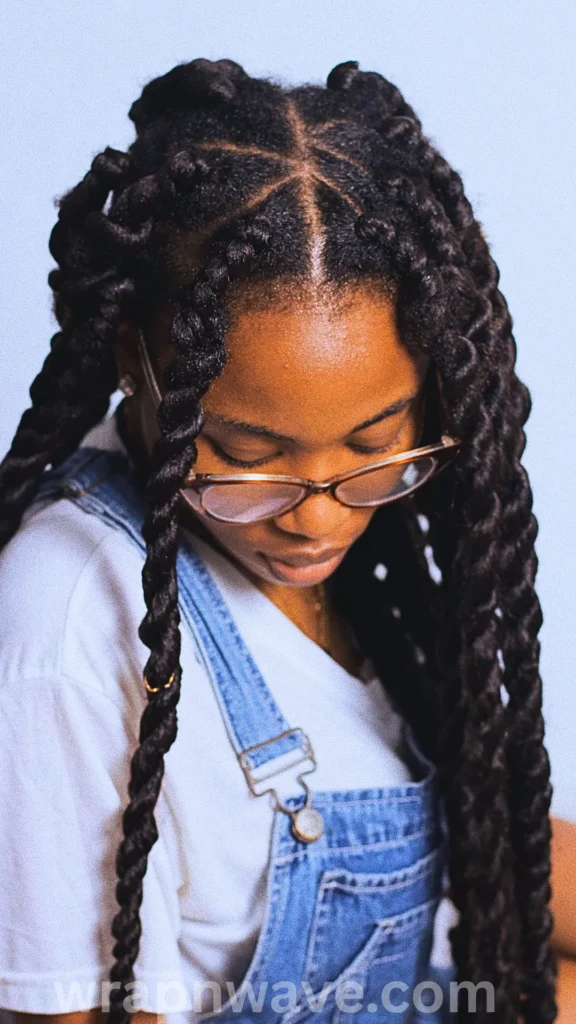
If you want textured, lived-in waves that scream “effortless cool girl,” the rope braid (or two-strand twist) is your new obsession. This technique is especially effective for shoulder-length hair because it creates a crimped, textured wave pattern that adds incredible body and movement.
- Prep: Start with damp, detangled hair and apply a texturizing spray for extra grip.
- Divide: Split your hair into two equal sections.
- Twist: Twist each section tightly in one direction.
- Rope: Wrap the two twisted sections around each other in the opposite direction to create a “rope” braid.
- Secure: Tie off the end with a silk scrunchie.
- Sleep: Allow your hair to dry overnight.
- Unravel: In the morning, undo the rope braid and tousle your hair with your fingers for amazing texture.
Pin-Worthy Tip: “Rope braids are the secret weapon for shoulder-length hair. They give you that perfectly undone, beachy texture that looks like you just stepped off a tropical island!”
6. The Paper Towel Roll Method: The Underrated Hack
You probably have this in your kitchen right now! The paper towel roll method is surprisingly effective for shoulder-length hair and creates beautiful, spiral-like waves without any special tools.
- Prep: Tear off a few paper towel rolls or use empty toilet paper rolls. Cover them with a silk scarf or soft fabric to prevent creasing.
- Section: Divide your damp hair into sections.
- Wrap: Take a small section of hair and wrap it around the paper towel roll, starting from the ends and rolling up toward your scalp.
- Secure: Fold the ends of the roll or use bobby pins to keep everything in place.
- Sleep: Let your hair dry completely.
- Release: Unroll each section and gently finger-comb your waves.
Pro tip: The size of the roll determines the wave tightness. Thicker rolls create looser waves, while thinner rolls create tighter curls.
Pin-Worthy Tip: “Don’t overlook the paper towel roll hack! It’s cheap, effective, and gives shoulder-length hair the most beautiful spiral waves you’ve ever seen!”
Products That Make Heatless Waves Last Longer
Now that you’ve mastered the techniques, let’s talk about products that will help your Heatless Waves for Shoulder Length Hair stay gorgeous all day long.
- Mousse: Apply a lightweight mousse to damp hair before styling. It provides hold without weighing down your shoulder-length strands.
- Sea Salt Spray: This is your best friend for beachy texture. Spray it on before braiding or twisting for that effortless, lived-in look.
- Leave-in Conditioner: Protect your hair from moisture loss and reduce frizz with a good leave-in conditioner. It keeps your waves smooth and shiny.
- Hair Oil: After releasing your waves, apply a drop of hair oil to your ends for a polished, healthy finish.
Pin-Worthy Tip: “The right products make all the difference! A little mousse and sea salt spray are all you need to make your heatless waves last from morning to night.”
Expert Tips for Shoulder-Length Success
One of the most common questions I get is, “Will these methods actually work on my shoulder-length hair?” The answer is a resounding YES, but here are some expert tips to ensure your success:
- Start with damp hair: Not soaking wet, not completely dry. Damp hair holds shape much better.
- Use smaller sections: Shoulder-length hair benefits from smaller sections because it creates more defined, consistent waves.
- Be patient: Let your hair dry completely before releasing the waves. Patience is the key to long-lasting results.
- Don’t brush: This is the golden rule of heatless waves. Always use your fingers to separate and style your waves.
- Sleep on silk: A silk pillowcase reduces friction and frizz, keeping your waves smooth and shiny.
If you’re loving these heatless techniques for shoulder-length hair, you’ll definitely want to check out our complete guide on 5 Ways to Get Long Hair Beach Waves Without a Single Hot Tool for even more inspiration and styling ideas!
Say Goodbye to Heat Damage Forever
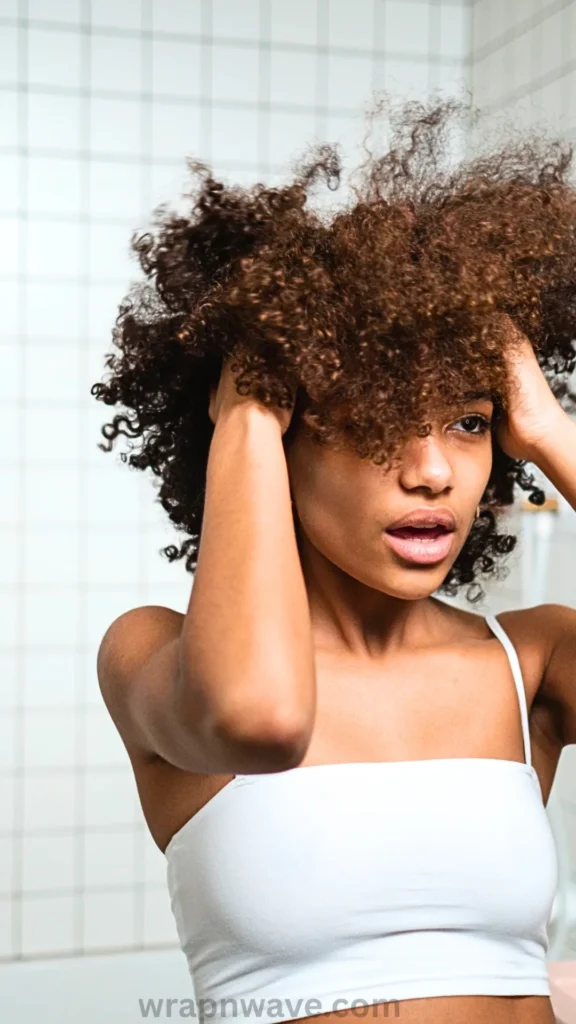
You don’t need expensive tools or hours of styling to achieve gorgeous, head-turning waves. With these six simple overnight methods, you can wake up to beautiful, bouncy hair every single day-all while protecting your strands from heat damage.
Whether you prefer the simplicity of braids, the volume of the headband hack, or the definition of the twist and pin method, there’s a perfect heatless technique waiting for you. Your shoulder-length hair has never looked so good!
I Want to Hear From You!
Which heatless method are you most excited to try on your shoulder-length hair? Have you tried any of these techniques before? Share your experiences, questions, and tips in the comments below! I personally respond to every comment because I genuinely love connecting with fellow hair enthusiasts. Let’s build a community of heatless hair lovers—drop your thoughts below!
Pin Description:
Tired of heat damage? ✨ Discover 6 foolproof methods for stunning Heatless Waves for Shoulder Length Hair that you can do overnight! From braids to the headband hack, these techniques give you salon-worthy waves without a single hot tool. Perfect for healthy, bouncy hair! Save this pin for your next hair night! 💁♀️🌊 #HeatlessWaves #ShoulderLengthHair #HairHacks

