
” Craving natural waves that look like you just left the beach? Discover 7 easy, heat-free methods to get effortless, tousled hair at home. Perfect for every hair type!”
The Secret to Effortless, Beachy Hair (Without the Sand!)
You know that feeling when you step out of the ocean, let your hair air-dry in the sun, and suddenly your strands look like they belong in a shampoo commercial? It’s that perfect, messy-chic texture that’s somehow both polished and perfectly undone. We all want natural waves that look like you just left the beach, but recreating that magic at home can feel impossible.
The good news? It’s totally doable. You don’t need a professional stylist, expensive salon treatments, or even a beach vacation to get that sun-kissed, salty texture. In this guide, I’m sharing my favorite foolproof methods to achieve those coveted waves-no matter your hair type or skill level. Get ready to say goodbye to flat, lifeless hair and hello to your new signature summer look!
1. The Overnight Braid Method: Wake Up to Gorgeous Waves

This is my absolute go-to for effortless waves. It’s simple, requires zero heat, and works while you sleep. The key is starting with damp hair-not soaking wet. After washing, towel-dry gently until your hair is about 80% dry.
Here’s how to do it:
- Divide your damp hair into sections. For loose, beachy waves, two sections work perfectly. For tighter, more defined waves, go with four.
- Braid each section loosely. Remember, the looser the braid, the more relaxed the wave will be.
- Secure the ends with a soft scrunchie to prevent creases.
- Hit the pillow! In the morning, gently unravel the braids and finger-comb through your hair. Pro tip: Never use a brush here-it creates frizz and disrupts the wave pattern.
Pin-Worthy Tip: The secret to perfect overnight waves is in the prep. Apply a lightweight mousse or sea salt spray before braiding to give your hair extra hold and texture.
2. The Twist and Pin Technique: Sculpt Your Waves
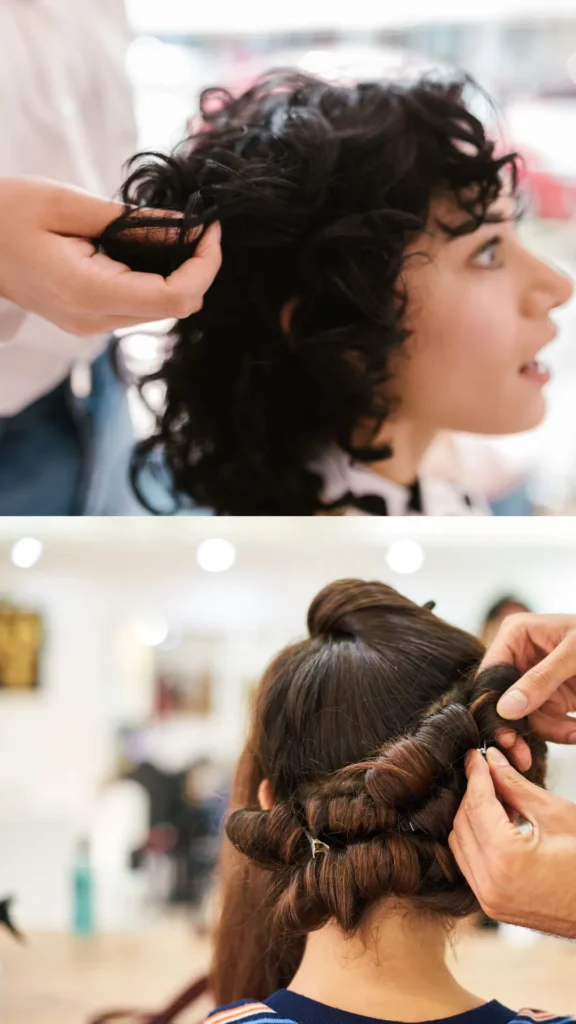
If braids aren’t your thing, twisting is a fantastic alternative. This method creates a more varied, tousled look that mimics the natural movement of natural waves that look like you just left the beach.
- Start with damp, detangled hair.
- Take a small section of hair and twist it tightly away from your face.
- Continue twisting until the hair coils naturally into a small bun.
- Secure the bun with a snag-free elastic or bobby pin.
- Repeat this all over your head. The smaller the sections, the tighter the wave.
- Leave them in for a few hours or overnight. When you release them, you’ll have beautiful, bouncy waves with tons of volume.
3. The Sea Salt Spray Secret: The Easiest Method of All
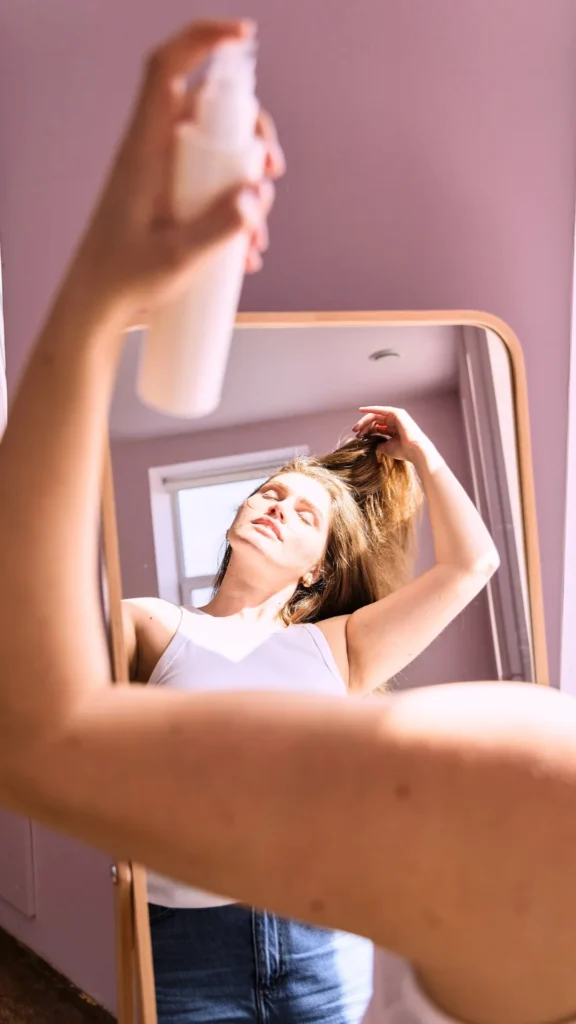
Want to know the quickest way to get that beachy texture? It’s all about the sea salt spray. This product is a game-changer for adding grit, texture, and that signature “I just stepped off the sand” look.
Here’s the routine:
- Spritz a generous amount of sea salt or texturizing spray onto damp hair.
- Scrunch your hair upwards with your hands to encourage the wave pattern.
- Let your hair air dry, or use a diffuser on a low heat setting for extra volume.
This method is perfect for those days when you’re short on time but still want natural waves that look like you just left the beach. It enhances your hair’s natural texture without any complicated styling.
Pin-Worthy Tip: For an extra boost, flip your head upside down while scrunching. This adds incredible volume at the roots!
4. Heat Styling for Defined, Polished Waves

If you prefer using heat tools, you can still achieve that effortless look. The trick is to use the right technique and always protect your hair.
- Use a wide-barrel curling wand (1 to 1.5 inches) for loose, natural-looking bends.
- Wrap sections of hair around the barrel, but leave the last couple of inches out. This creates that undone, “I didn’t try too hard” finish.
- Alternate the direction of the curls. Curl some sections away from your face and some towards it. This is the secret to making your waves look natural, not like perfect ringlets.
- Once you’re done, run your fingers through the curls to break them up and loosen the wave pattern.
For a heat-free alternative, check out this related article about 7 Foolproof Ways to Get Loose Natural Waves for a Carefree Summer Look (Even If You’re All Thumbs!).
5. The Bun Method: Effortless Waves in a Pinch

This is one of the simplest heatless methods out there. It’s perfect for when you want to add a little something to your second-day hair.
- Gather your damp or dry hair into a high ponytail.
- Twist the ponytail into a loose bun and secure it with a scrunchie.
- Leave it in for a few hours or overnight.
- When you release it, you’ll have soft, effortless bends. This method is especially great for adding movement to straight hair.
6. Diffuse and Scrunch for Natural Texture

If you have a hair dryer, a diffuser attachment is your best friend for enhancing natural waves. This method is all about working with your hair’s natural texture, not against it.
- Apply a volumizing mousse or texturizing spray to damp hair.
- Attach the diffuser to your hair dryer and set it to a low heat and low speed.
- Gently place sections of hair into the diffuser bowl and scrunch upwards towards your scalp.
- Hold for a few seconds, then release. Repeat until your hair is dry.
This technique minimizes frizz and encourages your natural wave pattern to shine, giving you natural waves that look like you just left the beach with a beautiful, lived-in volume.
Pin-Worthy Tip: Don’t touch your hair while it’s drying! Constantly handling it can create frizz. Let the diffuser do the work.
7. Products That Make a Difference

The right products can make or break your wave game. Here’s what to look for:
- Volumizing Shampoo & Conditioner: Start with a lightweight, volumizing formula to avoid weighing your hair down.
- Texturizing Spray: This adds grit and grip, giving your waves that “lived-in” feel.
- Mousse: Perfect for adding body and hold, especially for fine hair.
- Hair Oil: A few drops of nourishing oil can tame frizz and add a beautiful, healthy shine without making your waves look greasy.
Final Thoughts: Your Beachy Waves Are Waiting!
Achieving natural waves that look like you just left the beach is easier than you think. Whether you opt for a heatless overnight style or a quick spritz of sea salt spray, the key is to embrace imperfection. The beauty of this look is that it’s supposed to be a little messy, a little tousled, and totally you.
So, which method are you going to try first? I’d love to hear about your wave journey! Drop a comment below and let me know your favorite technique or any questions you have. And don’t forget to save this guide to your “Hair Goals” board on Pinterest!
Pin Description: Craving that effortless, sun-kissed texture? 🌊✨ Discover 7 easy ways to get natural waves that look like you just left the beach-without the sand! From overnight braids to sea salt sprays, these heatless methods work for every hair type. Save this for your next wash day! 💁♀️ #BeachyWaves #NaturalHair #HairGoals

