
” Want to bring out your natural wave pattern overnight without heat damage? Discover 7 simple techniques for effortless, beachy waves by morning. Perfect for all hair types!”
You know that feeling when you wake up, look in the mirror, and wish your hair had just a little more something? Maybe it’s fallen flat, or the natural texture you know is hiding somewhere just won’t show up. You’re not alone. Most of us have been there, reaching for a hot curling iron before we’ve even had our morning coffee. But what if you could bring out your natural wave pattern overnight instead? No heat. No damage. Just effortless, ‘I woke up like this’ waves.
The secret lies in working with your hair while you sleep. By prepping your strands and using simple styling techniques before bed, you can wake up to beautiful, natural-looking waves that last all day. In this guide, we’ll walk you through everything you need to know—from the best products to use to the foolproof methods that actually work for every hair type.
Why Heatless Overnight Waves Are a Game-Changer

Let’s be real—heat styling is great until it’s not. Blow dryers, flat irons, and curling wands might give you instant results, but over time, they leave you with dry ends, split strands, and that crunchy feeling nobody wants. Overnight beach waves are easy, healthy, and completely free of hot tools. You’re giving your hair a break while still waking up with gorgeous texture. Plus, who doesn’t love saving 20 minutes in the morning?
Pin-worthy tip: “The best hairstyles work with your hair, not against it.”
Prep Like a Pro: The Foundation for Perfect Waves
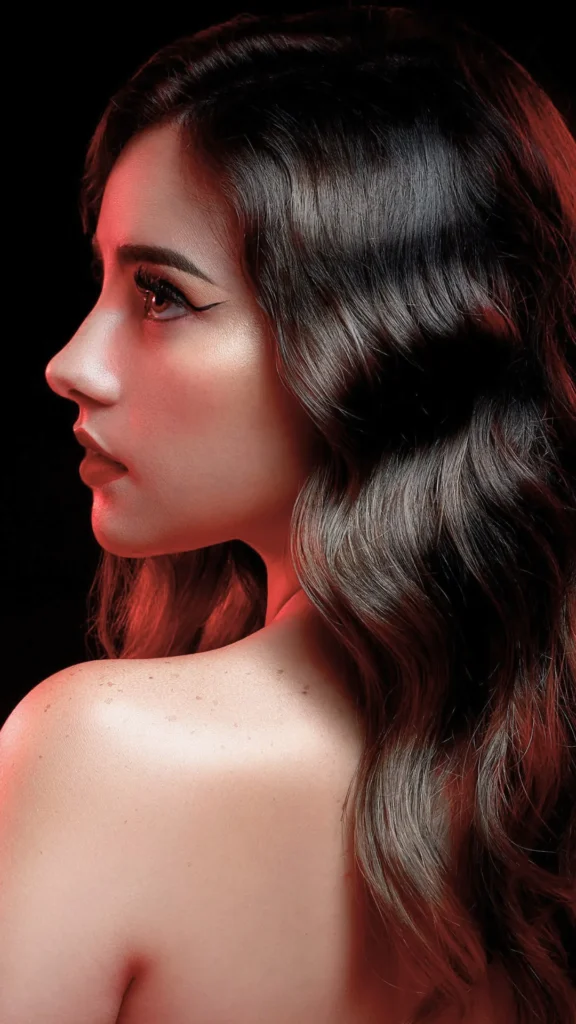
Before you even think about braiding or twisting, you need to set the stage. The difference between polished waves and a fluffy, undefined finish usually comes down to preparation.
Start with slightly damp hair. This is non-negotiable. Hair should be damp—not soaking wet—so it can dry fully overnight. If it’s too wet, it won’t dry. Too dry, and the waves won’t hold.
Detangle thoroughly. Knots lead to uneven waves. Gently detangle from the ends upward before sectioning.
Add a lightweight hold product. A small amount of mousse, sea salt spray, or wave cream from mid-lengths to ends adds texture and grip. For fine hair, try a volumizing product at the roots to add lift. For thick or curly hair, a curl cream works wonders.
The Classic: Overnight Braids for Effortless Waves
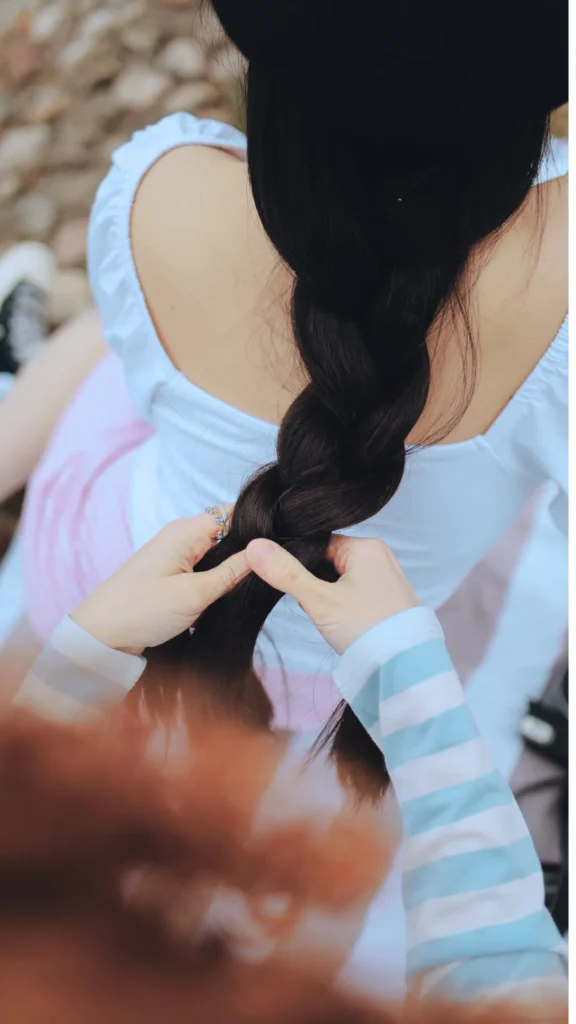
Braiding your hair before bed is one of the easiest ways to wake up with soft, beachy waves. It’s simple, accessible, and works on almost every hair type.
For loose waves: Go with one or two big, loose braids.
For tighter waves: Divide your hair into four or more sections and braid each one.
Pro tip: For more volume, split your hair into two equal sections and braid each side loosely. In the morning, unbraid, shake it out, and you’re good to go.
Save-worthy quote: “Braiding your hair overnight is the OG no-heat method—and it’s still around for a reason.”
The Twist-and-Pin Method for Defined Texture
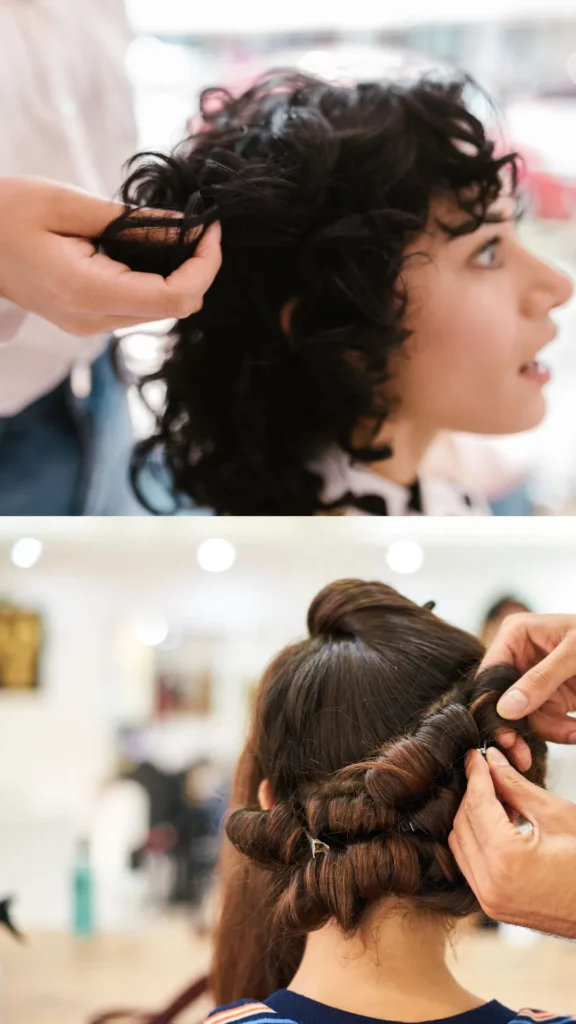
If you’re after more defined, bouncy waves, the twist-and-pin method is your new best friend. This technique creates soft, natural waves with serious staying power.
How to do it:
- Divide damp hair into sections (2 to 6, depending on thickness).
- Twist one section away from your face until it coils naturally.
- Wrap the twist around itself to form a small bun and secure with a snag-free elastic.
- Repeat across your head. In the morning, gently unwind and separate with your fingers.
Remember: The smaller the bun, the tighter the wave. The larger the bun, the looser the result.
The Two-Strand Twist Out for Maximum Definition
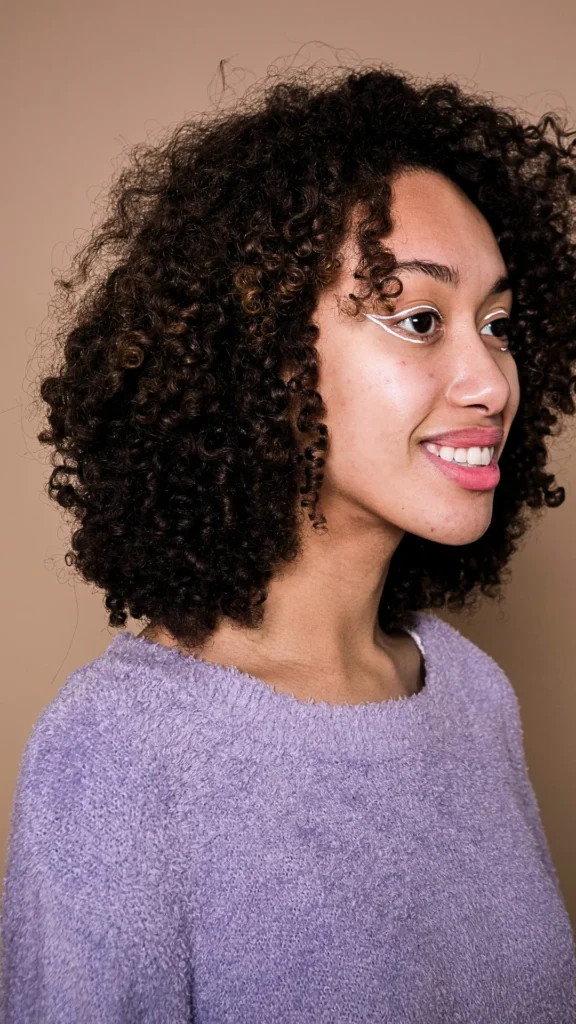
For those craving a tighter, more defined wave pattern, the two-strand twist out is a game-changer. This is especially effective if your hair already has natural waves or curls.
Step-by-step:
- Split damp hair into small sections.
- Divide one section into two pieces and twist them around each other down the length.
- Secure the ends with a non-snag elastic.
- Repeat across your head. In the morning, unravel slowly and separate curls gently with your fingertips.
Key tip: Smaller twists = tighter waves. Larger sections = a softer look. This method also helps combat humidity and keeps frizz at bay.
The Robe Tie Method: Viral and Actually Works
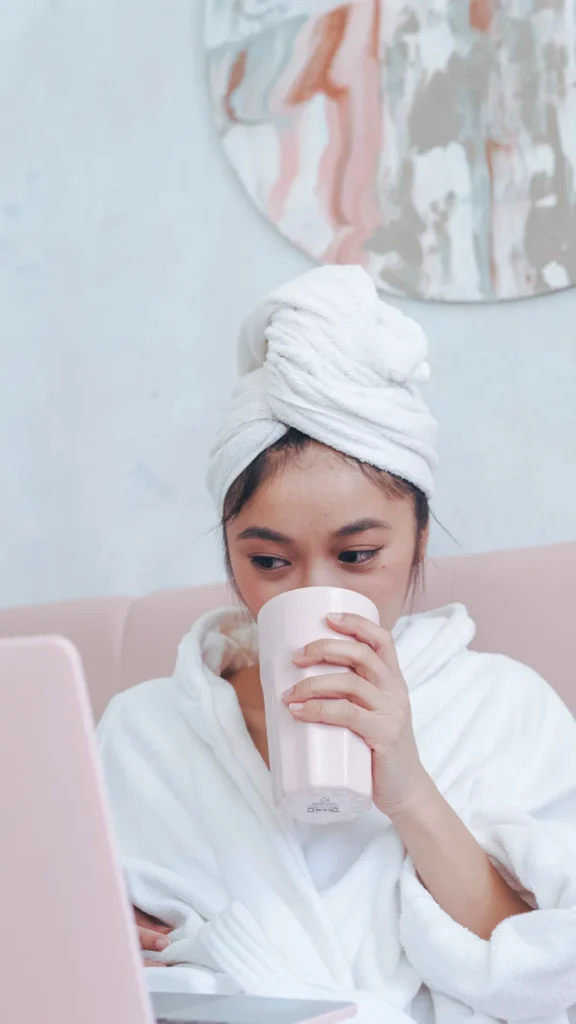
Yes, that viral TikTok trick actually works! The robe tie method gives you voluminous, bouncy curls with no heat and no fuss. It’s especially great for medium to long hair.
How to do it:
- Part your hair in the middle and place a robe tie or soft fabric belt over your head like a headband.
- Wrap sections of hair around it from root to tip.
- Secure the ends and sleep on it. In the morning, gently unravel for soft, even waves.
Pin-worthy tip: “Sleep on a silk pillowcase to reduce friction and keep your waves frizz-free.”
Bantu Knots for Voluminous, Springy Waves
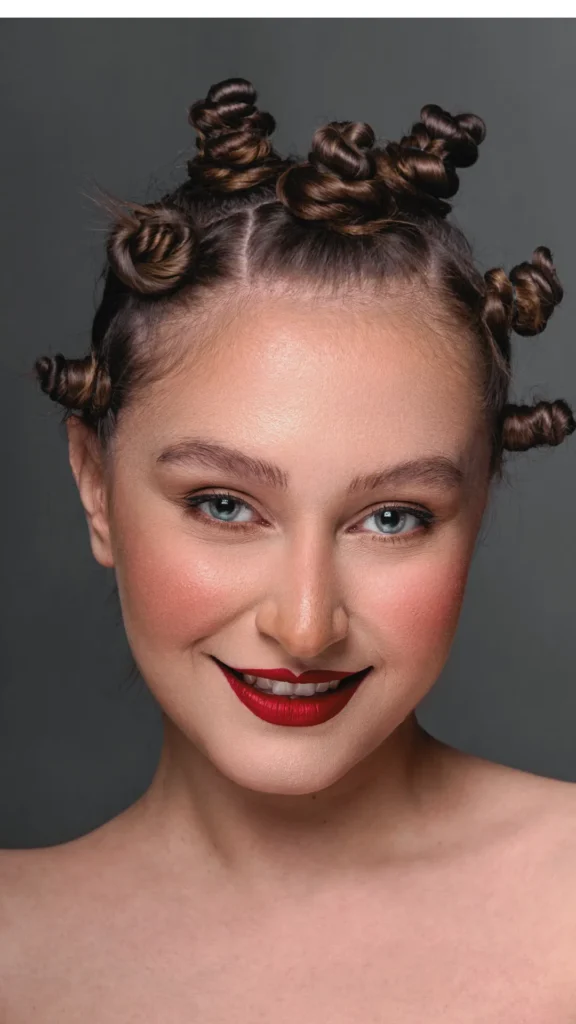
Bantu knots are a unique way to get voluminous, springy waves that almost mimic the look of a wand-curled style.
How to do it:
- Start by twisting a section of hair until it begins to coil onto itself.
- Wrap that coil around the base to form a small, secure knot.
- Distribute knots evenly across your head.
- Sleep, then unravel in the morning for defined, bouncy waves.
This method is excellent for wavy hair because it creates consistent, long-lasting texture.
The Pineapple Method for Preserving Natural Waves
If you already have waves or curls and just want to preserve them overnight, the pineapple method is a lifesaver.
How to do it:
- Before bed, gather your hair loosely on top of your head.
- Secure it with a soft scrunchie—not a tight elastic that will leave dents.
- This keeps your waves from getting squished and reduces frizz overnight.
- In the morning, shake it out, fluff the roots, and you’re done.
Bonus: This method also helps stretch natural curls without completely flattening them.
Product Picks to Enhance Your Overnight Waves
Using the right products can make or break your results. Here’s what to reach for:
- Sea salt spray: Adds texture and grip for defined waves.
- Lightweight mousse: Adds body and hold without weighing hair down.
- Leave-in conditioner: Keeps hair moisturized and protected overnight.
- Curl cream: Ideal for thick or coily hair to enhance natural texture.
Pro tip: Apply products from mid-lengths to ends—avoid the roots to prevent greasiness.
Tips for Different Hair Types
Fine hair: Use volumizing products at the roots. Start with slightly tighter waves so they fall out into soft movement.
Thick or curly hair: Opt for curl creams and leave-in conditioners. Go for looser techniques so your hair doesn’t get too tightly curled.
Wavy hair: Embrace your natural texture! Braids and twists work beautifully to enhance what you already have.
Make Your Waves Last All Day
You did the work overnight—now let’s keep those waves looking fresh.
- Use dry shampoo to keep your scalp fresh and add texture.
- Sleep in a loose high bun or braid to preserve the wave pattern overnight.
- Refresh with a spritz of water and scrunch to revive waves on day two.
Final Thoughts
Learning to bring out your natural wave pattern overnight is one of the best things you can do for your hair—and your morning routine. No heat damage. No complicated tools. Just beautiful, effortless waves that look like you spent hours on them (when really, you were just sleeping).
The key is finding the method that works best for your hair type and texture. So experiment, have fun, and don’t be afraid to mix and match techniques.
Pin-worthy quote: “Beach waves aren’t meant to be perfect—embrace a slightly messy, natural look!”
Ready to Transform Your Hair Routine?
Which overnight method are you excited to try first? Drop a comment below and let us know! And if you’re looking for even more heatless wave inspiration, check out our related guide: [https://wrapnwave.com/5-effortless-ways-to-get-natural-waves-for-every-hair-type-no-heat-required/: 5 Effortless Ways to Get Natural Waves for Every Hair Type (No Heat Required!)].
Pin Description:
Wake up to gorgeous waves without heat damage! 🌊 Learn how to bring out your natural wave pattern overnight with 7 simple techniques. From braids to twists to the viral robe tie method—there’s a perfect method for every hair type. Save this pin for your next heatless hair night! #OvernightWaves #HeatlessHair #NaturalWaves
