
”Ready to ditch the curling iron? Learn how to enhance your natural waves without heat using 5 simple overnight and wash-day tricks. Save your strands and your style today!”
If you’ve ever stared at your reflection wishing those post-shower waves would just stay without needing a 400-degree curling wand, I feel you. We all crave that effortless, beachy texture, but the constant cycle of heat styling? It leaves our hair dry, brittle, and begging for mercy.
The amazing truth is that you can absolutely learn how to enhance your natural waves without heat-and the results are even softer, bouncier, and more long-lasting than anything a hot tool can give you. This isn’t about fighting your texture; it’s about working with it using smart techniques that protect your strands overnight and during the day.
From the perfect wash routine to viral wrapping hacks, I’m sharing my top 5 tried-and-true methods. Get ready to fall head-over-heels for your natural waves again-zero damage, all the glamour. Let’s jump in! 🌊
1. Overnight Braids for Effortless Morning Waves
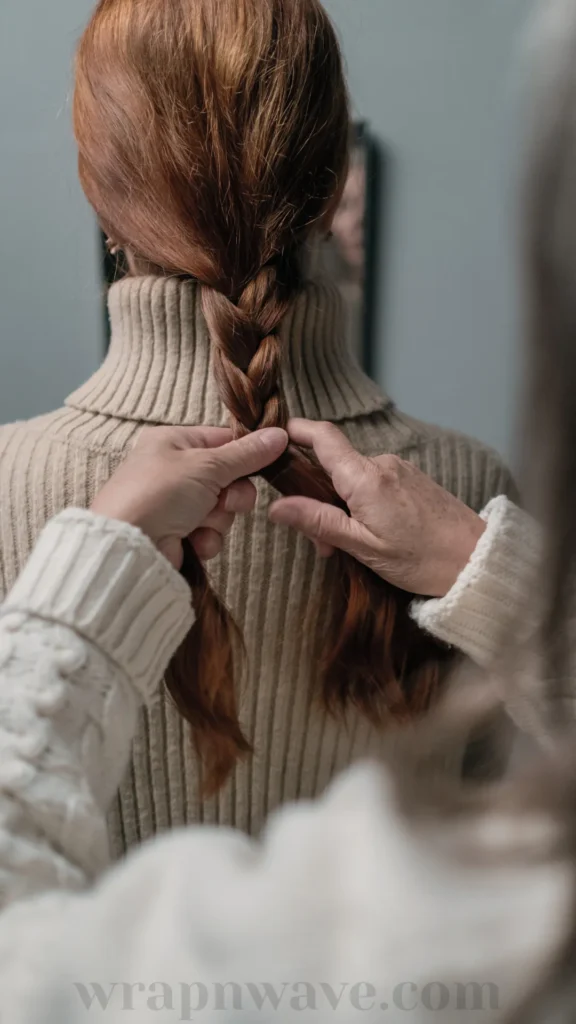
Braids are the ultimate classic for a reason. They are foolproof, require zero special gadgets, and give you consistent, beautifc
Pin-worthy tip: “Braid it before bed, wake up a
2. Start with a Wave-Friendly Wash and Prep Routine

Enhancing your natural waves doesn’t start with a technique-it starts in the shower. If you’re using heavy shampoos or skipping conditioner, your waves don’t stand a chance. The goal here is to give your hair the perfect moisture-to-volume balance so your natural texture can actually breathe.
Your wash-day game plan:
- Wash with sulfate-free shampoo to avoid stripping natural oils.
- Follow with a lightweight conditioner-focus on the mid-lengths and ends, not the roots.
- Rinse with cool water to seal the cuticle and boost shine.
- Gently squeeze out excess water with a microfiber towel or an old cotton t-shirt. (Rubbing with a regular towel = instant frizz city!)
Once your hair is damp, apply a leave-in conditioner or a pea-sized amount of wave-enhancing cream. This gives your waves something to hold onto and prevents them from falling flat before they even start drying.
Pin-worthy tip: “Your waves are born in the shower. Treat them right, and they’ll reward you with beauty that lasts all day.”
3. Master the Art of Scrunching and Air-Drying

This is the ultimate “lazy girl” method-and honestly, it works like magic. If your hair has even a hint of natural bend, scrunching encourages that pattern to pop without a single degree of heat. It’s all about technique and patience.
Here’s how to get it right every time:
- Flip your head upside down after applying your styling products.
- Apply a sea salt spray or texturizing mousse to damp hair for extra grip.
- Using open palms, gently cup sections of your hair and push them upward toward your scalp.
- Hold for 3–5 seconds, then release. Repeat all over your head.
- Let your hair air-dry completely-and for goodness’ sake, don’t touch it while it’s drying! Touching creates friction and frizz.
If you’re short on time, you can use a diffuser on the cool setting, but true heatless devotees know that air-drying gives the most natural, piece-y finish. This method is perfect for days when you’re working from home or getting ready slowly.
Pin-worthy tip: “Scrunch, release, and walk away. The best waves are the ones you don’t overthink.”
4. Viral Heatless Wraps: Headband & Robe Tie Methods

If you’ve spent any time on social media, you’ve seen these two techniques taking over feeds everywhere-and for good reason. Both the headband wrap and the robe tie method create that “Hollywood glam” wave pattern that looks like you spent an hour with a curling wand.
For the Headband Wrap:
- Place a stretchy satin headband over your head like a crown.
- Take small sections of damp hair, wrap them around the band, and tuck the ends under.
- Leave it on overnight or for at least 4–6 hours.
- Unravel gently for cascading, red-carpet-ready waves.
For the Robe Tie Method:
- Secure a soft robe tie or satin curling rod at the top of your head with bobby pins.
- Take sections of hair and wrap them around the tie, alternating sides until all hair is wrapped.
- Secure the ends and sleep on it.
- Unwrap in the morning for bouncy, mermaid-like spirals.
Both of these techniques are incredibly gentle on your hair and deliver stunning, uniform results that last all day.
Pin-worthy tip: “A headband or a robe tie-two tools, one stunning result. Heatless waves have never been easier.”
5. Twist-and-Pin + Product Hacks for All-Day Hold
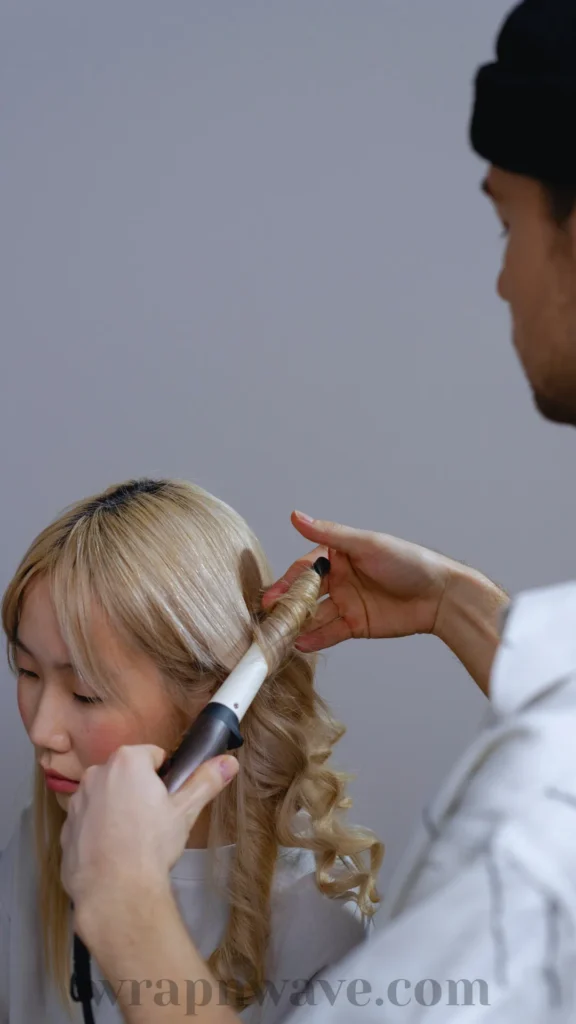
Sometimes you want waves that last from morning coffee to evening cocktails. That’s where the twist-and-pin method meets the right product cocktail. This combo ensures your waves don’t fall flat two hours into the day.
How to do the twist-and-pin:
- Divide damp hair into 4–6 sections.
- Twist each section tightly from root to tip.
- Coil the twisted strand into a small bun and pin it flat against your scalp.
- Leave for a few hours or overnight, then release for voluminous, bouncy curls.
Now, for the product magic that makes it stick:
| Your Hair Type | Reach For This |
|---|---|
| Fine or flat hair | Lightweight mousse or volumizing foam |
| Thick or coarse hair | Nourishing styling cream or curl butter |
| Frizz-prone hair | A drop of anti-frizz serum (applied to wet hair) |
| All types | A spritz of sea salt spray for that “lived-in” texture |
Pro tip: Less is more! Start with a nickel-sized amount and add more only if needed. You want soft, touchable waves-not stiff, crunchy ones.
Pin-worthy tip: “The right twist and the right product? That’s the secret sauce for waves that refuse to quit.”
Love These Tips? You’ll Adore This Next Read!
If you’re as obsessed with heatless styling as I am, you won’t want to miss my deep dive into even more overnight hacks. Check out No Heat? No Problem. Here’s How to Get Beachy Waves Overnight – 6 Foolproof Methods for Effortless Morning Hair for extra inspiration to make your mornings an absolute breeze!
Let’s Chat! 💬
Alright, gorgeous-now it’s your turn to spill! Which of these 5 methods are you dying to try tonight? Or are you already a braid-before-bed pro? Drop a comment below and tell me your favorite heatless wave trick. I read every single one and love hearing what works for you!
If this guide made you excited to ditch the heat, don’t forget to save this pin and share it with a friend who needs a little wave inspiration. Let’s keep our strands healthy and stunning together! ✨
Pin Description:
Ditching the curling iron for good? 🌊 Learn how to enhance your natural waves without heat using 5 easy overnight methods! From scrunching to viral robe tie tricks, get gorgeous, damage-free waves while you sleep. Save this pin for your next no-heat hair night! 💁♀️ #HeatlessWaves #NaturalHairCare #WaveEnhancement
