

”Craving gorgeous waves without the damage? Learn how to get weekend heatless waves that look like you tried hard with these 5 easy overnight methods. Save your hair and your time!”
The Weekend Struggle Is Real
You know that feeling. It’s Saturday morning, you have brunch plans, a date night, or just want to feel put together – but the thought of dragging out the curling iron and spending 45 minutes frying your hair makes you want to crawl back into bed.
What if I told you that you could wake up with weekend heatless waves that look like you tried hard -without a single hot tool touching your hair?
Yes, it’s possible. And no, it doesn’t require a PhD in hairstyling or a $200 gadget.
In this guide, I’m sharing my favorite heatless wave methods that actually work. Whether you have long locks, shoulder-length strands, or even shorter hair, you’ll find a technique that gives you that effortless, “I woke up like this” vibe – except you actually look like you spent an hour at the salon.
Ready to ditch the heat and save your strands? Let’s dive in.
Why Heatless Waves Are a Total Game-Changer
Before we get into the how-to, let’s talk about why you should even bother with heatless waves.
Heat styling tools can create stunning curls, yet frequent use often leads to dryness, breakage, and long-term damage. Heatless methods offer a gentle alternative that delivers beautiful, natural-looking waves while preserving your hair health.
But here’s the best part: heatless waves save you time. You set them before bed, sleep like a baby, and wake up with salon-worthy hair. No morning rush. No burnt fingers. No heat damage guilt.
Plus, the results often appear softer and more natural than heat-styled curls. And let’s be honest – that undone, beachy look is way more chic than stiff, over-curled ringlets anyway.
Save-worthy tip: “The best hairstyle is one that looks effortless -and heatless waves are the ultimate cheat code.”
Method #1: The Viral Robe Tie Technique
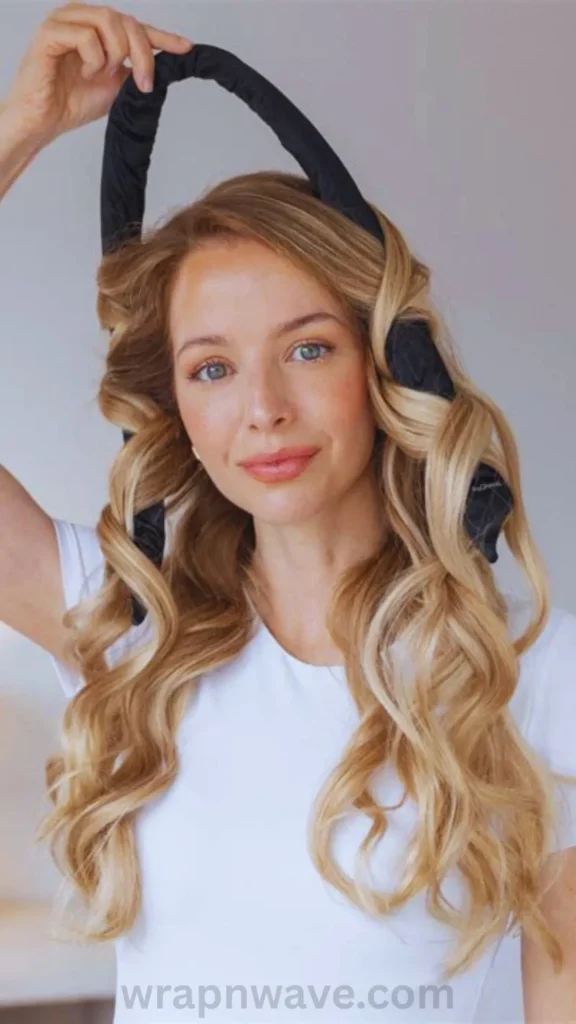
If you’ve spent any time on TikTok or Pinterest, you’ve probably seen the robe tie method flooding your feed. And guess what? It actually works.
This technique gives you big, bouncy waves that look like you stepped out of a blowout bar – all using a simple bathrobe belt.
How to Do It:
- Start with slightly damp hair – about 70-80% dry. Not soaking wet, not bone dry.
- Place a soft robe tie (or a pair of leggings) over your head like a headband. Make sure both sides hang down evenly.
- Grab a small section of hair from the front near your face. Wrap it away from your face, over and then under the robe tie.
- Continue adding more hair as you work your way down, like you’re French braiding around the tie.
- Secure the ends with a soft scrunchie. Repeat on the other side.
- Sleep in it overnight or leave it in for at least 6-8 hours.
- In the morning, gently unravel and finger-comb. No brushing – just use your fingers to separate the waves.
Pro tip: For extra security, clip the robe tie to the top of your head with a bobby pin so it doesn’t slip while you sleep.
Save-worthy tip: “The robe tie method is free, easy, and gives you heatless waves that look like a million bucks.”
Method #2: The Classic Braid Hack
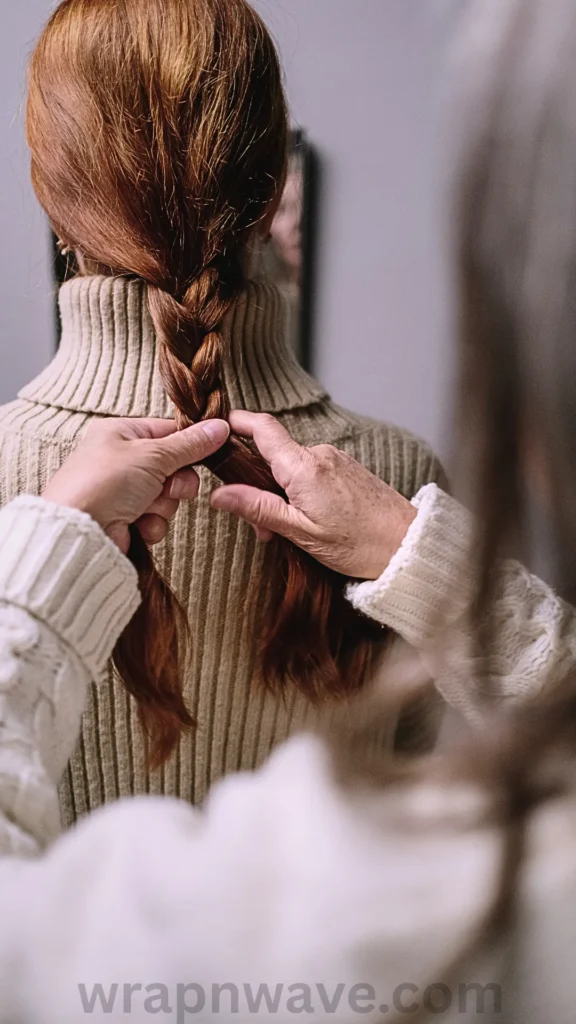
Braids are the OG heatless wave method – and for good reason. They’re simple, foolproof, and work on literally every hair type and length.
The beauty of braids? You control exactly how tight or loose you want your waves.
How to Do It:
- One loose braid = soft, beachy waves
- Two braids = natural, uniform texture
- Four or more braids = tighter, crimp-style waves
Step-by-Step:
- Start with damp (not wet) hair.
- Divide your hair into 1-4 sections depending on your desired wave size.
- Braid each section and secure the ends with soft elastics – never rubber bands (they cause breakage!).
- Leave the braids in overnight.
- In the morning, undo the braids and gently separate with your fingers.
Pro tip: For extra volume at the roots, try a Dutch braid – it starts closer to the scalp and gives more lift.
Save-worthy tip: “One braid = loose waves. Two braids = beachy texture. Four braids = mermaid vibes. Pick your wave and go!”
Method #3: Twist Buns (Space Buns, But Make It Glam)
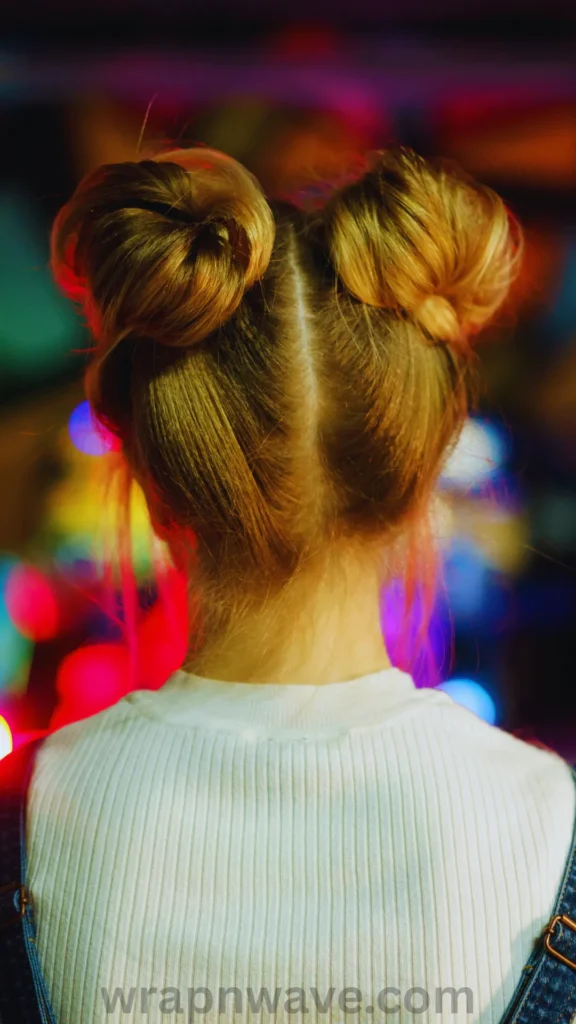
If you want voluminous, bouncy curls with extra lift at the roots, twist buns are your new best friend.
This method is incredibly comfortable to sleep in (no weird lumps digging into your scalp!) and gives you that “I just got a blowout” look.
How to Do It:
- Part your damp hair down the middle.
- Twist each section into a bun – high or low, depending on what’s comfortable for you.
- Secure with soft scrunchies (silk or satin are best to avoid dents).
- Sleep in them overnight.
- In the morning, unravel the buns and shake out your waves.
The results: Loose, bouncy curls with serious volume. One bun gives softer waves; two buns give more curl and body.
Pro tip: Use a silk scrunchie to avoid creases and breakage.
Save-worthy tip: “Twist buns are the lazy girl’s secret to voluminous, heatless waves that turn heads.”
Method #4: Flexi Rods and Foam Rollers

If you want defined, spiral-like curls that hold their shape all day, flexi rods or foam rollers are your go-to.
These tools are especially great if you have fine hair that struggles to hold waves, or if you want a more structured curl pattern.
How to Do It:
- Start with slightly damp hair.
- Take small sections of hair and wrap them around each flexi rod or foam roller.
- Roll from the ends up to the roots for maximum curl definition.
- Secure in place (most flexi rods bend to lock in place).
- Leave in overnight or for at least 6-8 hours.
- In the morning, gently remove each rod and finger-comb through your curls.
Pro tip: Satin-wrapped flexi rods prevent breakage and friction, gliding through your hair without tugging.
Save-worthy tip: “Flexi rods give you heatless waves that actually last – no touch-ups needed!”
Method #5: The Scrunchie Curl Trick
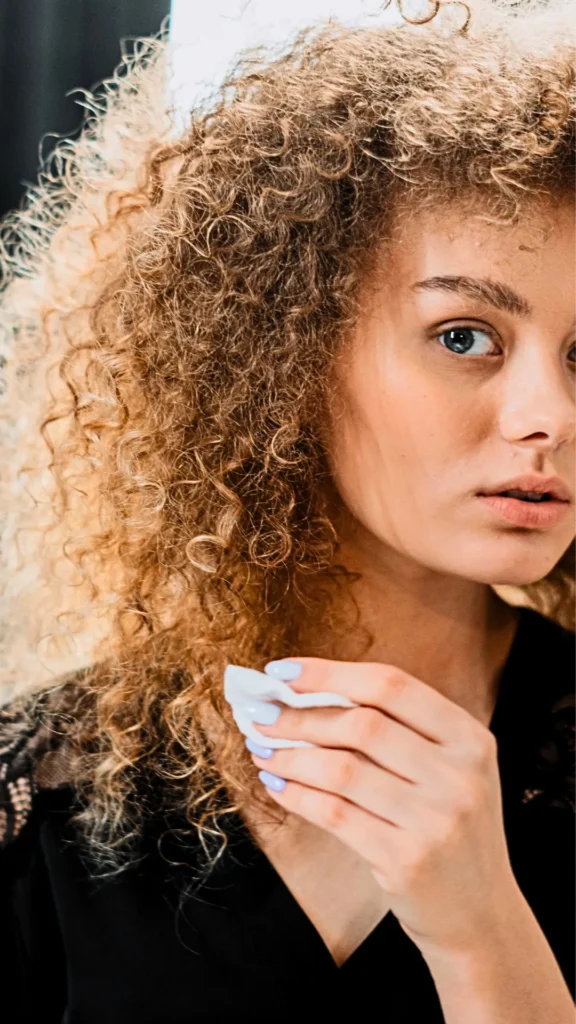
Got a bunch of scrunchies lying around? You can actually use them to create heatless ringlet curls overnight.
How to Do It:
- Start with pre-washed, damp hair.
- Working in small sections, roll a single scrunchie up the length of your hair – from ends to roots.
- Continue this method until your whole head is covered with scrunchies.
- Sleep in them overnight.
- In the morning, unwrap your hair and reveal the curls.
- To loosen, break apart the ringlets with your hands until you reach your desired look.
Pro tip: This method works best on medium to long hair and gives you those bouncy, 90s-inspired curls.
Save-worthy tip: “Who knew your old scrunchies could give you heatless waves that look like you tried hard?!”
Pro Tips for Heatless Waves That Actually Last
Let’s be real: the worst feeling is spending all night in a heatless style only to have your waves fall flat by 10 a.m..
Here’s how to make your weekend heatless waves that look like you tried hard actually last:
1. Don’t Start on Dripping Wet Hair
This is the #1 rookie mistake. When hair is soaking, it takes forever to dry and usually ends up either still wet in the morning or dried into a weird, frizzy helmet. The sweet spot? 70-80% dry.
2. Use the Right Products
Skip the heat? You’ll need something to help the shape set and stick.
- Fine or flat hair: Use a lightweight mousse or foam for volume and hold
- Thick or textured hair: A light styling cream or leave-in conditioner helps tame frizz
- Frizz-prone hair: Add a tiny bit of anti-frizz serum on the ends
3. Sleep on a Silk or Satin Pillowcase
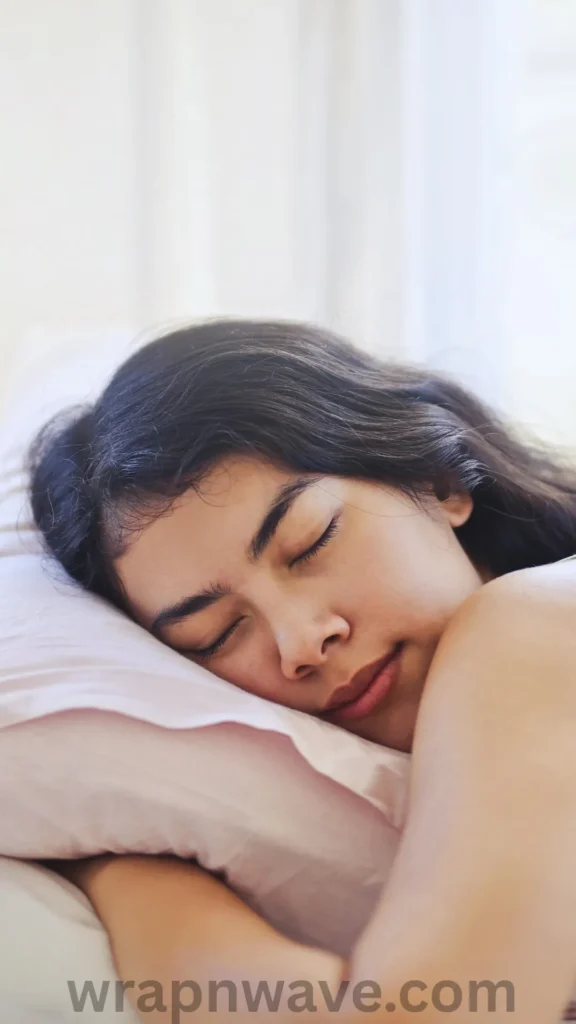
This reduces friction and frizz while helping your waves last longer. It’s a small investment that makes a huge difference.
4. Finger-Comb Only
Never brush out your heatless waves with a regular brush. Use your fingers or a wide-tooth comb to separate the curls gently.
5. Add Volume at the Roots
Flip your hair over, shake it out, fluff the roots – instant volume.
Save-worthy tip: “The secret to long-lasting heatless waves? Prep, product, and a silk pillowcase. Trust me on this one.”
Common Mistakes to Avoid
Even with the best intentions, things can go wrong. Here are the most common heatless wave fails – and how to fix them:
Why This Weekend Is the Perfect Time to Try Heatless Waves
Here’s the thing about weekend heatless waves that look like you tried hard: they’re perfect for Saturdays and Sundays.
Why?
Because you have time. You can set your waves on Friday night, wake up Saturday with gorgeous hair, and spend the rest of the weekend feeling fabulous. No rushing. No stress. Just beautiful, damage-free waves.
And if you’re headed to a wedding or special event, check out this guide on 7 Ways to Get Elegant Waves for a Wedding Without Heat (That Actually Last) for even more heatless inspiration.
Your Turn: Which Method Will You Try?
There you have it – five foolproof ways to get weekend heatless waves that look like you tried hard (without actually trying hard at all).
Whether you go with the viral robe tie method, classic braids, twist buns, flexi rods, or the scrunchie trick, you’re about to wake up to gorgeous, damage-free waves that will have everyone asking, “Wait, how did you do that?”
Here’s my challenge to you: Pick ONE method from this list and try it this weekend. Take a before-and-after photo. I guarantee you’ll be shocked at how easy – and how stunning – the results are.
Let’s Chat!
Have you tried any of these heatless wave methods? Which one is your favorite? Or do you have a secret heatless hack I didn’t mention?
Drop a comment below and let me know! I’d love to hear about your heatless wave journey – and if you have any questions, I’m here to help. 💕
Pin Description:
Wake up to gorgeous, damage-free hair with these weekend heatless waves that look like you tried hard! 😍✨ 5 easy overnight methods for beautiful waves without the heat damage. Save this pin for your next lazy hair day! 💁♀️ #HeatlessWaves #HeatlessCurls #OvernightHair #NoHeatHairstyles #WeekendHair #HairHacks #BeachyWaves

