
”Learn how to get Soft Romantic Waves Without Heat – Perfect for Any Occasion with these 5 easy overnight methods. Save your hair from damage and wake up to gorgeous waves!”
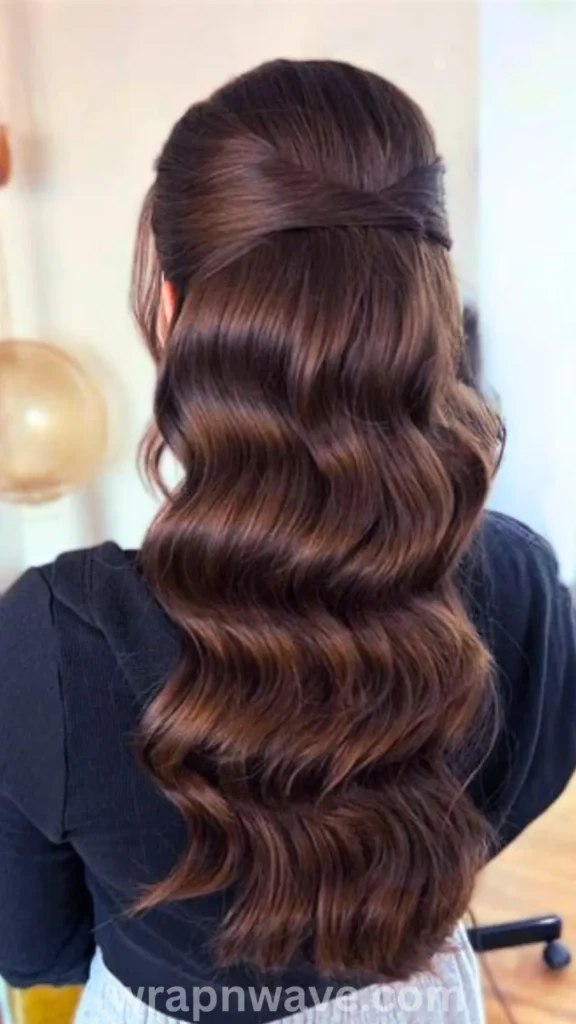
Introduction
Have you ever stared longingly at those soft, flowing, romantic waves on your favorite celebrities and wondered how they achieve that effortless look? You probably assumed it requires expensive salon visits or scorching hot curling irons. But what if I told you that you can achieve the exact same gorgeous, red-carpet-ready waves without any heat at all? Yes, you read that right! Learning how to get Soft Romantic Waves Without Heat – Perfect for Any Occasion is easier than you think, and it might just be the best thing you ever do for your hair’s health.
In this guide, I’m going to share my top 5 foolproof methods for creating stunning, heatless waves right in the comfort of your own home. We’ll cover everything from simple overnight braids to the viral headband curl technique. By the end, you’ll have all the knowledge you need to ditch the damaging hot tools for good and wake up to picture-perfect hair every single day. Ready to transform your hair routine? Let’s dive in!
Why Ditch the Heat for Good?
Before we get into the how, let’s talk about the why. We all love the instant gratification of a curling iron, but the long-term effects on your hair can be devastating. Regular use of hot tools strips your hair of its natural moisture, leading to dryness, split ends, and breakage. Over time, this can leave your hair looking frizzy, dull, and lifeless.
By choosing heatless methods, you’re not just saving time; you’re actively preserving your hair’s health and integrity. You’ll notice your hair feels softer, looks shinier, and grows stronger. Plus, these methods are incredibly gentle, making them perfect for all hair types, including color-treated or fine hair that is prone to damage. It’s a win-win!
The Classic Overnight Braid Method
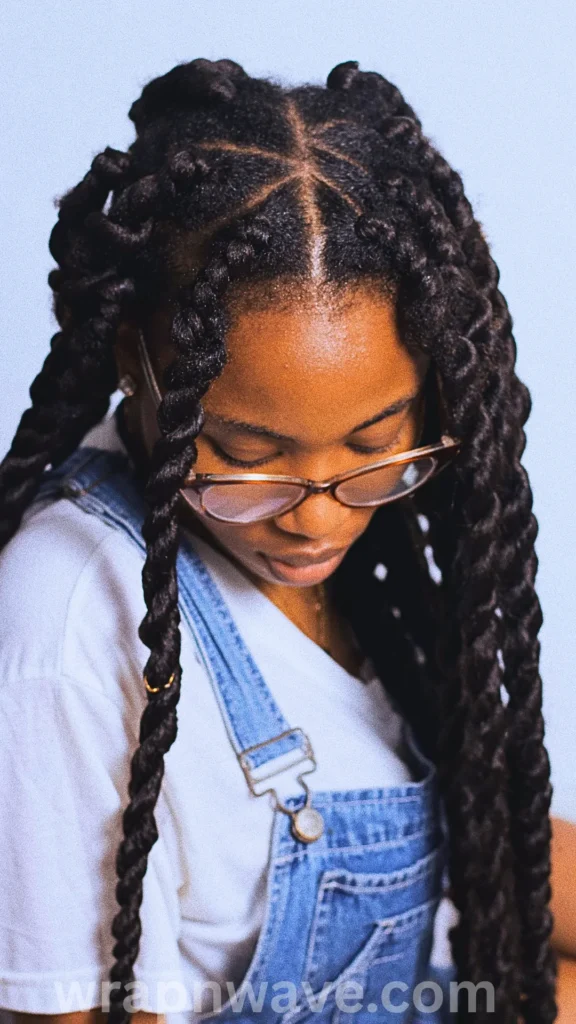
This is the most classic and arguably the easiest way to achieve gorgeous waves. The beauty of this method is its simplicity and reliability.
How to do it:
- Start with slightly damp, clean hair. Towel-dry it so it’s not dripping wet, but still has some moisture to hold the shape.
- Apply a small amount of leave-in conditioner or a lightweight styling cream to help define the waves and reduce frizz.
- Divide your hair into two sections. For looser, more romantic waves, use two sections. For tighter, more defined curls, divide it into four or more sections.
- Braid each section into a regular three-strand braid and secure the ends with a soft hair tie.
- Go to sleep and let the braids work their magic overnight.
- In the morning, gently undo the braids and run your fingers through your hair to break up the waves. Avoid using a brush, as this can create frizz.
💡 Save-Worthy Tip: For a more polished, blow-out look, try French braiding your hair instead of a regular braid. This creates a rounder, more voluminous wave pattern that looks incredibly sophisticated.
The Viral Headband Curl Hack
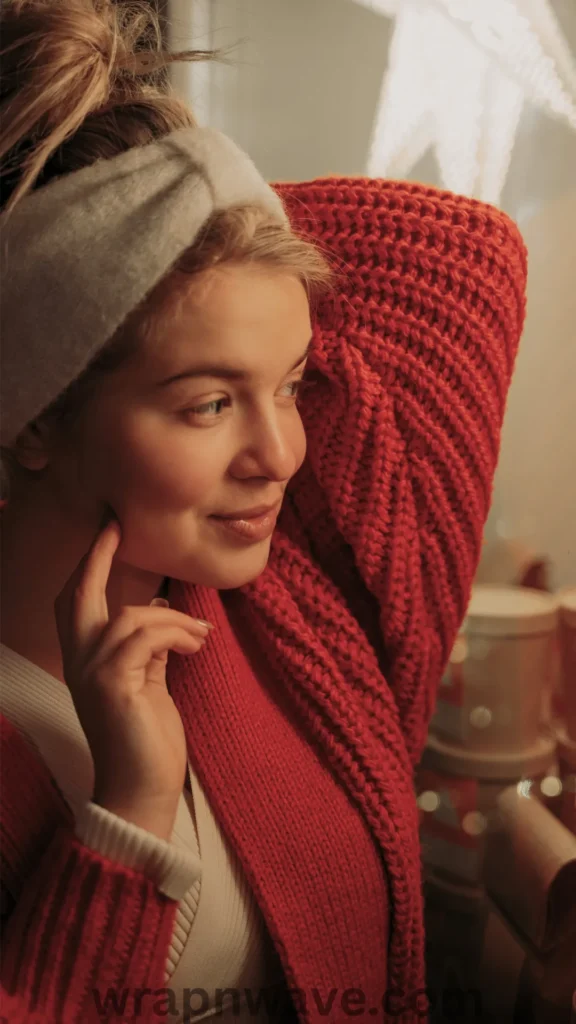
You’ve probably seen this one all over social media, and for good reason-it works like a charm! Using a simple stretchy headband, you can create smooth, romantic waves that look like they took hours to achieve.
How to do it:
- Place a soft, stretchy headband over your head like a halo, resting it across your crown.
- Take a small section of hair from the front and tuck it over and under the headband, wrapping it around the band away from your face.
- Continue this process, taking sections of hair and wrapping them around the headband until all your hair is coiled up.
- Leave it in overnight or for at least 6-8 hours.
- When you wake up, gently unwrap your hair and shake out the beautiful, bouncy waves.
💡 Save-Worthy Tip: This method is especially great for creating that “undone” look. For extra hold, spritz your hair with a light-hold hairspray before you start wrapping.
The Robe Tie or Legging Method
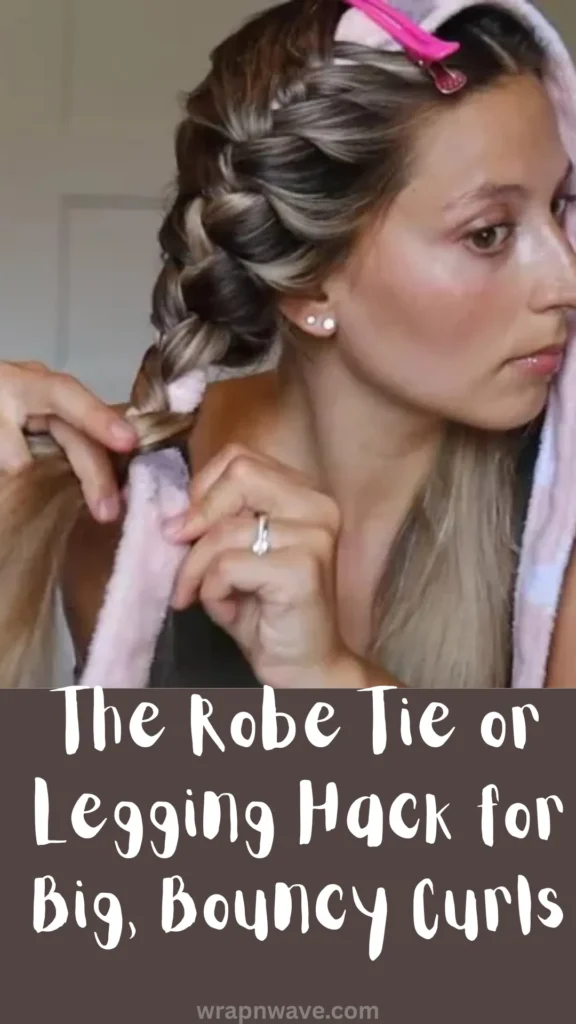
If you don’t have a headband handy, don’t worry! This next method is just as effective and uses items you probably already have in your closet-a silk robe tie or a pair of leggings.
How to do it:
- Take your robe tie or leggings and place them across the top of your head, tying them securely at the front.
- Take a section of hair, lift it up, and wrap it around the tie, moving from the ends up towards your scalp.
- Continue wrapping sections of hair around the tie until all your hair is wound up.
- Secure the ends with a soft scrunchie or bobby pins if needed.
- Sleep on it overnight. In the morning, release your hair and you’ll be greeted with soft, cascading waves.
💡 Save-Worthy Tip: Using a silk or satin material for your tie is a game-changer. It reduces friction and prevents frizz, leaving you with super smooth and shiny results.
The Twist and Pin Method
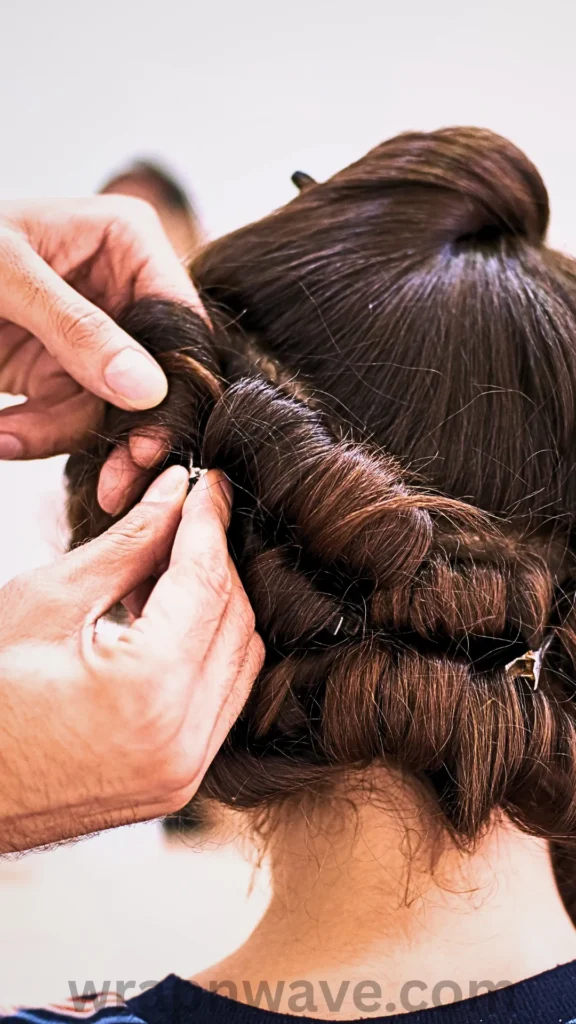
For those who prefer a more defined, structured wave, the twist and pin method is your new best friend. It’s a fantastic way to create waves without heat, and it gives you a lot of control over the final look.
How to do it:
- Start with slightly damp hair.
- Section your hair into manageable parts. The size of the sections will determine the wave pattern-smaller sections for tighter waves, larger for looser ones.
- Take a section of hair and twist it tightly from root to tip.
- Coil the twisted section into a small bun and pin it flat against your head.
- Repeat this process for all sections of your hair.
- Leave the twists in overnight or until your hair is completely dry.
- Unpin and gently separate the twists with your fingers for beautiful, voluminous waves.
💡 Save-Worthy Tip: This method creates amazing texture and volume at the roots, making it ideal for those with fine or flat hair.
The Sock Bun Method for Effortless Curls
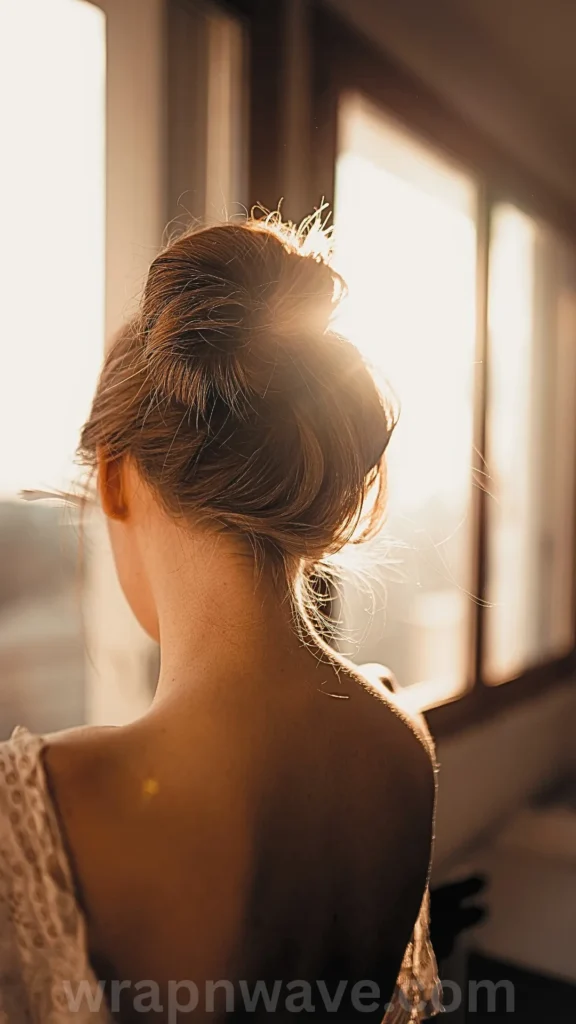
Last but certainly not least, the sock bun method is a brilliant way to get those soft, romantic waves without any fancy tools. It’s particularly great for creating curls that start a bit higher up on the head.
How to do it:
- Cut the toe off a clean sock and roll it into a donut shape.
- Pull your damp hair into a high ponytail.
- Place the sock donut at the base of the ponytail and roll your hair over and around it, tucking the ends under as you go.
- Roll the sock donut all the way down to your scalp, creating a tight bun.
- Leave it in overnight. In the morning, unroll the bun and shake out your gorgeous, heatless waves.
💡 Save-Worthy Tip: This method creates beautiful, uniform curls that are perfect for a romantic date night or a special occasion. For a more casual look, simply brush the curls out with a wide-tooth comb.
Pro Tips for Long-Lasting Waves
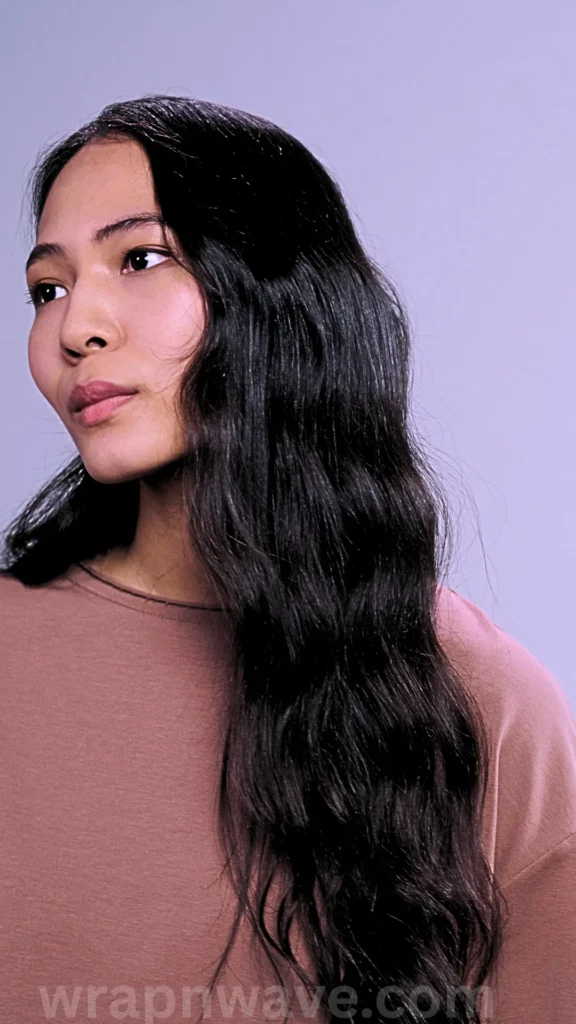
Now that you know the methods, let’s make sure your waves last all day. Here are a few pro tips to keep in mind:
- Start with the Right Base: Always start with damp, not soaking wet, hair. This helps the waves set properly without taking forever to dry.
- Use the Right Products: Applying a curl cream, mousse, or leave-in conditioner before you start will help define the waves and hold them in place.
- Be Patient: For the best results, leave your heatless style in overnight or for at least 6-8 hours. Rushing the process will result in waves that fall flat quickly.
- Finish with a Light Hold: Once you’ve released your waves, set them with a light-hold hairspray to ensure they last all day without feeling crunchy.
Conclusion
And there you have it! You now have five incredible, heat-free methods to achieve Soft Romantic Waves Without Heat – Perfect for Any Occasion. Whether you’re heading to a wedding, a brunch date, or just want to feel fabulous for a day at home, these techniques will give you that effortlessly beautiful look you’ve been craving.
Say goodbye to heat damage and hello to healthy, gorgeous waves. Your hair will thank you! For even more heatless hair inspiration, be sure to check out our related guide: [https://wrapnwave.com/the-ultimate-guide-to-how-to-get-salon-waves-without-leaving-home-5-easy-methods/: The Ultimate Guide to How to Get Salon Waves Without Leaving Home (5 Easy Methods)].
Call to Action
Which of these heatless wave methods are you most excited to try first? I’d love to hear about your experiences! Drop a comment below and let me know which one worked best for you. And don’t forget to share this post with your friends who are also looking to ditch the heat and embrace healthier, more romantic hair. Let’s start a conversation and help each other achieve our best hair days yet!
Pin Description: ✨ Tired of damaging your hair with hot tools? Learn how to get Soft Romantic Waves Without Heat – Perfect for Any Occasion with these 5 easy overnight methods! Save your hair and wake up to gorgeous waves 😍 #HeatlessWaves #RomanticHairstyles #HealthyHair