
”Want gorgeous waves without the salon price tag? Learn exactly how to get salon waves without leaving home using these 5 heatless and heat-styling methods that actually work.”
What Exactly Are Salon Waves?
Before we get into the how, let’s talk about the what. Salon waves are those effortlessly chic, slightly tousled waves that look like you just stepped off a beach vacation-but polished enough for a dinner date. They’re not tight curls and they’re not straight. They’re that perfect in-between that screams effortless glamour.
The secret? It’s all about technique and the right products. Whether you have straight, wavy, or curly hair, you can achieve this look. The key is understanding your hair type and choosing a method that works best for you.
Prep Like a Pro: The Foundation of Great Waves

Here’s a truth bomb: great waves start with great prep. Skipping this step is like painting a masterpiece on a dirty canvas-it just won’t look right.
Start with clean, slightly damp hair. If your hair is soaking wet, your waves won’t hold. If it’s bone dry, they won’t set properly. The sweet spot? Towel-dry your hair until it’s just damp, then apply a lightweight mousse or wave-enhancing cream from mid-lengths to ends.
Pro tip: For extra volume and that “lived-in” texture, spritz a sea salt spray before styling. It adds grip and prevents your waves from falling flat.
Method #1: The Classic Braid-Out (Overnight Hero)

This is the MVP of heatless waves. It’s simple, foolproof, and requires absolutely zero heat.
Here’s how to do it:
- Step 1: Start with slightly damp, brushed hair.
- Step 2: Divide your hair into sections-the more braids, the tighter the waves. For loose, beachy waves, go with 2-4 braids. For tighter, more defined waves, create 6-8 smaller braids.
- Step 3: Braid each section tightly and secure with a silk or fabric scrunchie (avoid elastic bands that leave creases).
- Step 4: Sleep on it! In the morning, gently unravel the braids and run your fingers through.
- Step 5: Fluff and shake for volume.
Pin-worthy tip: The tighter the braid, the tighter the wave. Experiment with different braid sizes to find your perfect wave pattern!
Method #2: Twist and Pin (For Defined, Bouncy Waves)

If braids feel too predictable, the twist-and-pin method is your new best friend. It creates softer, more natural-looking waves with beautiful bounce.
- Step 1: Start with damp, product-ready hair.
- Step 2: Take a small section of hair (about 1-2 inches wide) and twist it tightly from root to tip.
- Step 3: Coil the twisted section into a small bun and pin it flat against your scalp.
- Step 4: Repeat all over your head.
- Step 5: Leave for at least 4 hours (overnight is ideal), then unpin and gently separate the waves with your fingers.
The result? Defined, bouncy waves that look like they took hours at a salon-but you did it in your pajamas.
Pin-worthy tip: The smaller the section, the tighter the wave. For loose, effortless waves, use bigger sections!
Method #3: Sock Curls (The Viral Hack That Actually Works)

You’ve probably seen this all over social media, and trust me-the hype is real. Sock curls are one of the easiest ways to get salon-quality waves without any heat tools.
- Step 1: Grab a long, clean sock (or two).
- Step 2: Starting with damp hair, take a section and wrap it around the sock, rolling upward toward your scalp.
- Step 3: Tie the ends of the sock to secure.
- Step 4: Leave overnight or for at least 4-6 hours.
- Step 5: Unroll, shake out, and admire your gorgeous waves.
This method works especially well for creating soft, romantic waves that hold all day long. Plus, it’s completely heat-free, so your hair stays healthy and damage-free.
Pin-worthy tip: Use a satin or silk scarf instead of a sock for even smoother, frizz-free results!
Method #4: Heat Styling (For Instant Gratification)
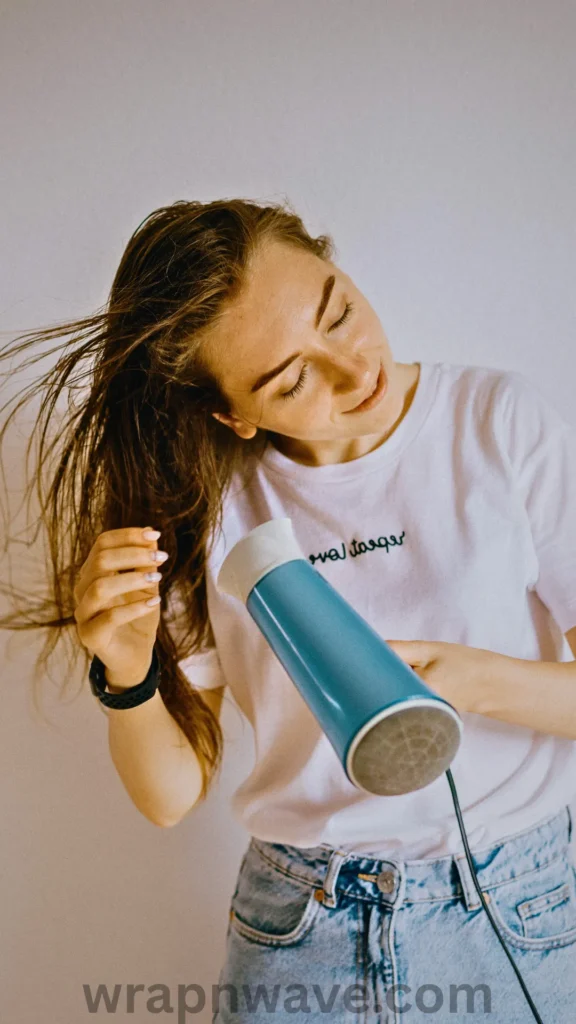
Sometimes you need waves now, not tomorrow morning. That’s where heat styling comes in.
The flat iron S-bend method:
- Start with completely dry hair and always use a heat protectant.
- Take a 1-inch section of hair and clamp the flat iron near the roots.
- Twist the iron back and forth as you glide it down the section, creating an S-shape.
- Alternate the direction of your S-bends for a more natural, less “done” look.
The large-barrel curling iron method:
- Use a 1.5-inch barrel for loose, beachy waves.
- Wrap large sections of hair around the barrel, leaving the ends out for a more relaxed finish.
- Alternate curling directions-some toward your face, some away-for that effortless, undone vibe.
Pro tip: Never blow-dry your hair completely straight before curling. Rough dry instead to keep your hair’s natural texture-it helps your waves hold longer.
Pin-worthy tip: Always let your curls cool completely before touching them. Heat sets the shape, and cooling locks it in!
Lock It In: How to Make Your Waves Last All Day
You’ve put in the work. Now let’s make sure those waves stick around.
- Use a texture spray: A lightweight texturizing spray adds grip and prevents waves from falling flat.
- Avoid over-brushing: Once your waves are set, put down the brush! Use your fingers or a wide-tooth comb to gently separate.
- Sleep on silk: A silk or satin pillowcase reduces friction and keeps your waves intact overnight.
- Refresh with water: If your waves fall flat, lightly mist with water, scrunch, and let air-dry. The wave pattern will bounce right back.
Pin-worthy tip: Dry shampoo isn’t just for oily roots-it adds incredible texture and volume to waves, making them look freshly styled all day long!
Method #5: Headband Curls (For Heatless, Hands-Free Waves)
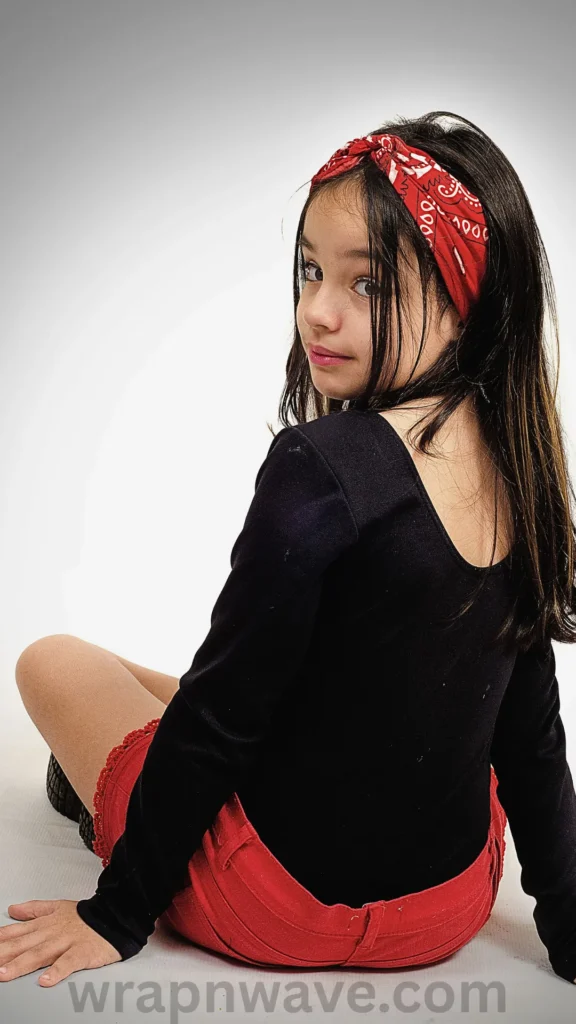
This method is perfect for lazy girls who want gorgeous waves with zero effort.
- Step 1: Place a stretchy headband around your head like a crown.
- Step 2: Take small sections of damp hair and wrap them around the headband, tucking the ends under.
- Step 3: Repeat until all your hair is wrapped.
- Step 4: Leave for a few hours or overnight.
- Step 5: Unwrap and enjoy soft, voluminous waves.
It’s that simple. And because there’s no heat involved, your hair stays healthy and shiny.
Pin-worthy tip: The more sections you wrap, the tighter the waves. For loose, beachy waves, use bigger sections!
The Secret Weapon: Products That Make a Difference
Even the best technique falls flat without the right products. Here’s what you need in your arsenal:
- Wave-enhancing mousse or cream: Adds definition and hold without weighing hair down.
- Sea salt spray: Creates that coveted “beachy” texture and grip.
- Lightweight hair oil: Adds shine and tames frizz without making waves greasy.
- Texture spray: Gives waves that lived-in, effortless finish.
Your Salon Waves Routine (In Under 10 Minutes!)
Want a quick routine that delivers salon-quality waves every time? Here’s my go-to:
- Prep: Damp hair + wave cream + sea salt spray.
- Style: Choose your method-braids, twists, or sock curls.
- Wait: Overnight or at least 4 hours.
- Finish: Unravel, finger-comb, spritz with texture spray.
- Rock: Go out and own those gorgeous waves!
And if you’re short on time, [check out this related article about How to Get Heatless Waves That Take Less Than 10 Minutes to Set (Even If You’re a Beginner!)](https://wrapnwave.com/heatless-waves-that-take-less-than-10-minutes-to-set/: related article about How to Get Heatless Waves That Take Less Than 10 Minutes to Set (Even If You’re a Beginner!)) for even faster results.
Let’s Talk About Your Hair Journey
Here’s the thing about learning how to get salon waves without leaving home: it’s a journey, not a one-size-fits-all formula. What works for your best friend might not work for you-and that’s okay! The beauty of doing your hair at home is that you get to experiment, play, and discover what makes your hair look and feel amazing.
Don’t be afraid to mix and match methods. Try braids one night, sock curls the next. Use a little more product, a little less. The more you practice, the more you’ll understand your hair’s unique personality.
And remember: those “perfect” waves you see on Pinterest? They’re often the result of trial, error, and a whole lot of patience. You’ve got this.
Your Turn: Share Your Wave Journey!
Now I want to hear from you! Which method are you most excited to try? Have you already mastered the art of at-home waves? Drop a comment below and share your tips, tricks, and wave wins.
And if this guide helped you finally achieve the salon waves you’ve been dreaming of, save this pin so you can come back to it anytime you need a refresher. Your future self (with gorgeous, head-turning waves) will thank you!
PIN DESCRIPTION:
Love salon-quality waves but hate the price tag? 💁♀️ This ultimate guide shows you exactly how to get salon waves without leaving home-using 5 easy methods that actually work! From heatless overnight braids to quick heat-styling hacks, you’ll find your perfect wave routine here. Save this pin for your next hair day! ✨ #SalonWavesAtHome #HeatlessCurls #BeachWavesTutorial
