
”Tired of morning hair struggles? These Set It and Forget It: Overnight Wave Techniques will give you gorgeous waves while you sleep. No heat, no stress!”
Why Overnight Waves Are a Total Game Changer

Let’s face it-mornings are hard. Between hitting snooze and finding matching socks, who has time for elaborate hairstyles? That’s exactly why overnight waves are the ultimate hack. You put in a few minutes of effort before bed, and you wake up looking like a goddess.
Here’s why you’ll love this method:
- Zero heat damage: Your hair stays healthy and strong.
- Saves precious time: No more 30-minute curling sessions.
- Works while you sleep: It’s like having a personal hair stylist in your dreams.
- Versatile for all hair types: Whether your hair is short, long, fine, or thick, there’s a technique for you.
“The best hairstyles are the ones that happen while you’re dreaming. Overnight waves are pure magic.”
Prep Your Hair Like a Pro
Before you dive into any overnight wave technique, preparation is key. Your hair needs to be in the right condition to hold those beautiful waves. This is where your heatless hair preparation routine comes in.
- Start with damp hair: Freshly washed hair is great, but make sure it’s not dripping wet. Aim for about 70% dry. If your hair is already dry, lightly mist it with water.
- Apply a lightweight product: Use a leave-in conditioner or a mousse. This helps define the waves and keeps frizz away.
- Detangle gently: Use a wide-tooth comb to remove any knots. Smooth hair = smooth waves.
This simple prep only takes a few minutes. Trust me, your waves will thank you in the morning!
Method #1: The Classic Braid Technique

Braids are the OG of overnight waves. They’re simple, reliable, and work for everyone. Plus, you can customize the tightness of your braids for different wave results.
- For soft, loose waves: Create one loose braid starting at the nape of your neck.
- For defined, beachy waves: Make two or more tight braids all over your head.
- Pro tip: Braid your hair while it’s slightly damp and spritz with a little sea salt spray for extra texture.
Your no-heat wave method starts with a good braid. It’s foolproof and always delivers.
“Braids are the beginner’s best friend. They’re easy, effective, and never disappoint.”
Method #2: The Robe Tie Trick (Viral and Loved!)
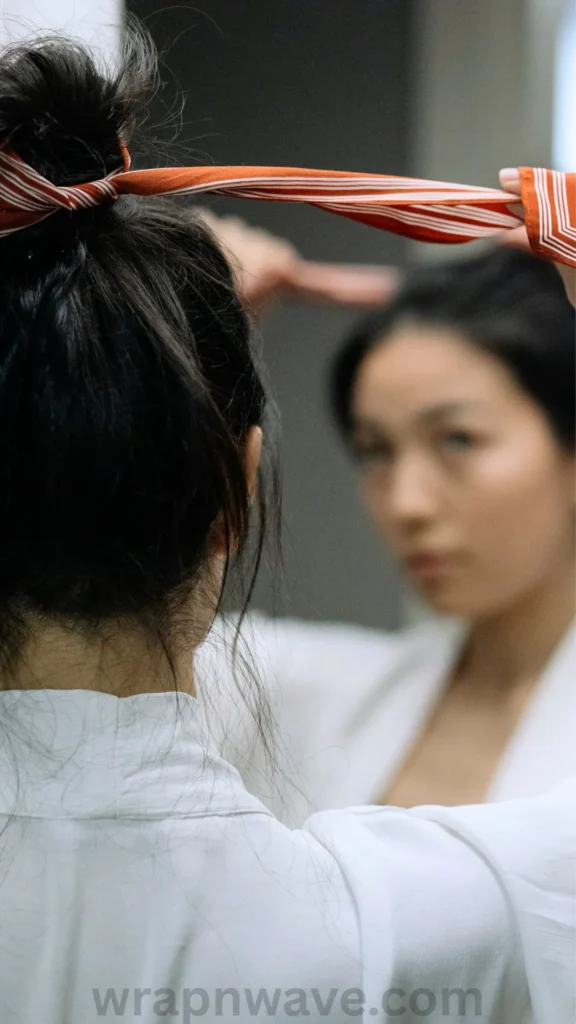
You’ve probably seen this one all over TikTok. It’s popular for a reason! This technique uses a soft robe tie or even leggings to create gorgeous, bouncy waves.
- Place the robe tie across the top of your head like a headband.
- Take a section of hair from one side and wrap it around the tie, away from your face.
- Keep wrapping and adding more hair as you go.
- Repeat on the other side.
- Tuck the ends in and secure with a scrunchie.
That’s it! In the morning, you’ll have stunning, voluminous waves that look like they took hours to create.
Method #3: The Space Buns Hack
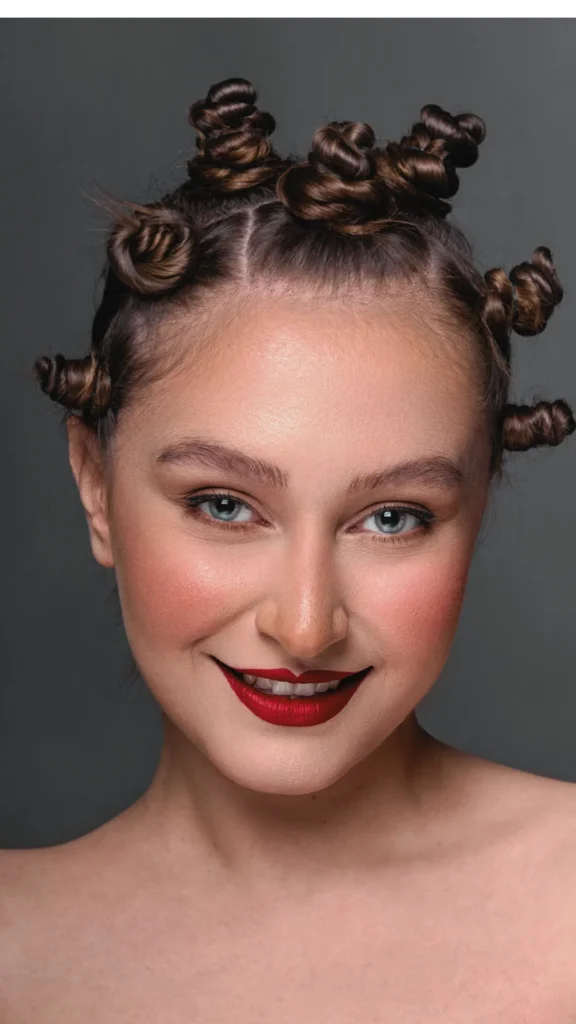
Want extra volume and texture? Space buns are your new best friend. This technique is perfect for adding body to fine hair or creating playful, tousled waves.
Here’s how to do it:
- Part your hair down the middle.
- Twist each side into a tight bun on top of your head.
- Secure with a soft scrunchie or hair tie.
The result? Bouncy, voluminous waves with tons of body. This method is especially great for those with shoulder-length or longer hair.
“Space buns aren’t just cute-they’re the secret to voluminous, rockstar waves.”
Method #4: The Twist and Pin Technique
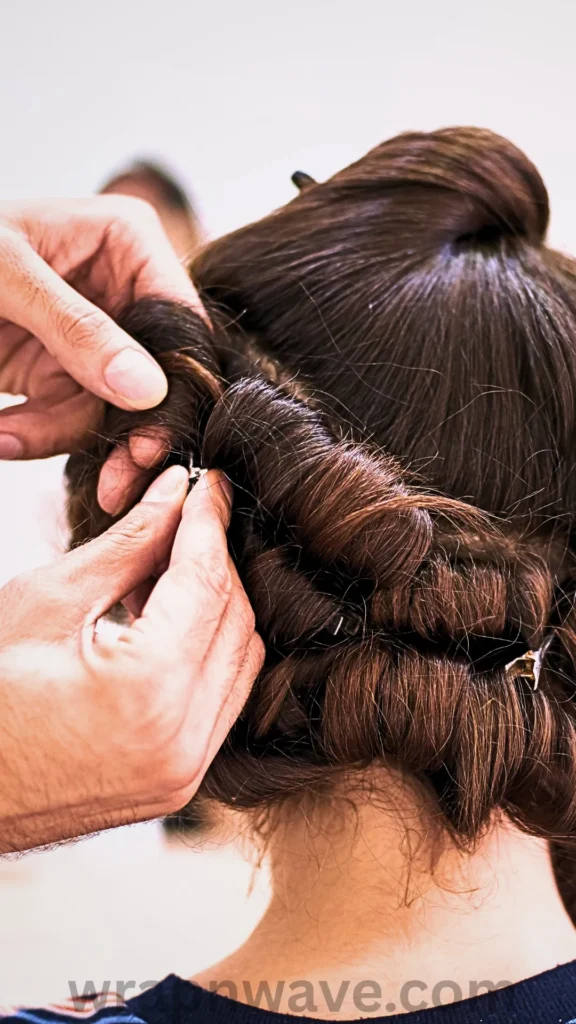
If you’re looking for defined, elegant waves, the twist and pin method is for you. It’s a favorite for creating polished waves that work for both casual and formal looks.
- Take small sections of damp hair and twist them tightly.
- Pin each twist against your head using bobby pins.
- Let them set overnight and release in the morning.
This technique gives you those perfect, red-carpet-worthy waves. It’s a little more time-consuming but totally worth it for a special occasion.
Morning Routine: Wake Up to Perfection
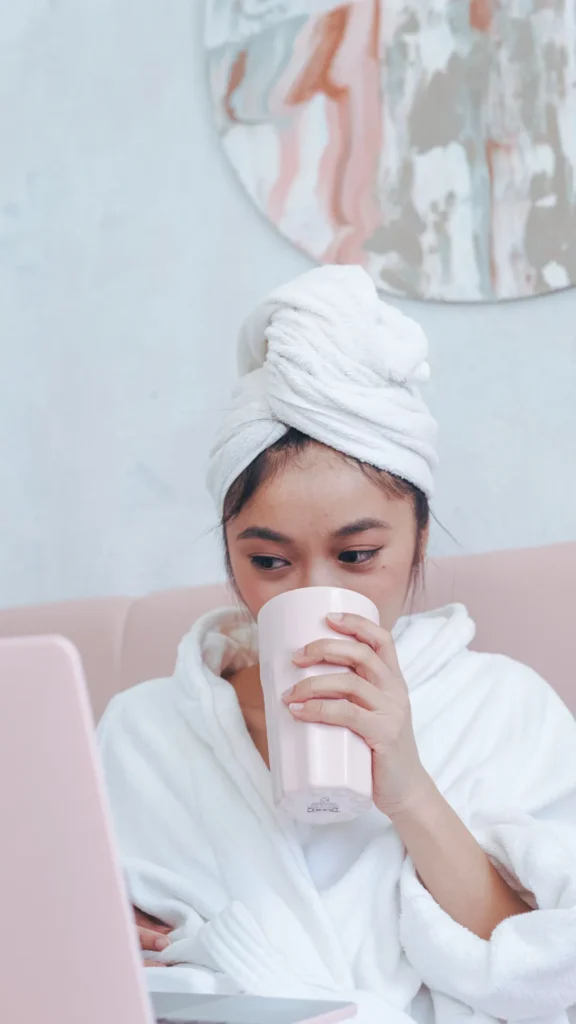
The moment you’ve been waiting for! It’s morning, and it’s time to unveil your gorgeous waves. But don’t rush-how you take down your waves matters just as much as how you put them in.
- Unravel gently: Use your fingers to carefully undo braids, twists, or buns. Avoid pulling or tugging.
- Finger-comb, don’t brush: Brushing will ruin your waves and create frizz. Use your fingers or a wide-tooth comb.
- Add shine: Finish with a drop of hair oil or a shine spray for a polished look.
- Set with hairspray: For extra hold, use a light-hold hairspray.
This is where your overnight wave maintenance shines. A little care in the morning keeps your waves fresh all day long.
For even more amazing techniques, check out this related article about **The Ultimate 5-Minute Prep for Gorgeous Waves Tomorrow Morning (No Heat Damage!)**. It’s packed with even more tips to level up your hair game!
Pro Tips for Long-Lasting Waves
Want your waves to last all day and even into the next? Follow these pro tips:
- Sleep on silk: A silk or satin pillowcase reduces friction and prevents frizz.
- Don’t overload products: Too much product can weigh your waves down. Less is more.
- Refresh with dry shampoo: If your roots get flat, a spritz of dry shampoo adds volume and texture.
- Protect while sleeping: If you sleep with your waves loose, wrap them in a silk scarf to preserve them.
CTA
Now it’s your turn! Which of these Set It and Forget It: Overnight Wave Techniques are you excited to try? Have you tried any of these methods before? I’d love to hear your stories, tips, and questions in the comments below. Share your favorite technique and let’s build a community of beautiful, heatless waves together. Don’t forget to save this pin for your next hair night!
Pin Description
Wake up to stunning waves without the heat damage! These Set It and Forget It: Overnight Wave Techniques are the ultimate lazy girl’s secret to perfect hair. From braids to robe ties, discover 5 easy methods that give you gorgeous waves while you sleep. Save this pin and try one tonight-your morning self will thank you! 🌊💤 #OvernightWaves #HeatlessHair #SetItAndForgetIt #WaveTechniques #WrapNWave
