
”Tired of heat damage? This Loose Beachy Waves for Long Hair -Heatless Tutorial shares 5 genius overnight and 5-minute methods for healthy, gorgeous texture.”
Do you scroll past endless photos of effortless, tousled waves and wonder why your long hair never quite looks like that without a 45-minute battle with a curling iron? I completely get it. The frustration of fried ends, the time commitment, and the sheer exhaustion of holding a heavy iron are all too real.
Here is the good news: you can achieve stunning loose beachy waves for long hair -heatless tutorial style, and it’s easier than you think. You don’t need expensive tools or professional training. By the end of this guide, you’ll have five flexible techniques at your fingertips-from overnight wraps to a quick 5-minute fix. We are saying goodbye to split ends and hello to your healthiest, most radiant hair yet. Ready to dive in?
Why Your Long Hair Will Thank You for Going Heatless
Before we get into the “how,” let’s quickly touch on the “why.” You might be skeptical that heatless waves can actually hold up, especially if you have thick or stubborn long hair. But consider this: heat styling strips your hair of natural moisture, leading to breakage and that dreaded “crispy” feel.
When you skip the heat, you preserve your hair’s natural lipid layer. This means your long locks stay shinier, softer, and stronger over time. Plus, waking up with a hairstyle already done? That is a massive time-saver in the morning. It is a total game-changer for anyone who wants to look polished without sacrificing hair health.
Save-Worthy Tip
“The secret to stunning heatless waves isn’t the tool-it’s the prep. Damp hair and the right product are 80% of the battle.”
Method 1: The Classic Braid-Out for Soft, Undulating Waves

If you are brand new to the world of heatless styling, this is your starting point. The braid-out is foolproof, requires zero extra gear, and creates that perfect “just-rolled-out-of-bed” vibe that actually looks intentional.
Here is how to master it for your long hair:
- Prep is key: Start with clean, towel-dried hair that is about 70% dry. Apply a lightweight mousse or a sea salt spray to give the waves some grip and longevity.
- Choose your braids: For the loose, romantic look we are going for, create two large, loose braids on either side of your head. If you want tighter, more defined waves, opt for four or five smaller braids.
- Secure gently: Always tie off the ends with a silk or satin scrunchie. Regular elastic bands will leave harsh crimps and break your delicate ends.
- The big reveal: In the morning, gently undo the braids. Run your fingers through the hair-never a brush!-to separate the waves. The result is soft, airy texture that looks effortlessly glamorous.
Method 2: The Viral Robe Belt Hack (For Mermaid-Style Waves)
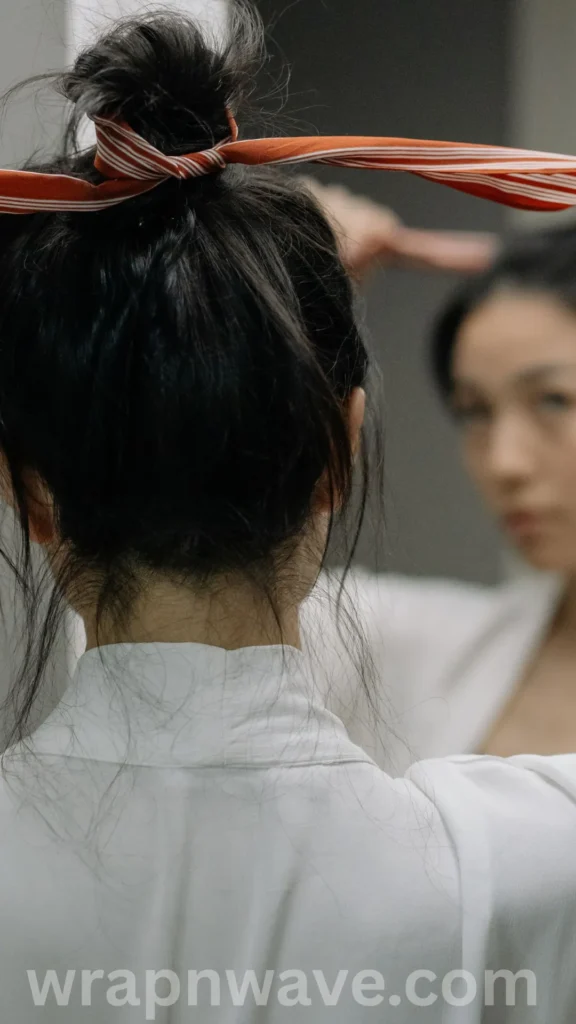
You don’t need to buy a fancy gadget to get salon-quality results. This viral TikTok hack uses a simple, thick bathrobe belt, and it is one of the best ways to achieve large, bouncy spirals that mimic a wand.
Why does this work so well? The thickness of the fabric prevents the hair from kinking, so you get smooth, flowing curves rather than zig-zag crimps.
- Set the stage: Place the center of a long, soft robe belt across the very top of your head, letting the ends hang down like ears.
- The wrap technique: Take a 2-inch section of damp hair from the front, and wrap it over and around the belt. Continue adding hair as you go, wrapping downwards in a spiraling motion until all your hair is coiled around the belt.
- Tie it off: Gently tie the two ends of the belt together at the top of your head to secure everything.
- Wake up to magic: Slide the belt out in the morning. You will be left with stunning, voluminous mermaid waves that look incredibly expensive.
Method 3: The Twist Bun for Voluminous, “Lived-In” Texture

If you want waves that add serious volume at the roots while keeping the ends soft, the twist bun is your new best friend. This method creates a more undone, textured wave that is perfect for second-day hair.
- Start damp: Spritz your hair with a texturizing spray until slightly damp.
- Twist and coil: Take a large section of hair at the crown, twist it tightly from root to tip, and then coil that twisted rope into a tight bun against your scalp.
- Secure it: Hold the bun in place with a few bobby pins or a strong scrunchie.
- Repeat or go big: You can do one giant bun for loose, overall waves, or split your hair into two or three buns for more defined body.
- The finish: Unravel the buns in the morning. Flip your head over and shake out the waves with your fingers for that perfectly messy, beachy texture [INTERNAL LINK: related article about volumizing fine hair].
Save-Worthy Tip
“Don’t rush the drying process! If your hair is still wet when you undo the style, the waves will fall flat. Give it a full 6–8 hours to set completely.”
Method 4: The 5-Minute “Scrunch & Go” (For Lazy Days)
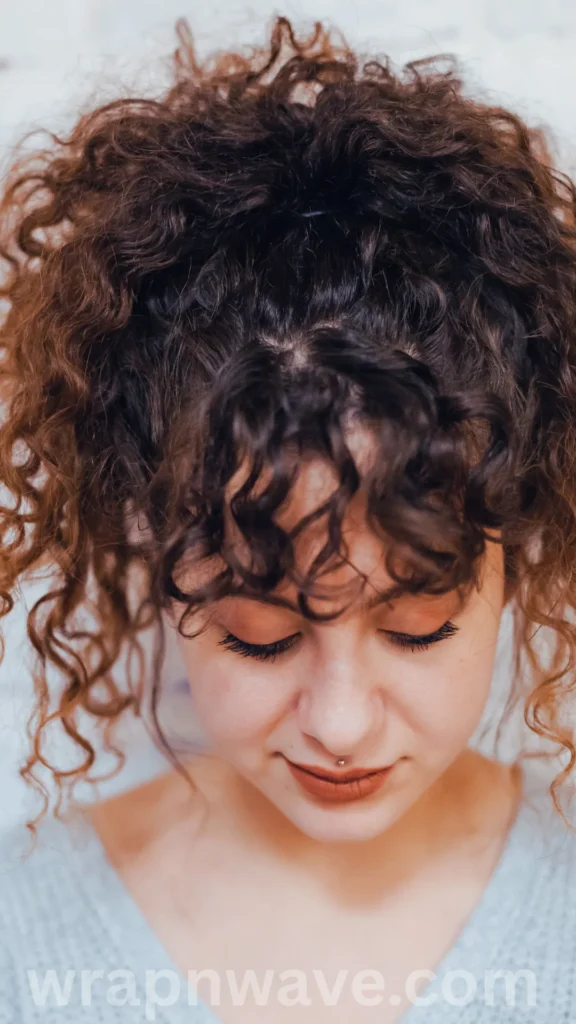
Let’s be real—some nights you just forget to prep your hair. This method is for those mornings when you need instant loose beachy waves for long hair without spending the night in a wrap.
- Wet it down: Use a spray bottle to get your hair evenly damp-not dripping, just misty.
- Apply product: Work a generous amount of curl-enhancing cream or wave spray through the mid-lengths and ends.
- Scrunch like crazy: Flip your head upside down. Cup the ends of your hair in your palms and push upwards towards your scalp in a scrunching motion. Do this repeatedly until you see the wave pattern forming.
- Air dry or cool diffuse: Let it air dry for 15 minutes, or use a blow-dryer with a diffuser attachment on the cool setting. This encourages your natural wave pattern to spring up, giving you instant effortless texture without any wrapping or braiding.
Method 5: The Heatless Curling Rod (For Frizz-Free, Glossy Results)
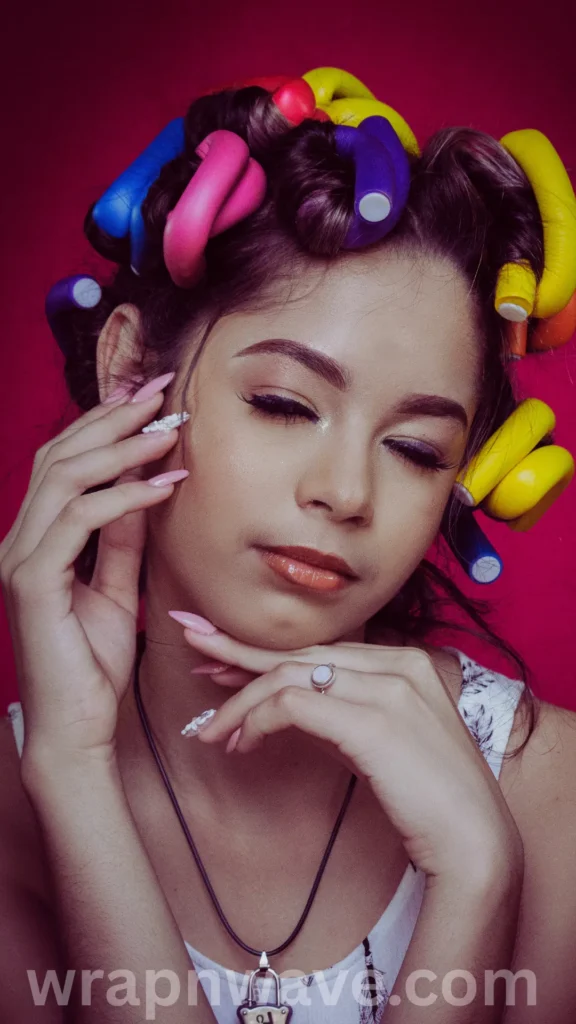
If you struggle with frizz and flyaways, this method using a silk or satin curling rod is your holy grail. The smooth fabric reduces friction, meaning your hair stays sleek and shiny while it dries.
- Position the rod: Place the flexible rod or silk ribbon across the top of your head.
- Wrap away from the face: Take small sections of damp hair and wrap them around the rod, pulling the hair away from your face. This creates a flattering, face-framing wave.
- Secure the ends: Tuck the ends of your hair neatly under the rod and secure the rod’s ends together.
- Unveil the gloss: In the morning, gently unravel the rod. Because of the silk material, you won’t have any friction-induced frizz-just bouncy, glossy curls that look like a fresh blowout.
Pro Tips to Make Your Heatless Waves Last All Day
You have done the work-now let’s make sure those waves don’t disappear by lunchtime! Long hair is heavy, and gravity is not your friend. Here is how to lock in the style:
- Hold off on the brush: This is the number one rule. Once you take your hair down, do not brush it. Brushing separates the wave pattern and creates a frizzy mess. Use your fingers or a wide-tooth comb sparingly.
- Lock it in: Once you are happy with the placement, spritz a flexible-hold hairspray or a dry texture spray over the top. This gives the waves memory without making them crunchy.
- Sleep smart: To preserve your style for day two, put your hair in a very loose, high ponytail (a “pineapple”) and sleep on a silk pillowcase to reduce friction.
Ready to Ditch the Heat for Good?
Achieving stunning, healthy hair is totally within your reach. With these 5 methods for loose beachy waves for long hair, you have the power to wake up to gorgeous texture every single day-without the guilt of heat damage. Whether you have 5 minutes or a full night to spare, there is a technique here that fits your lifestyle perfectly.
I would love to know: which of these 5 methods are you racing to try tonight? Have you attempted heatless waves before? Let’s get a conversation going! Drop your experience, your biggest hair struggles, or your favorite product recommendations in the comments below. Your tip might just help someone else in our community!
Pin Description:
Love effortless style? This Loose Beachy Waves for Long Hair – Heatless Tutorial shows you 5 easy overnight & quick methods! Save this pin to finally get gorgeous, healthy waves without the curling iron damage! 💁♀️✨ #HeatlessHair #BeachyWaves #LongHairTips
