

”Learn this Heatless Overnight Waves Tutorial – Step by Step. Get beautiful, damage-free waves while you sleep. Perfect for all hair types!”
You love the look of soft, beachy waves, but who has time to hold a curling iron for 45 minutes every morning? And let’s be honest-daily heat styling leaves your hair feeling dry, brittle, and frizzy.
What if you could wake up with perfect, flowing waves without a single hot tool?
In this Heatless Overnight Waves Tutorial Step by Step, I’ll show you exactly how to achieve stunning, long-lasting waves while you sleep. No special skills, no expensive gadgets-just soft, touchable curls by morning. Ready to transform your hair routine? Let’s dive in.
01: Why You’ll Love Heatless Overnight Waves (Goodbye, Heat Damage!)
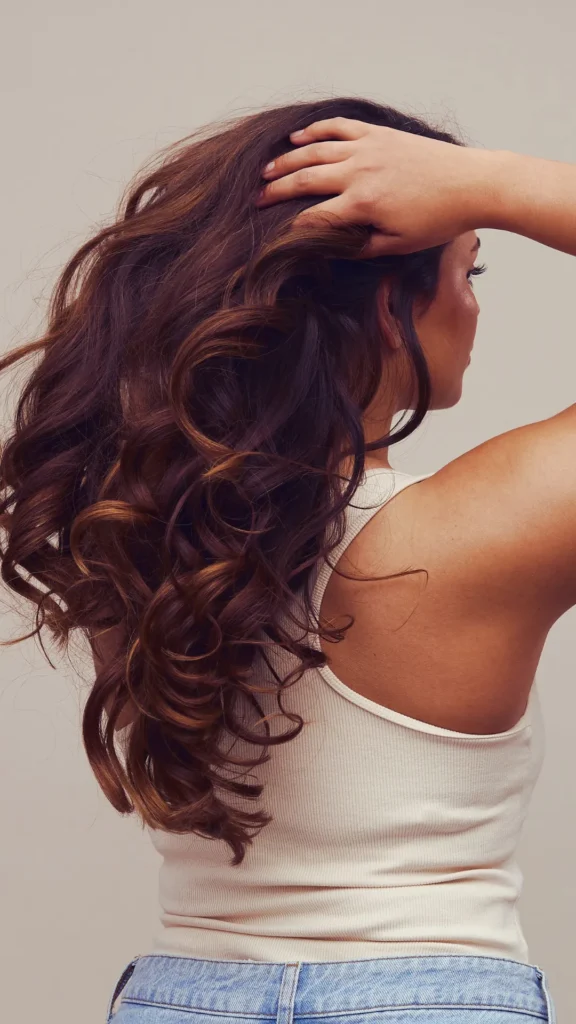
If you’ve ever fried your ends with a flat iron or burned your fingers on a curling wand, this method will feel like a miracle. Heatless waves give you all the beauty with zero of the breakage.
Here’s why women everywhere are switching to overnight heatless styling:
- No more split ends from daily heat
- Saves you 20–30 minutes every morning
- Waves look natural, not “overdone”
- Works on straight, wavy, or slightly curly hair
Save-worthy tip: “The secret to frizz-free overnight waves is starting with damp hair-not soaking wet. Towel-dry first, then style.”
Secondary keyword used: damage-free waves
02: What You’ll Need for This Heatless Overnight Waves Tutorial
You don’t need a closet full of tools. In fact, you probably already own most of these items.
Your overnight wave kit:
- A spray bottle with water (to lightly dampen your hair)
- Leave-in conditioner or wave-enhancing cream
- Soft scrunchies or satin hair ties (never rubber bands!)
- A long-sleeved cotton t-shirt or a satin scarf (depending on which method you choose)
- Optional: a silk pillowcase for extra frizz protection
That’s it. No heat, no stress, no expensive curling wands.
Save-worthy tip: “Satin scrunchies are your best friend for overnight waves. They don’t crease hair like traditional elastics.”
Secondary keyword used: satin scrunchie for waves
03: Step-by-Step: How to Create Heatless Overnight Waves

Now for the main event. Follow these simple steps, and you’ll wake up looking like you stepped out of a salon.
Step 1: Start with slightly damp hair.
Spray your hair until it’s about 80% dry. If it’s too wet, your waves won’t set properly. Too dry, and they’ll fall flat.
Step 2: Apply a lightweight styling product.
Scrunch in a golf-ball-sized amount of mousse or wave cream. This gives your waves hold without crunchiness.
Step 3: Part your hair down the middle or slightly to the side.
Your overnight part will become your morning part, so choose wisely.
Step 4: Twist or braid? For classic loose waves, divide hair into two sections. Twist each section away from your face, then wrap them into small buns. Secure with a satin scrunchie.
Step 5: Sleep and let magic happen.
Place a silk scarf over your head if you’re a restless sleeper. Then drift off-your future self will thank you.
Step 6: Unwrap and shake in the morning.
Gently remove scrunchies, run your fingers through (no brush!), and fluff at the roots for volume.
Save-worthy tip: “Don’t brush your overnight waves! Use your fingers to separate curls, or you’ll end up with a frizzy mess.”
Secondary keyword used: twist and pin method
04: Pro Tips for Long-Lasting Waves That Survive Your Sleep
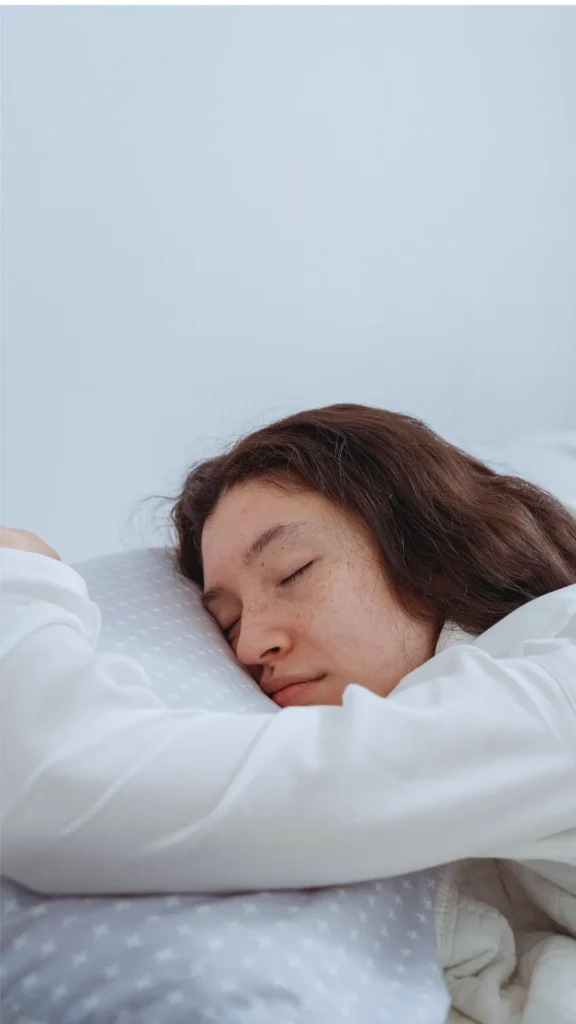
Ever woken up with one side flat and the other strangely kinked? These pro tricks will solve that.
To make waves last all day:
- Use a tiny bit of hairspray before you twist your hair-not after
- Sleep on a silk pillowcase to reduce friction
- Don’t twist too tightly; loose twists create softer, more natural waves
- For extra volume, apply dry shampoo at the roots before bed
If you have fine or straight hair, add a lightweight gel before twisting. If your hair is thick or curly, use a heavier cream.
Save-worthy quote: “The number one mistake? Twisting hair that’s bone-dry. Damp hair molds into waves; dry hair just gets crumpled.”
Secondary keyword used: hair setting spray for waves
05: Common Mistakes to Avoid (And How to Fix Them)

Even easy tutorials can go wrong. Here’s how to troubleshoot like a pro.
| Mistake | Quick Fix |
|---|---|
| Waves are too tight/crimped | Twist more loosely or use larger sections |
| Hair is frizzy in the morning | Add a drop of argan oil before twisting |
| Waves fall out within an hour | You started with hair too dry; mist more water next time |
| Tangled mess when unravelling | Use a detangling brush before twisting, and never twist wet hair |
Save-worthy tip: “If you wake up with a bird’s nest, don’t panic. Lightly mist with water, finger-comb, and re-twist for 15 minutes while you have coffee.”
Secondary keyword used: tangles in overnight waves
06: How to Refresh Your Waves in the Morning

Second-day waves are even better-if you know the trick. Here’s how to revive your overnight style without starting over.
Morning refresh routine:
- Shake out your waves upside down for instant volume.
- If any sections fell straight, re-dampen just those pieces with a spray bottle.
- Twist those pieces around your finger for 10 seconds, then release.
- Finish with a texturizing spray or a tiny bit of sea salt spray.
You can do this for up to three days before washing again. Your mornings just got a whole lot faster.
Save-worthy quote: “Refresh don’t restyle. A quick finger-twist on flat sections saves you from another full round of heatless curling.”
Secondary keyword used: second day wave revival
07: My Favorite Variations: Braids, Twists, and More
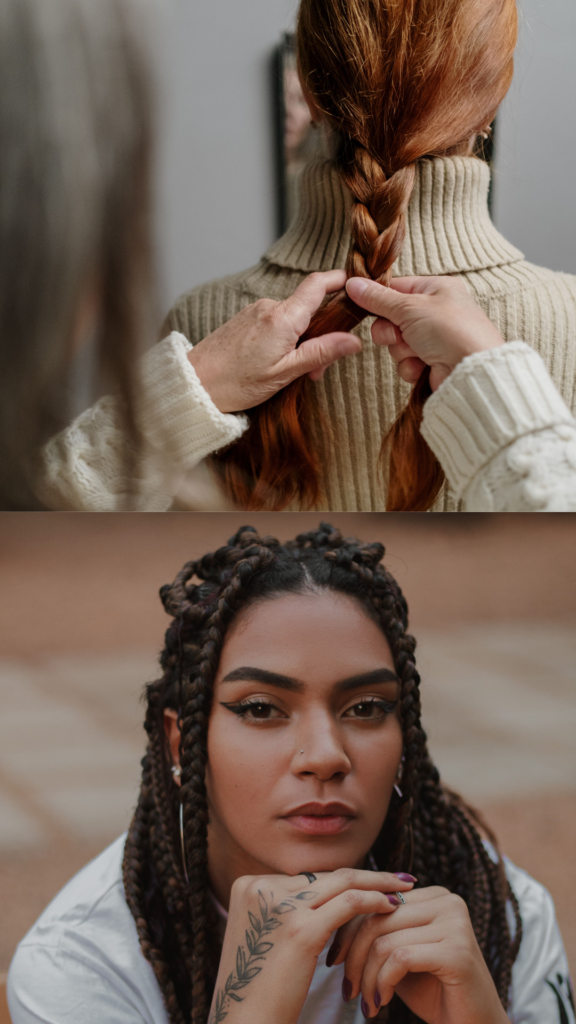
The method above is my go-to, but you can switch it up depending on the look you want.
Try these heatless wave styles:
- Loose beach waves: Two low buns, twisted away from face
- Tight, bouncy curls: Four or six smaller twists
- Mermaid waves: One single braid down your back (sleep on a silk pillowcase)
- Voluminous vintage waves: Use a [https://wrapnwave.com/the-ultimate-guide-to-how-i-get-loose-beach-waves-without-a-curling-iron/: related article about The Ultimate Guide to How I Get Loose Beach Waves Without a Curling Iron (Even If You Have Zero Patience)] for even more no-heat methods.
Experiment with different twist sizes. The smaller the section, the tighter the wave. The looser the braid, the softer the curl.
Save-worthy tip: “For a gorgeous hybrid wave, do two rope braids instead of regular braids. Rope braids create spiral waves that last for days.”
Secondary keyword used: rope braid waves
Call to Action (CTA)
Now it’s your turn! I’d love to hear how this Heatless Overnight Waves Tutorial Step by Step works for your hair type. Drop a comment below: What’s your biggest struggle with overnight waves? Or share your own tip for the community. Let’s get the conversation going-because beautiful hair should be easy, not exhausting.
you will like;How to Get Short Bob Beach Waves – Heatless & Effortless (Even If You’re a Beginner!)
Pin Description (150–300 characters)
Wake up to perfect waves with this Heatless Overnight Waves Tutorial – Step by Step ✨ No heat, no damage, just gorgeous curls while you sleep. Save this for your next wash day! #HeatlessWaves #OvernightHair #NoHeatCurls

